In this video I'm going to be unboxing and spray testing The Gaahleri at least, that's how I think it's pronounced GHAC-98D airbrush.

Let's get into it right unboxing the Gaahleri GHAC-98D airbrush now. So as well as the 98D, Gaahleri also sent me another 98D they may have done that by accident, because they're both the same and in the a series I'll chat with them about potentially getting some of these others from what I've heard the Supreme, which will be more like your Micron equivalent, is still in production on top of the two 98Ds.

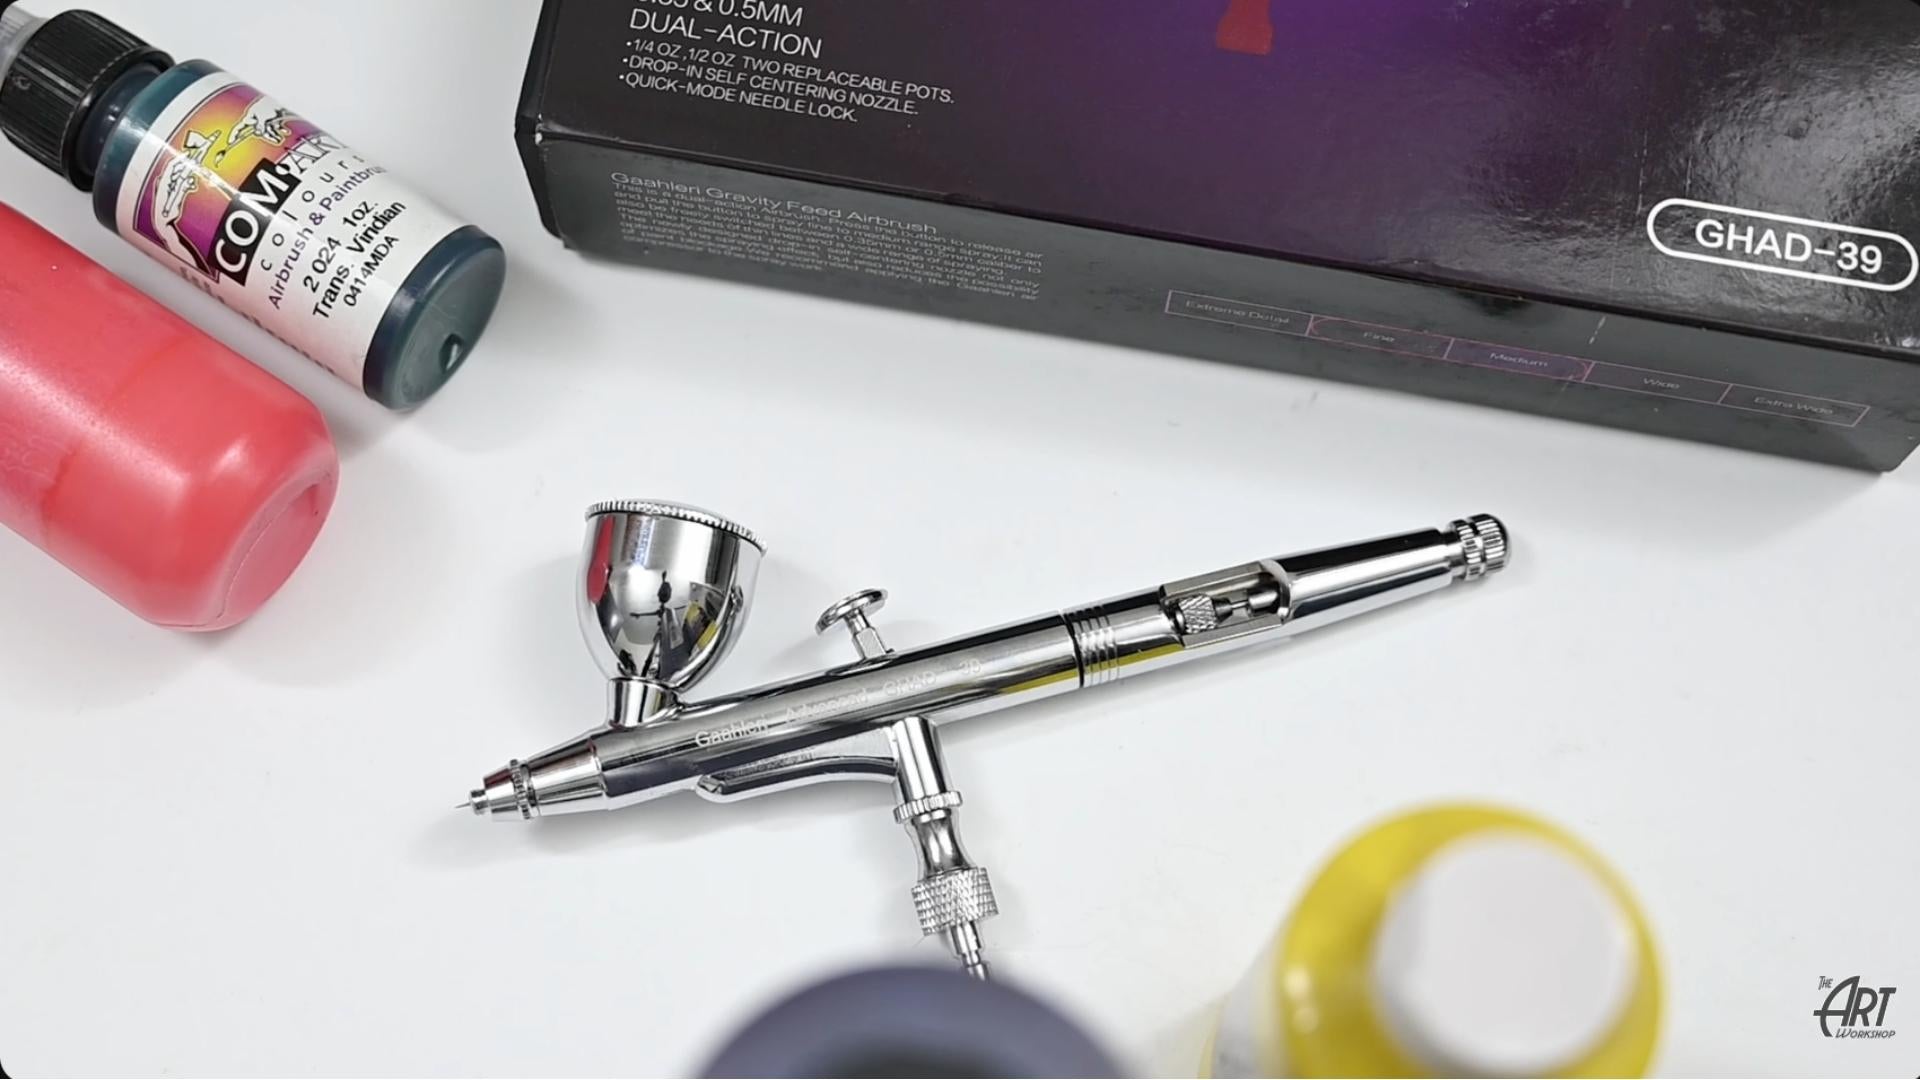
They also sent me the GHAD-68. This is a trigger style brush not going to look at this one today, but I will showcase this one in a later video you can see that this one is from the advanced range, so at time of recording this video this particular brush is 119.99 USD, and I'll pop a link to this airbrush in the description below, so you can check it out it's cut the seal. Now I can pull it out of its sleeve. This is a great idea just a breakdown of all the parts just a handy exploded diagram to have to know, where everything goes. Just the spray test, so just like the Iwata, test it at the factory before it was shipped out.

Quick start guide get some replacement seals, which is Teflon so you can use automotive Paints in it, some super lube something I don't use up to if you wish to use it, if you are going to use it. I used to just do a drop on the needle and a drop behind my trigger, so because this one comes with a 0.38 mm fitted this I assume would be setup nicely packaged and it's got the head assembly plus you can see the nozzle in there as well and you also get the needle which corresponds to that nozzle.

You can see the tip of the needle there another thing I've heard about the needles with this brush is that they're bendy you can see you can definitely bend them a lot easier than other needles, and it's still perfectly straight it's nice to know, that it would give it a little bit recommend doing this with your own one but at least if you do happen to bump it, or drop it it's got more of a chance of surviving obviously the tip of the needle is the most important part, but having some flexibility would definitely strengthen it and nice that they give you this storage tube as well for your needle. You can use that for other needles as well, these are always very handy the airbrush itself nice weight to it feels a bit heavier than my a wider Eclipse. I'm a big fan of these rubber caps always good to just pop them back on when you finish so it's good that it comes with that it's the color cup screw, that on now this is a quarter ounce color cup so just over seven mil another cool feature is that the color Cup on the inside is heavily polished, which should make it a bit easier to clean.

You can really see the difference between the Gaahleri brush versus my eclipse takumi the other interesting feature on this particular brush is that. It has a unique nozzle design but carefully remove the needle take off this head assembly.

One thing I do like straight away is that, the nozzle doesn't actually screw in it just pushes into that base there so once you screw this head assembly on that aligns the nozzle so that's a nice feature that'll avoid you ever having to worry about stripping the thread on your nozzle or snapping it off.

Trust me I've done that many times so taking a closer look at that nozzle you can see as I spin it around there's eight channels so this is where air will pass through and you're going to get a different flow of air coming off your fluid nozzle and propelling the paint onto the surface I'll be interested to see how this affects the performance.

Definitely looks pretty cool and it's a bit more obvious when I hold the nozzle up to camera like this almost looks like a gear so definitely a cool feature and we'll see how that performs screwing this back on I'm going to leave the air cap off I prefer spraying without one just be careful not to drop your needle pushing the needle back in, and make sure you tighten the Locking nut so that you see your noodle go back, and forth otherwise you'll put it all together and no paint will come out so it feels like a quality airbrush.
The Trigger action is nice and smooth it's a bit of a higher trigger which I don't mind it's a little bit close to the cup because I usually have my finger over like so but I'll get used to it I'll try it out you've got your cutaway handle it's easier to dislodge any tip drying dried paint blockages just press your trigger down and pull back and that's going to give you a full throttle blast and dislodge any particles that you don't want in your fluid nozzle also got the adjustment on the back here so that will stop your trigger from going all the way back, just wind it in a bit more. So you can set it up for how much paint you want to come out I don't use this at all.

When you're starting out it's a good thing to do it also comes with a male Quick Connect, which is nice so I'm just going to hook that up to my existing connector and it does work which is great so ready to put some paint in and give it a go and the other thing to note is that they've got this scale here and you can see this airbrush is within a bit of the extreme detail fine to medium and then it also goes into the wide. I'd assume that from here down would be your 0.38 and then from here up would be your 0.5 mil needle nozzle setup and as you spray test at 1:1 paint ratio and 40psi can see for this demonstration I've set.
My compressor at around 40 PSI and I'm going to be using some paint that I've pre-mixed at a one to one ratio so equal parts paint with reducer or thinner. Depending on what your paint manufacturer recommends.

Now pressing down for air and pulling back for paint from about 20 centimeters away I'm just going to spray some broad spray just to get the feel for it how it atomizes and so far really really nicely super smooth doing some lines a little bit closer and it does flow very well. I can see a little bit of intermittent spray.
This can happen when airbrushes are straight out of the box so I like to wear them in a little bit but it definitely feels nice and smooth so up closer now almost touching the surface pulling back on the paint you can see there was nothing coming out I've got a little bit of tip drying but not a lot there so I'll clean that off, and I'll try again okay so attempt number two up close pulling back and now instant performance, which is great.
Slow the line down a little bit you can see I'm getting it nice and fine. This is a 0.38 so it's doing fairly well again this is at a one to one ratio so I could definitely over thin my paint and potentially get even finer detail out of it.

Try some fine dots. The action is very good. So as soon as I pull back on that trigger I'm getting action which is great.
I definitely you do fine Detail no issue starting to tip dry again. Keep in mind this is still that one-to-one ratio, so for a one-to-one ratio I think that performs really well at the 40 PSI I'm going to add a bit more reducer into my paint now drop down the PSI and see if I can go even finer than that.

As the channels that I showed you in the fluid nozzle earlier are meant to handle a lower PSI so that you can do some really detailed stuff so let's give it a go so spray test at 20psi with thinner paint now at just over 20 psi and I've thinned out my paint a little bit more. I'll see how it performs with some finer detail and see if those channels in the nozzle make any difference at all.
So starting off with a bit of a broad spray first at this thinner ratio and lower PSI you'll notice that the paint's definitely thinner if I pull back really heavy you can see how wet that is how easily it will go wet. So you need a lot more control, when running it thinner paint now, giving it a go with some finer stuff.
Go finer when it's thinner I don't feel any difference with something like this doing a wider in regards to the channels within the nozzle but I suppose that's a good thing this paint is very thin now and it's still flowing nicely. So I would say that if the channels weren't there potentially I couldn't go as thin with my paint but definitely no issue there with trying to get fine detail and it feels still very solid and responsive.

I do have to say I like the polished cup. You can see how clean that is and that was very easily done just using water to flush through that blue I'm just going spray testing the 0.5mm setup to quickly swap over the brush to the 0.5 setup so you can see how that one performs.

Now that I've got the 0.5 in there I'm going to go back to my one to one ratio and I've turned my PSI back up to 40 PSI a bit of a broad spray see I'm able to pump it on a lot easier now goes on a lot quicker and faster easily do thicker lines, but even with a 0.5.
You'll notice how fine I can go a little bit now so, it performs amazing you can see that 0.5 no problem at all you can use that for your broad spray, and still get your fine detail removing the colour cup altogether.

The other thing I've thought of because this cup is removable. I'm going to take it off and just use this airbrush as if it was just the Inkwell only I'm just going to use the createx paint this time, because it's easier to drop it in put a couple of drops of that Magenta in there and see how it sprays.
You can see that there's no problem at all running it without the pot on the top. And this is Handy if you want to just do some real fine detail and you want that direct line of sight you don't have the cup in the way. So nice little feature not sure if it was intentional for that reason, but I could definitely see myself using this brush set up like this, just make sure that you don't tip it. Because then you'll drop your paint on the artwork this paint's a bit thicker too so that's why I'm getting a lot more tip drying. It's not thinned at all but at least I know that works.
CONCLUSION
So as you can see for under 120 US Dollars this brush performs pretty well that said, this is just my first test straight out of the box I'm going to be using this brush more over a period of time, and if I like it you'll definitely notice it in more videos, what will it be like after a few weeks months or even years of airbrushing I'm sure I'll find out and if I'm still using it then well then you know it's a really good airbrush.


Leave a comment
All comments are moderated before being published.
This site is protected by hCaptcha and the hCaptcha Privacy Policy and Terms of Service apply.