


The perfect tool for artists, model enthusiasts, and hobbyists who demand accurate, color-precise metallic finishes.
OUR BEST SELLERS
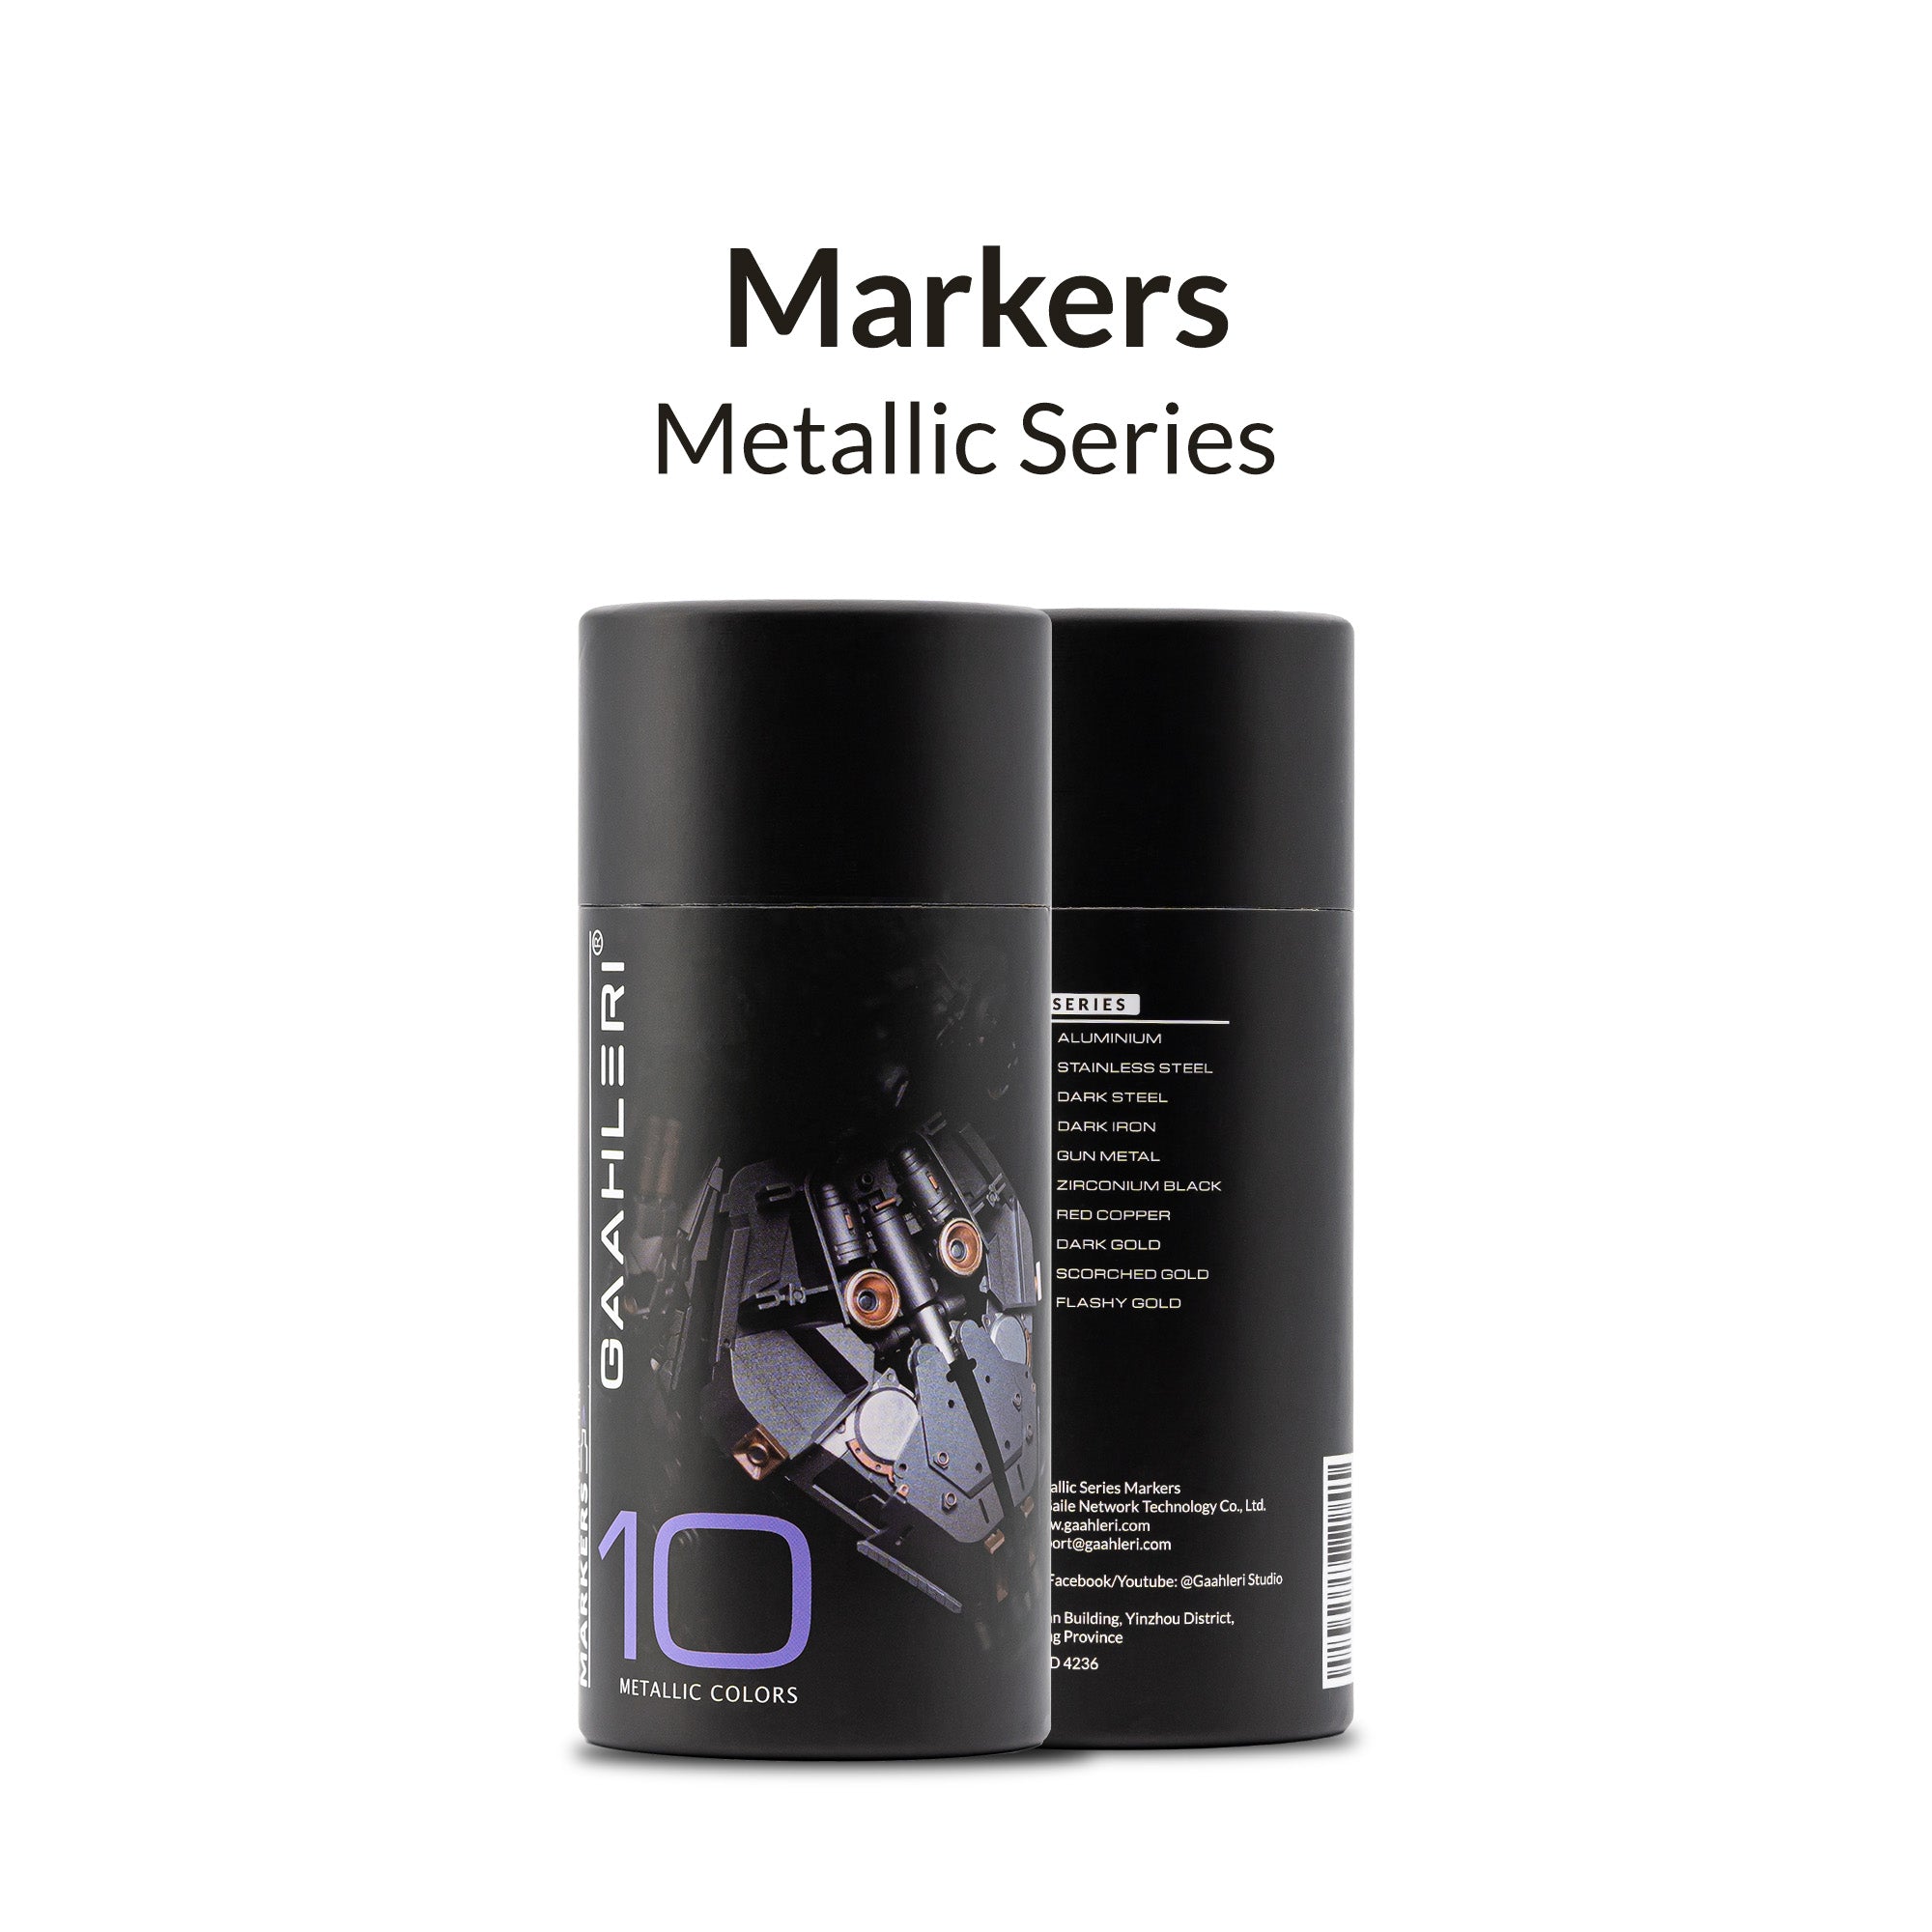
Elevate and increase efficiency in your work flow with our Metallic Series Markers.

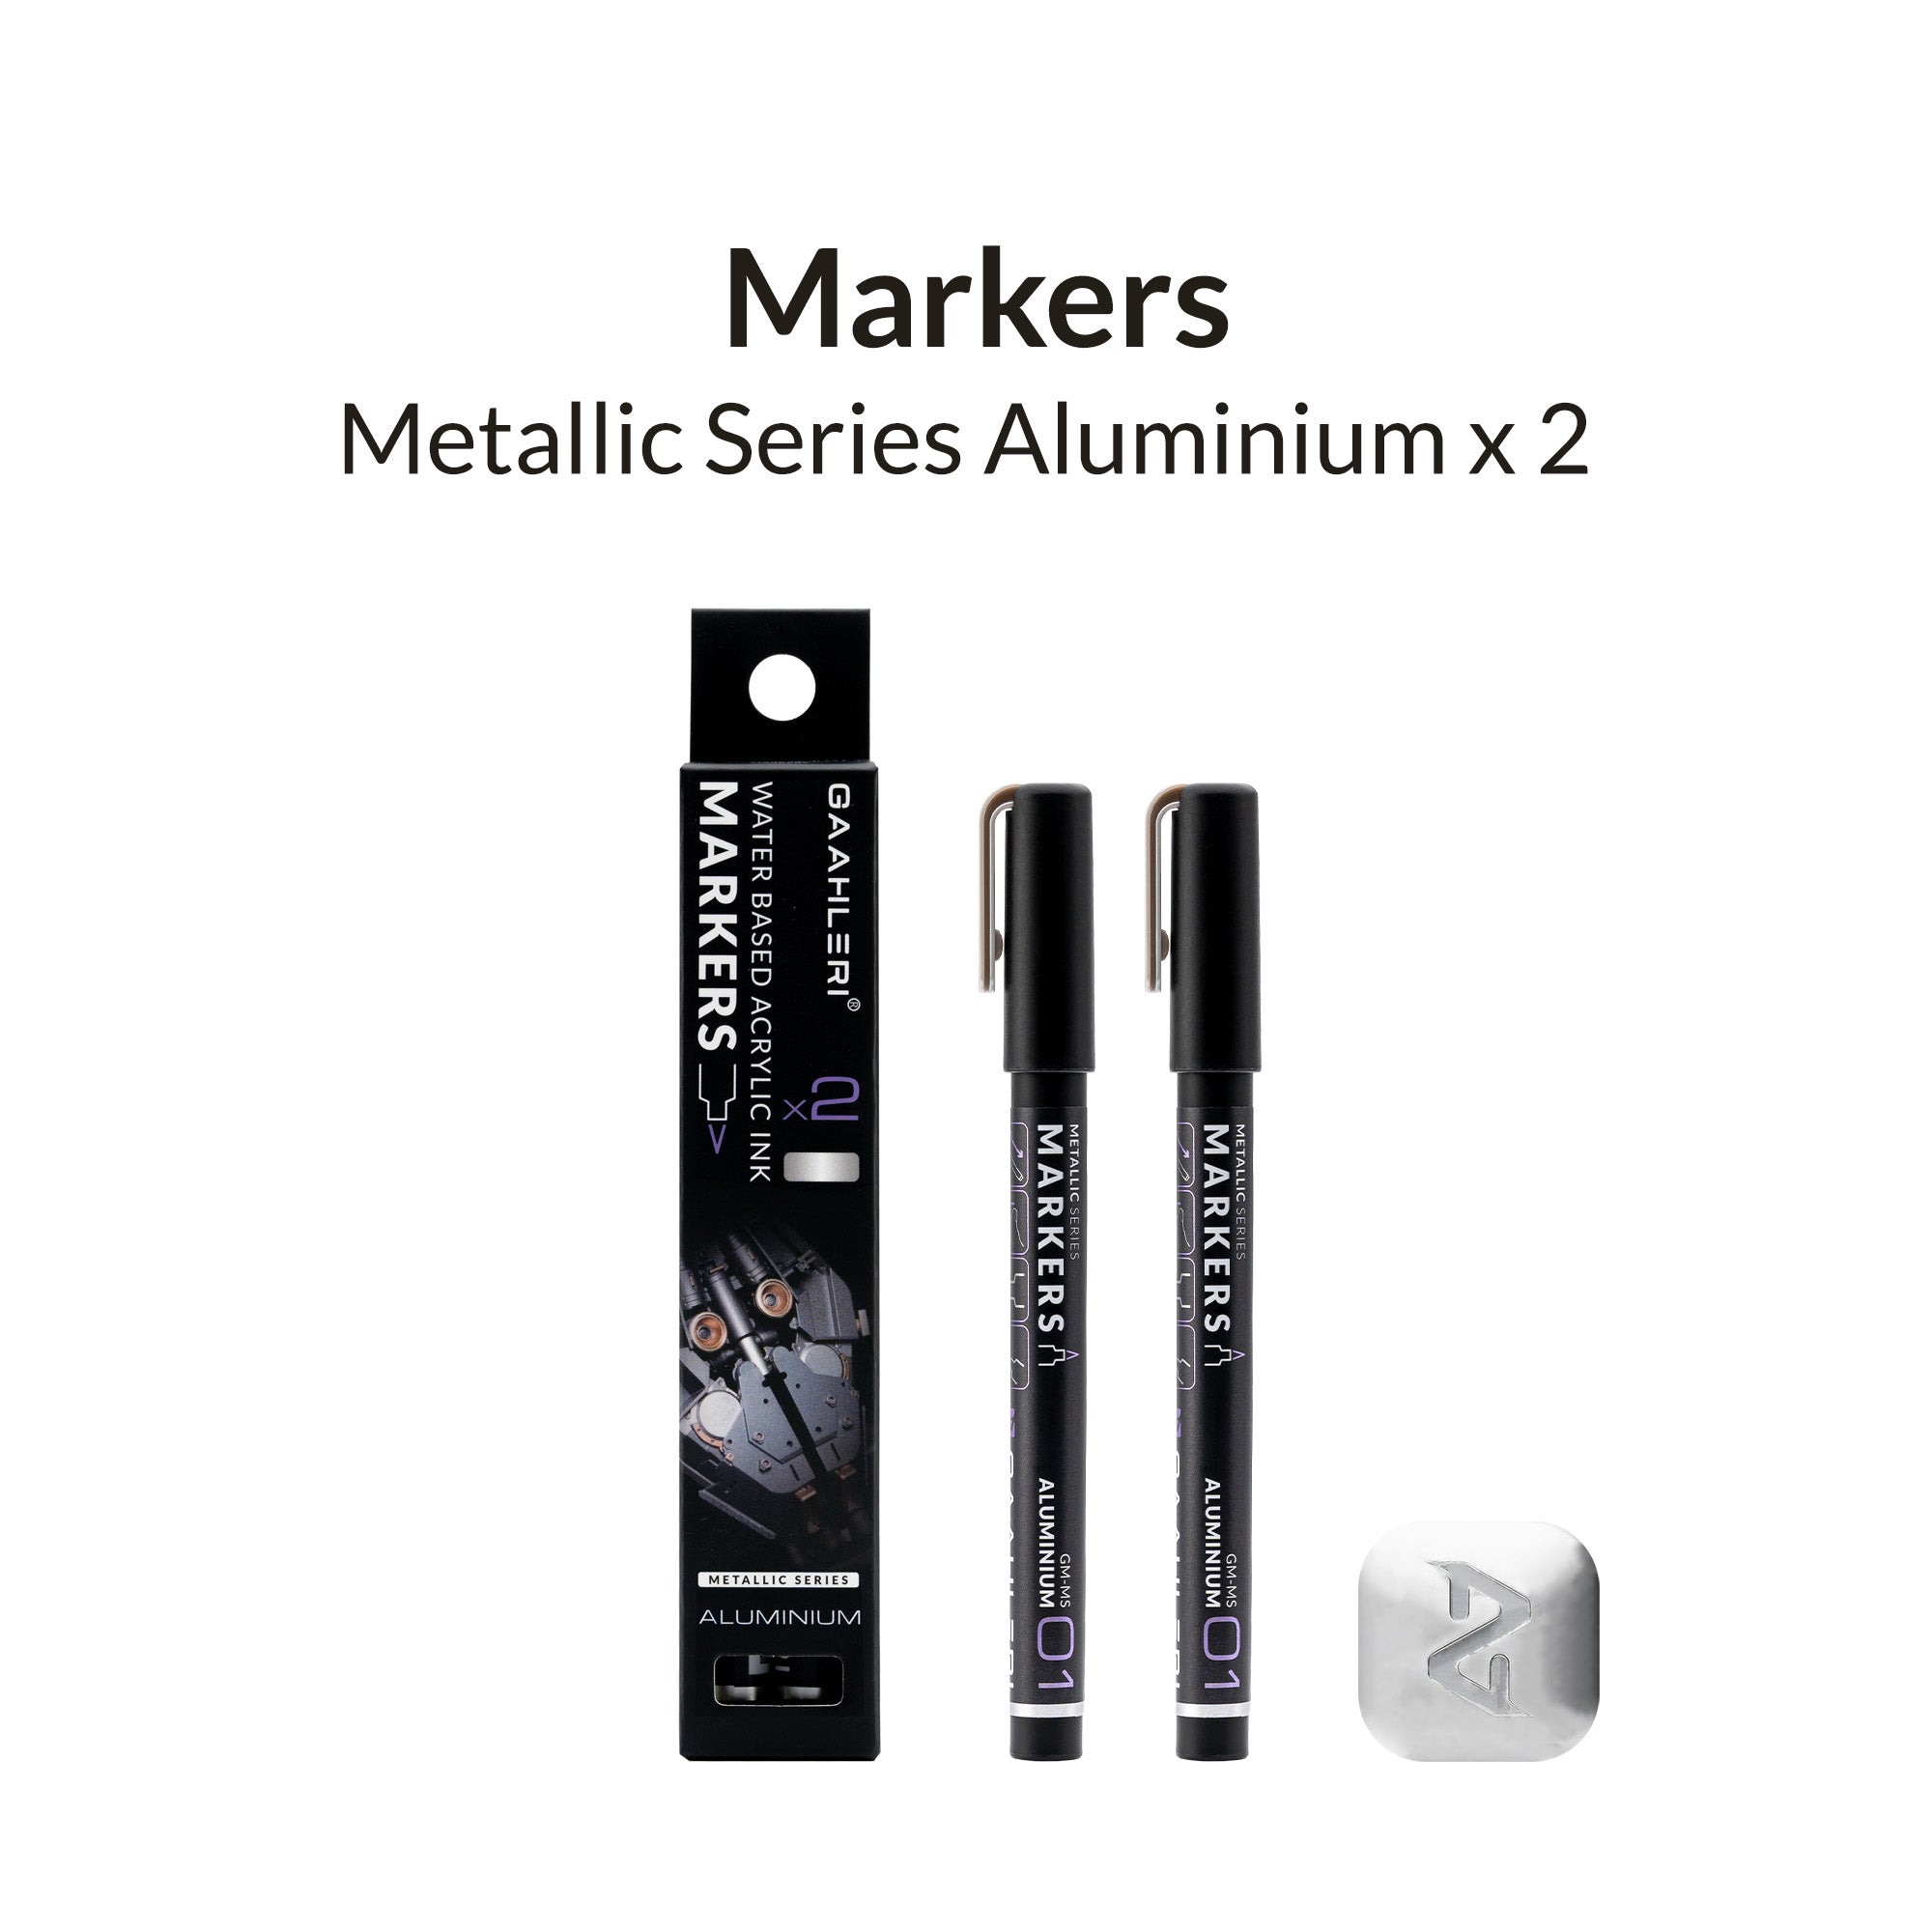
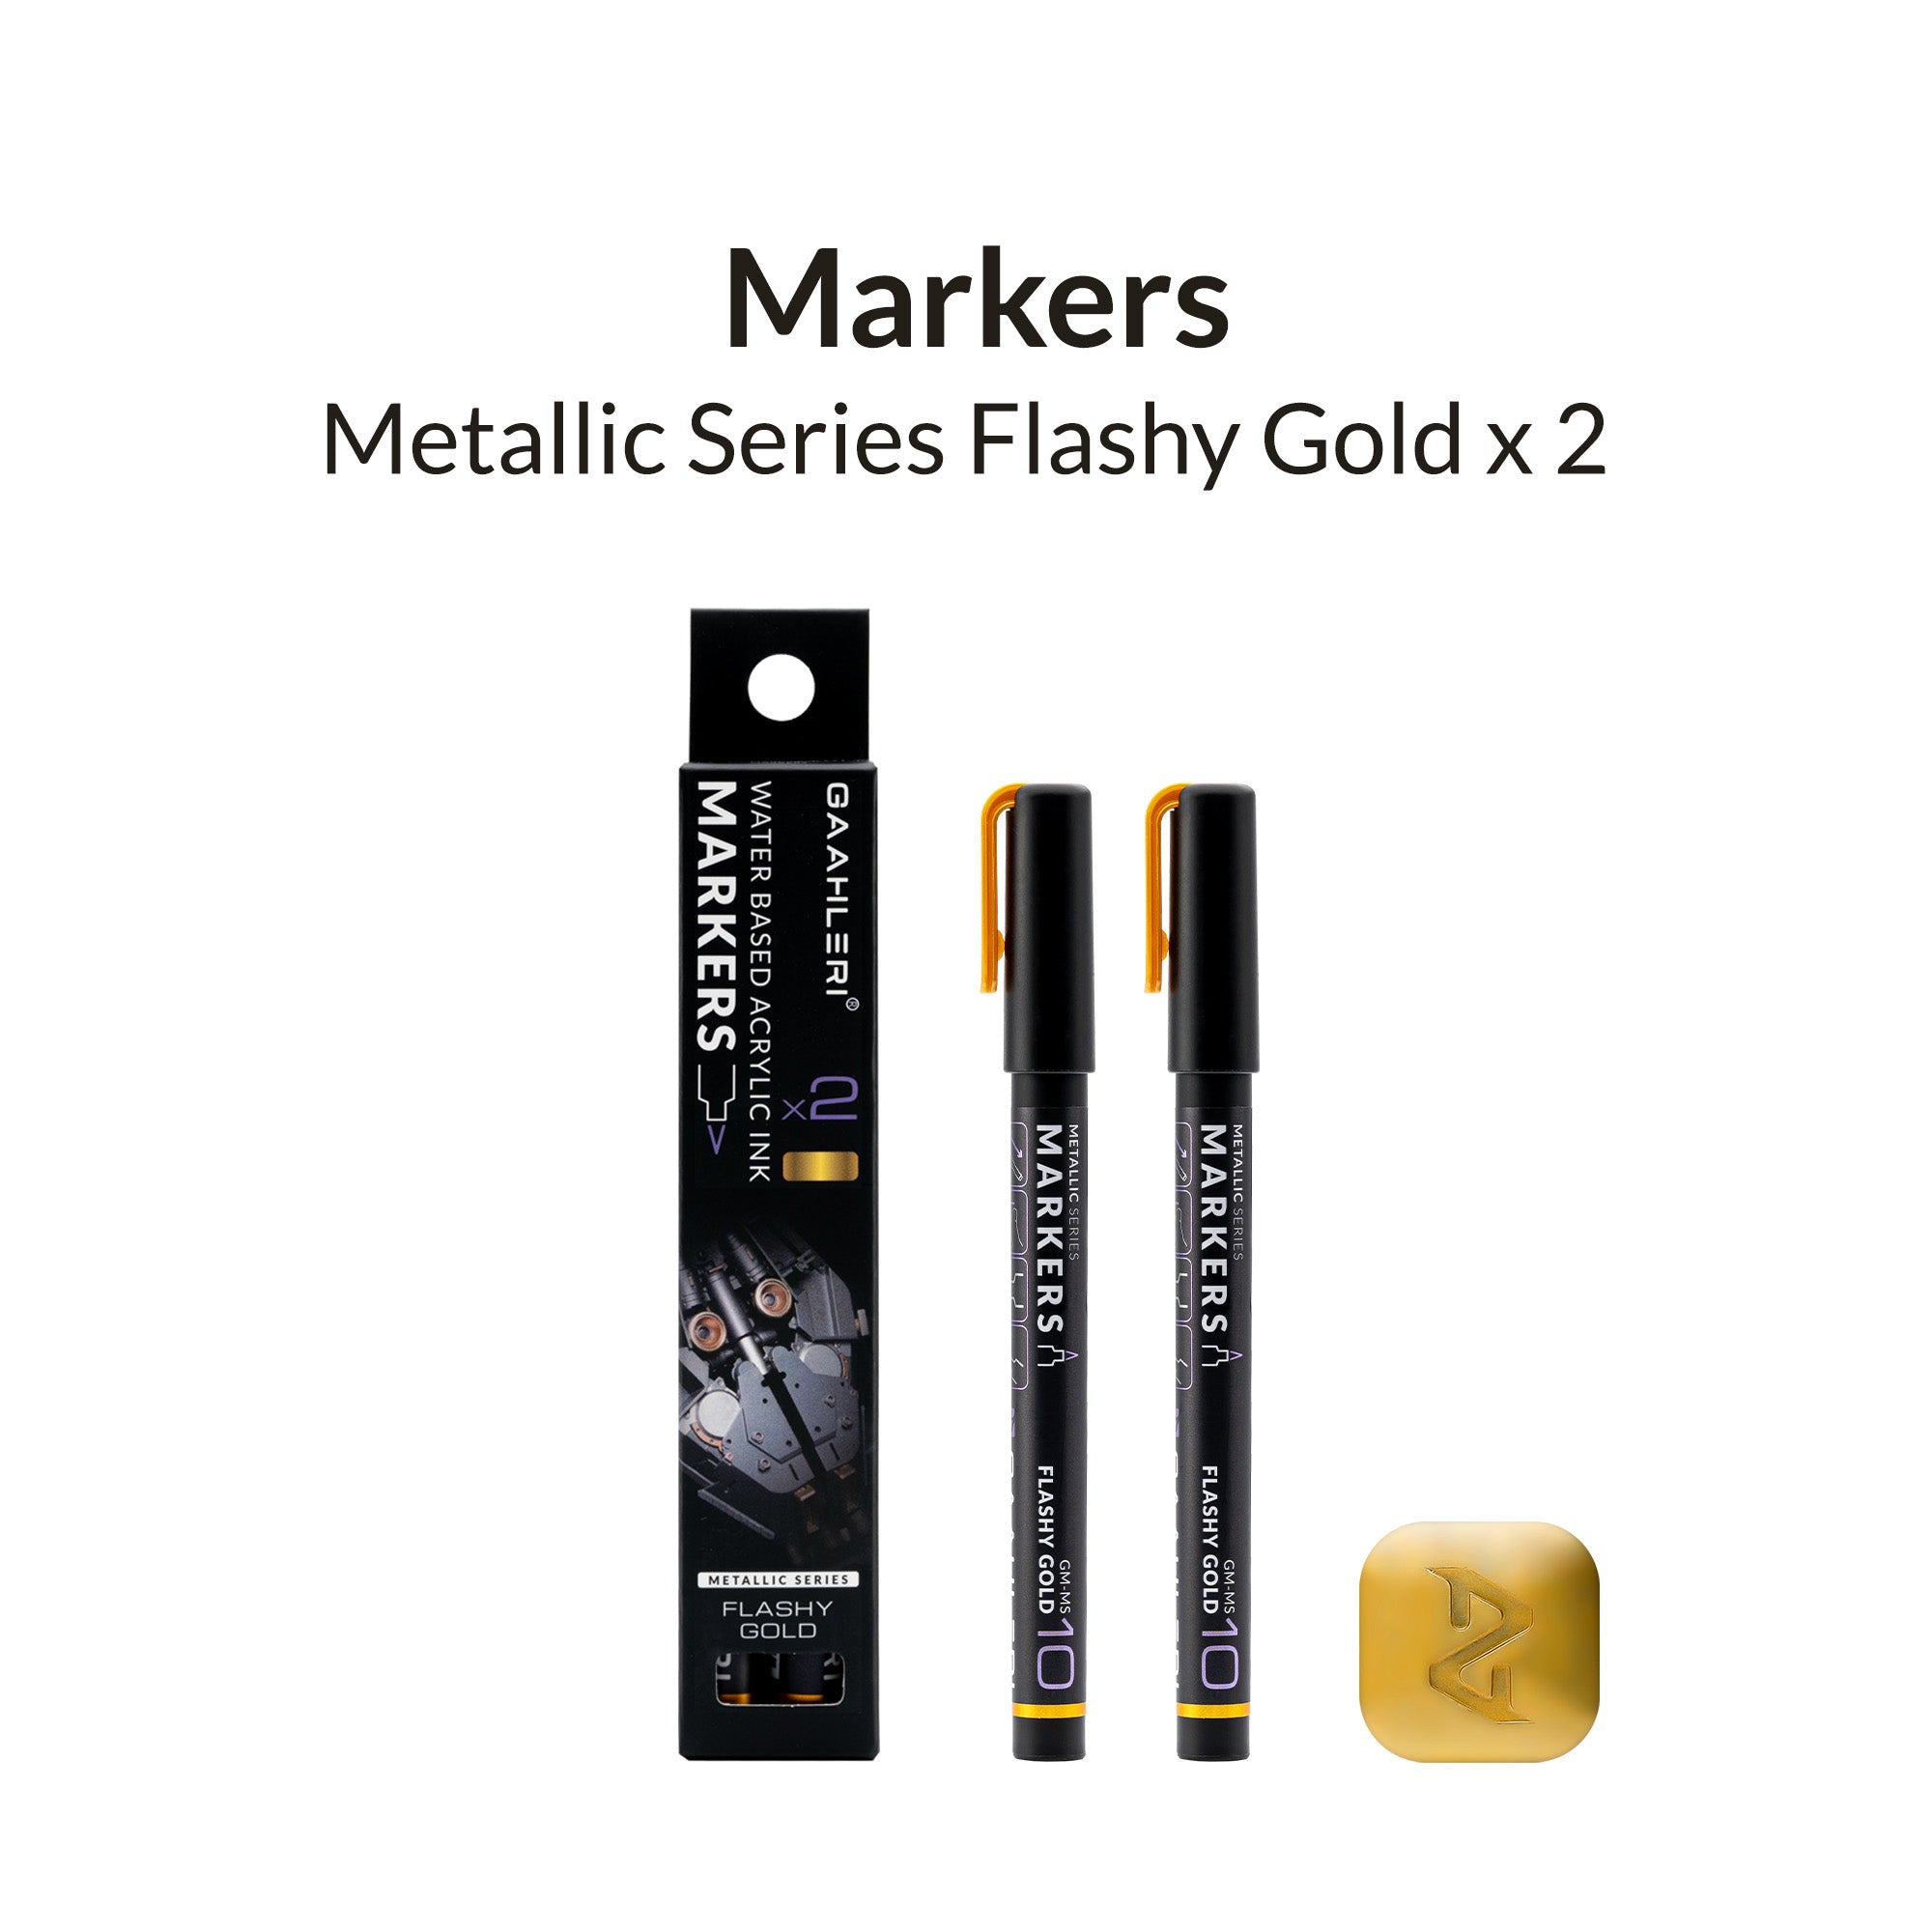
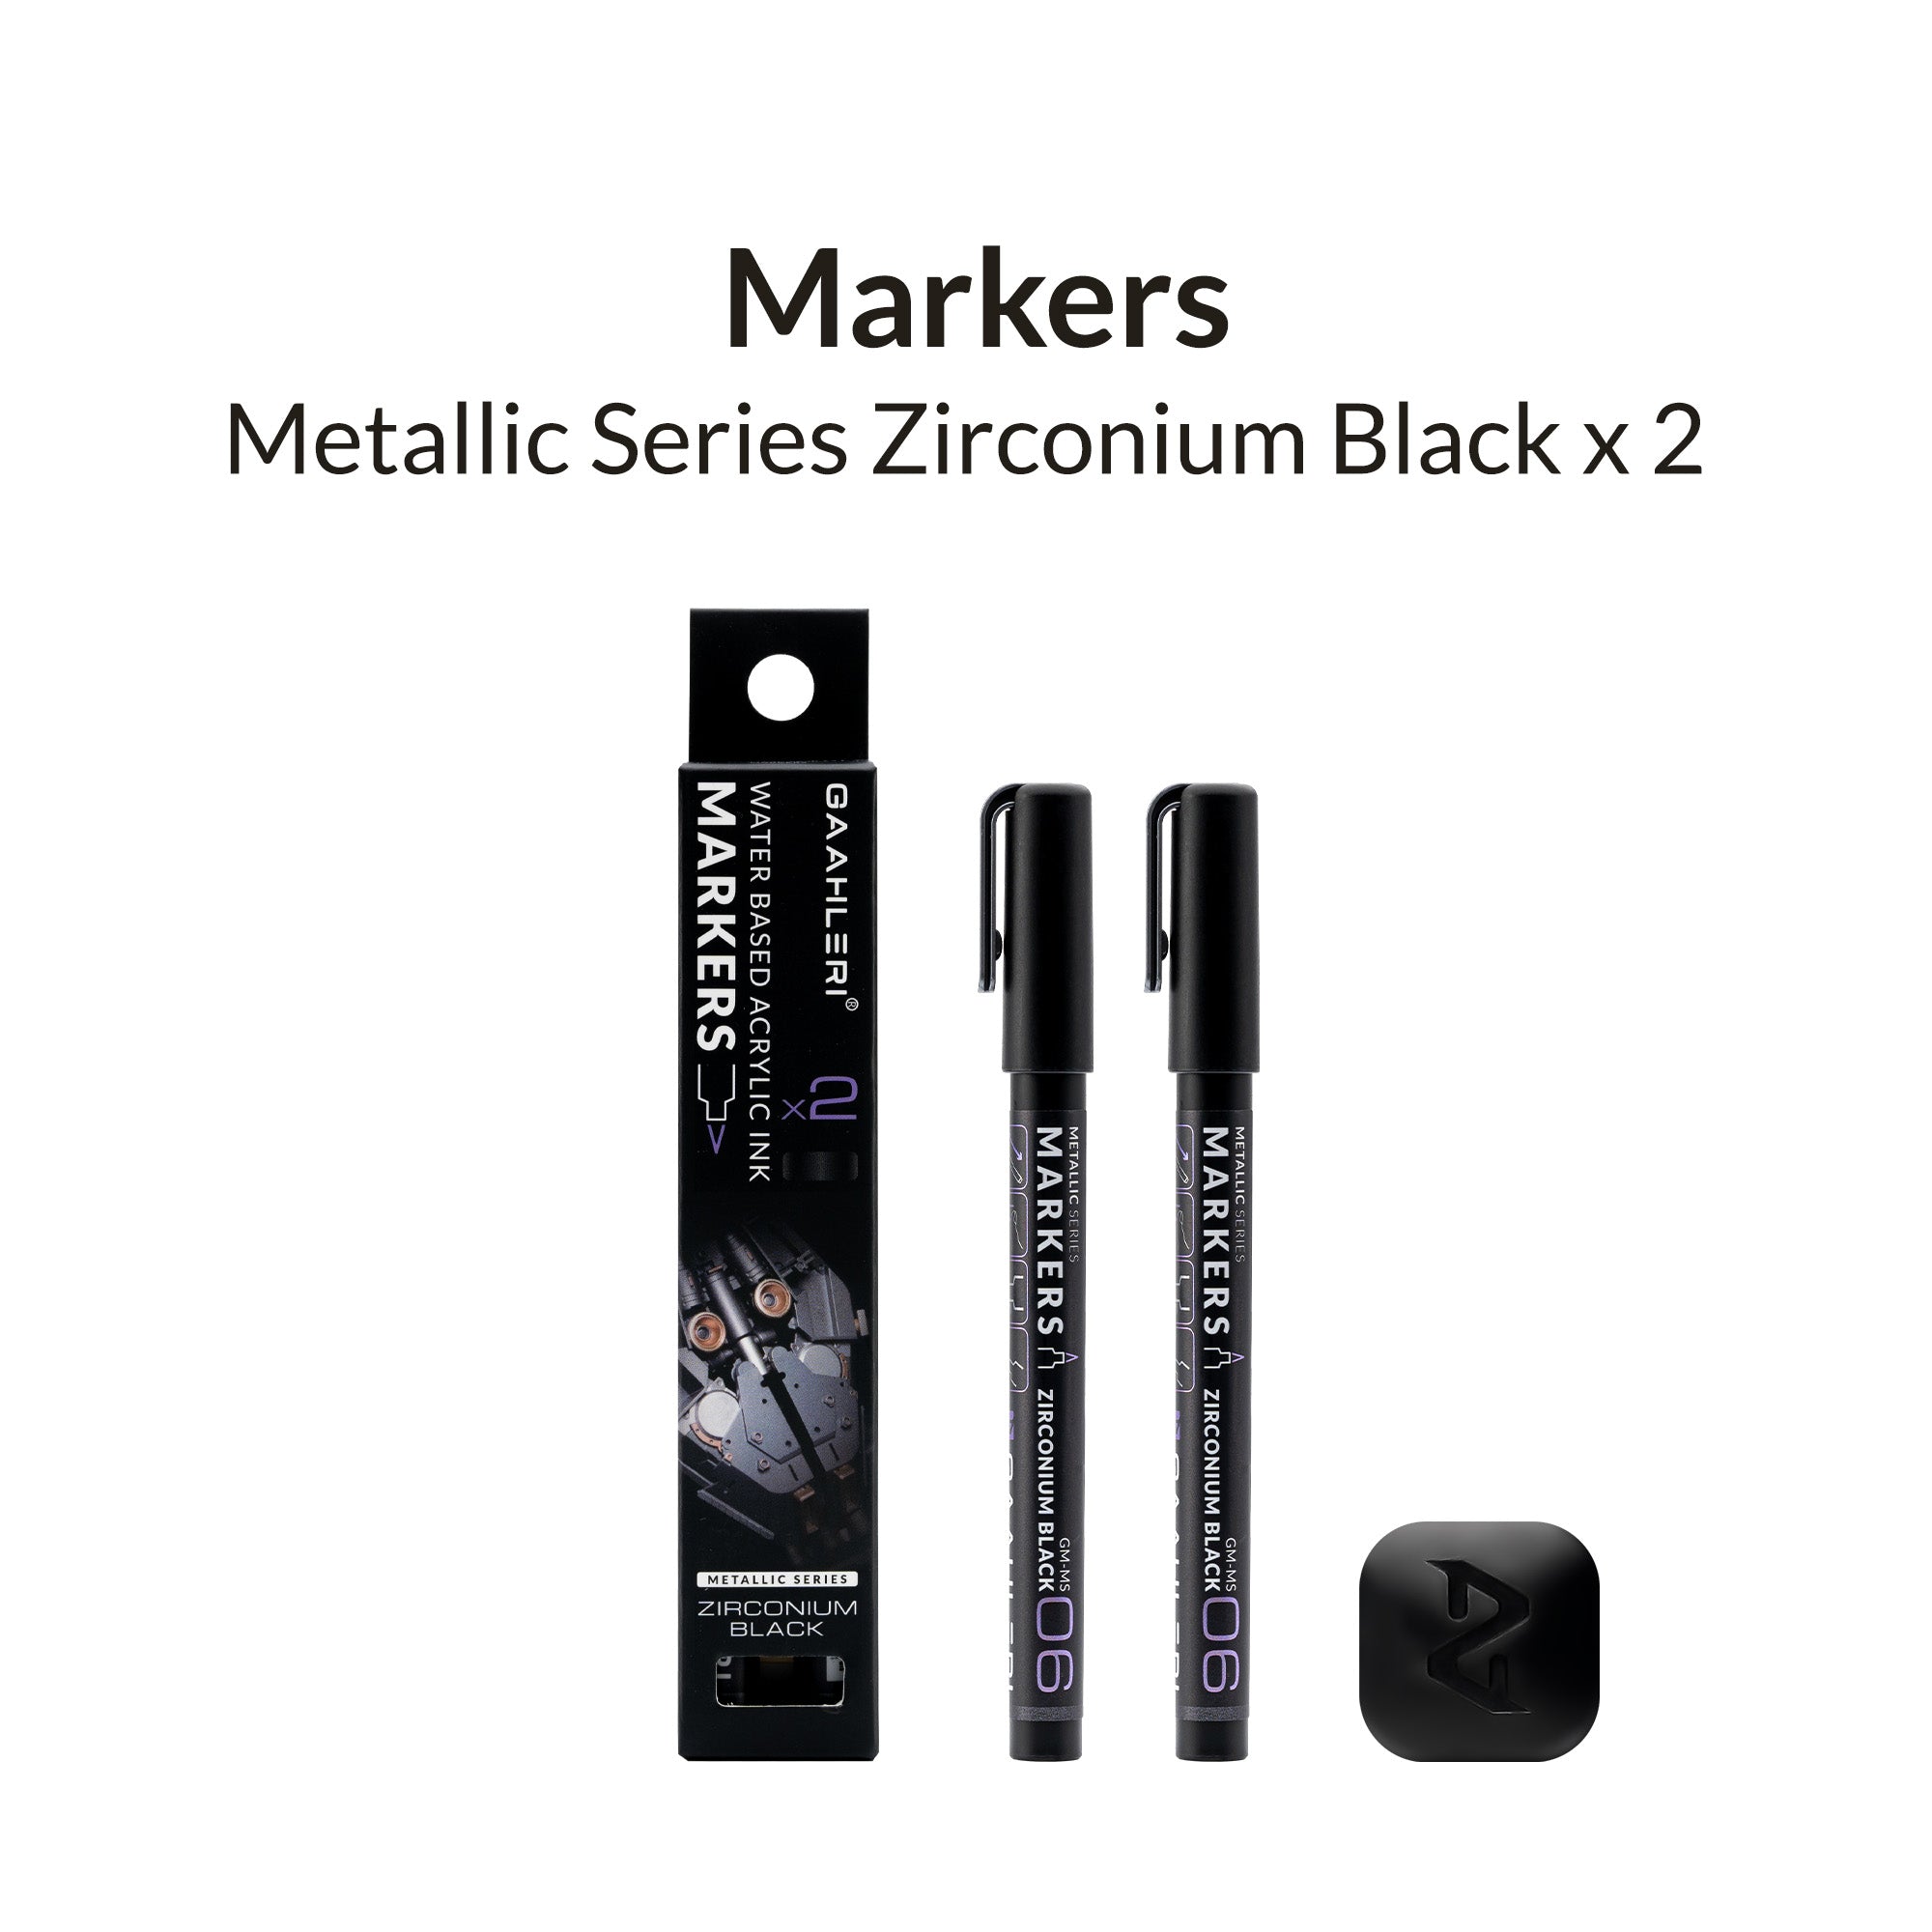
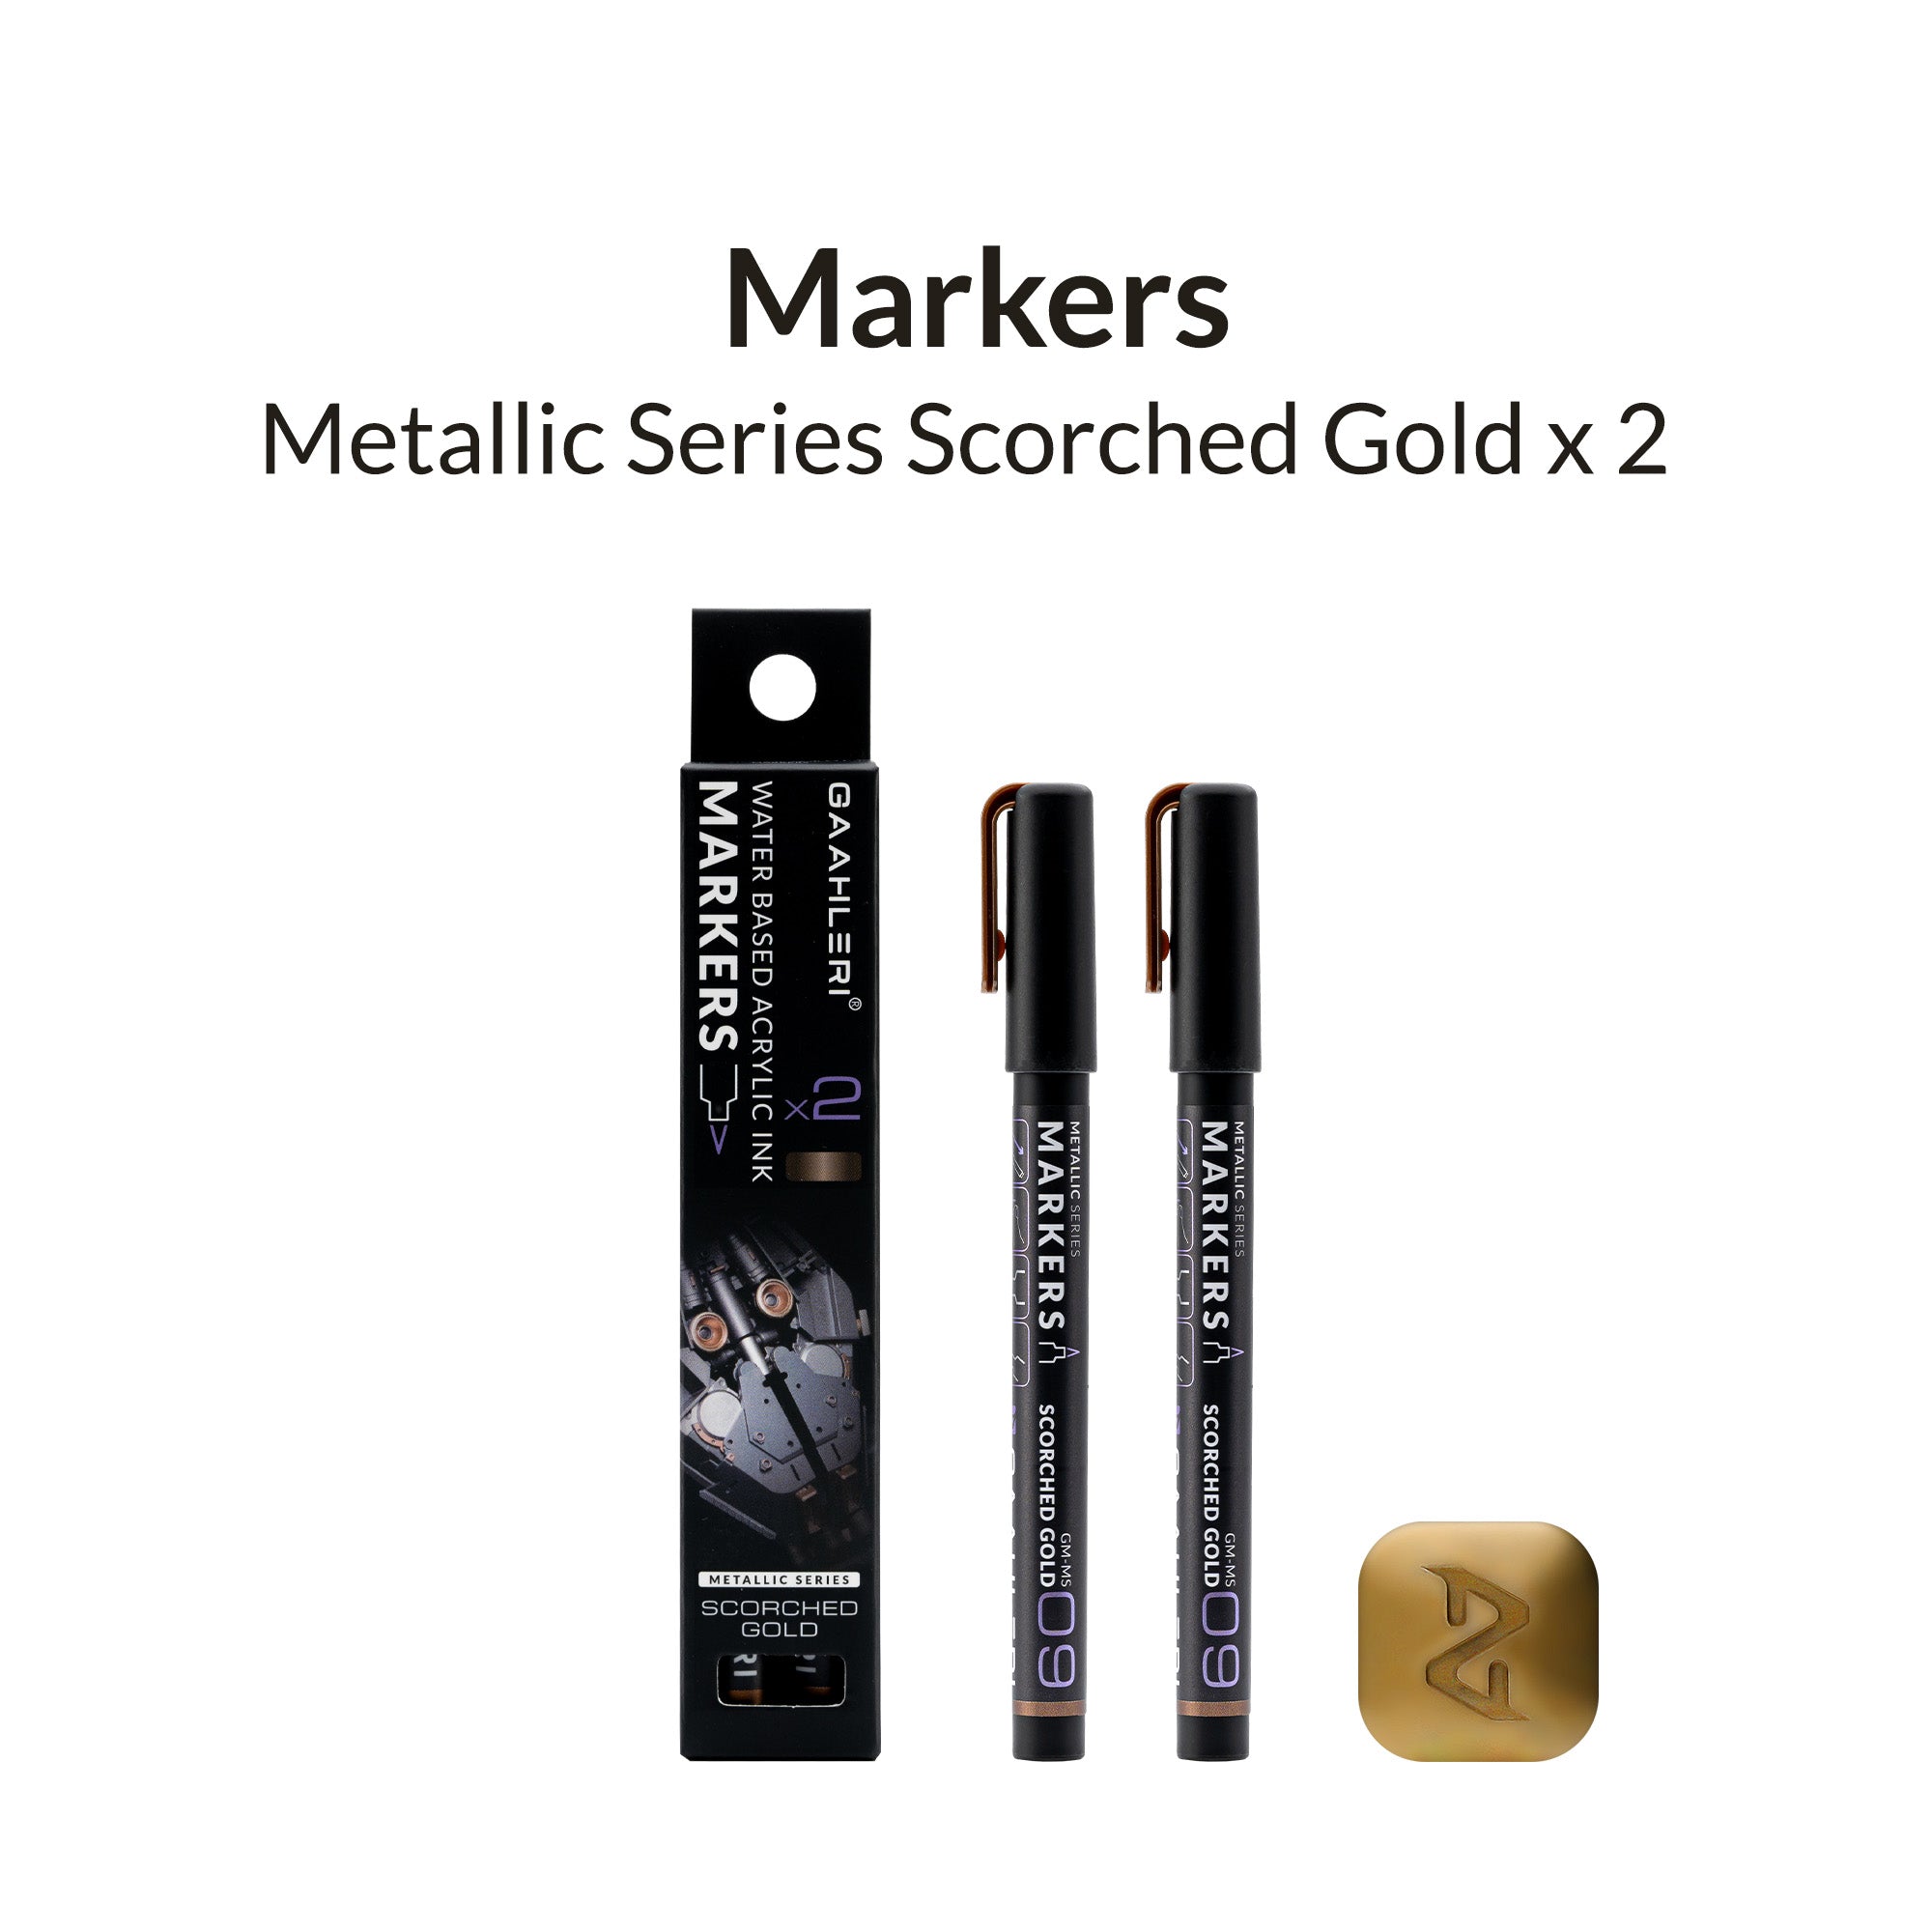
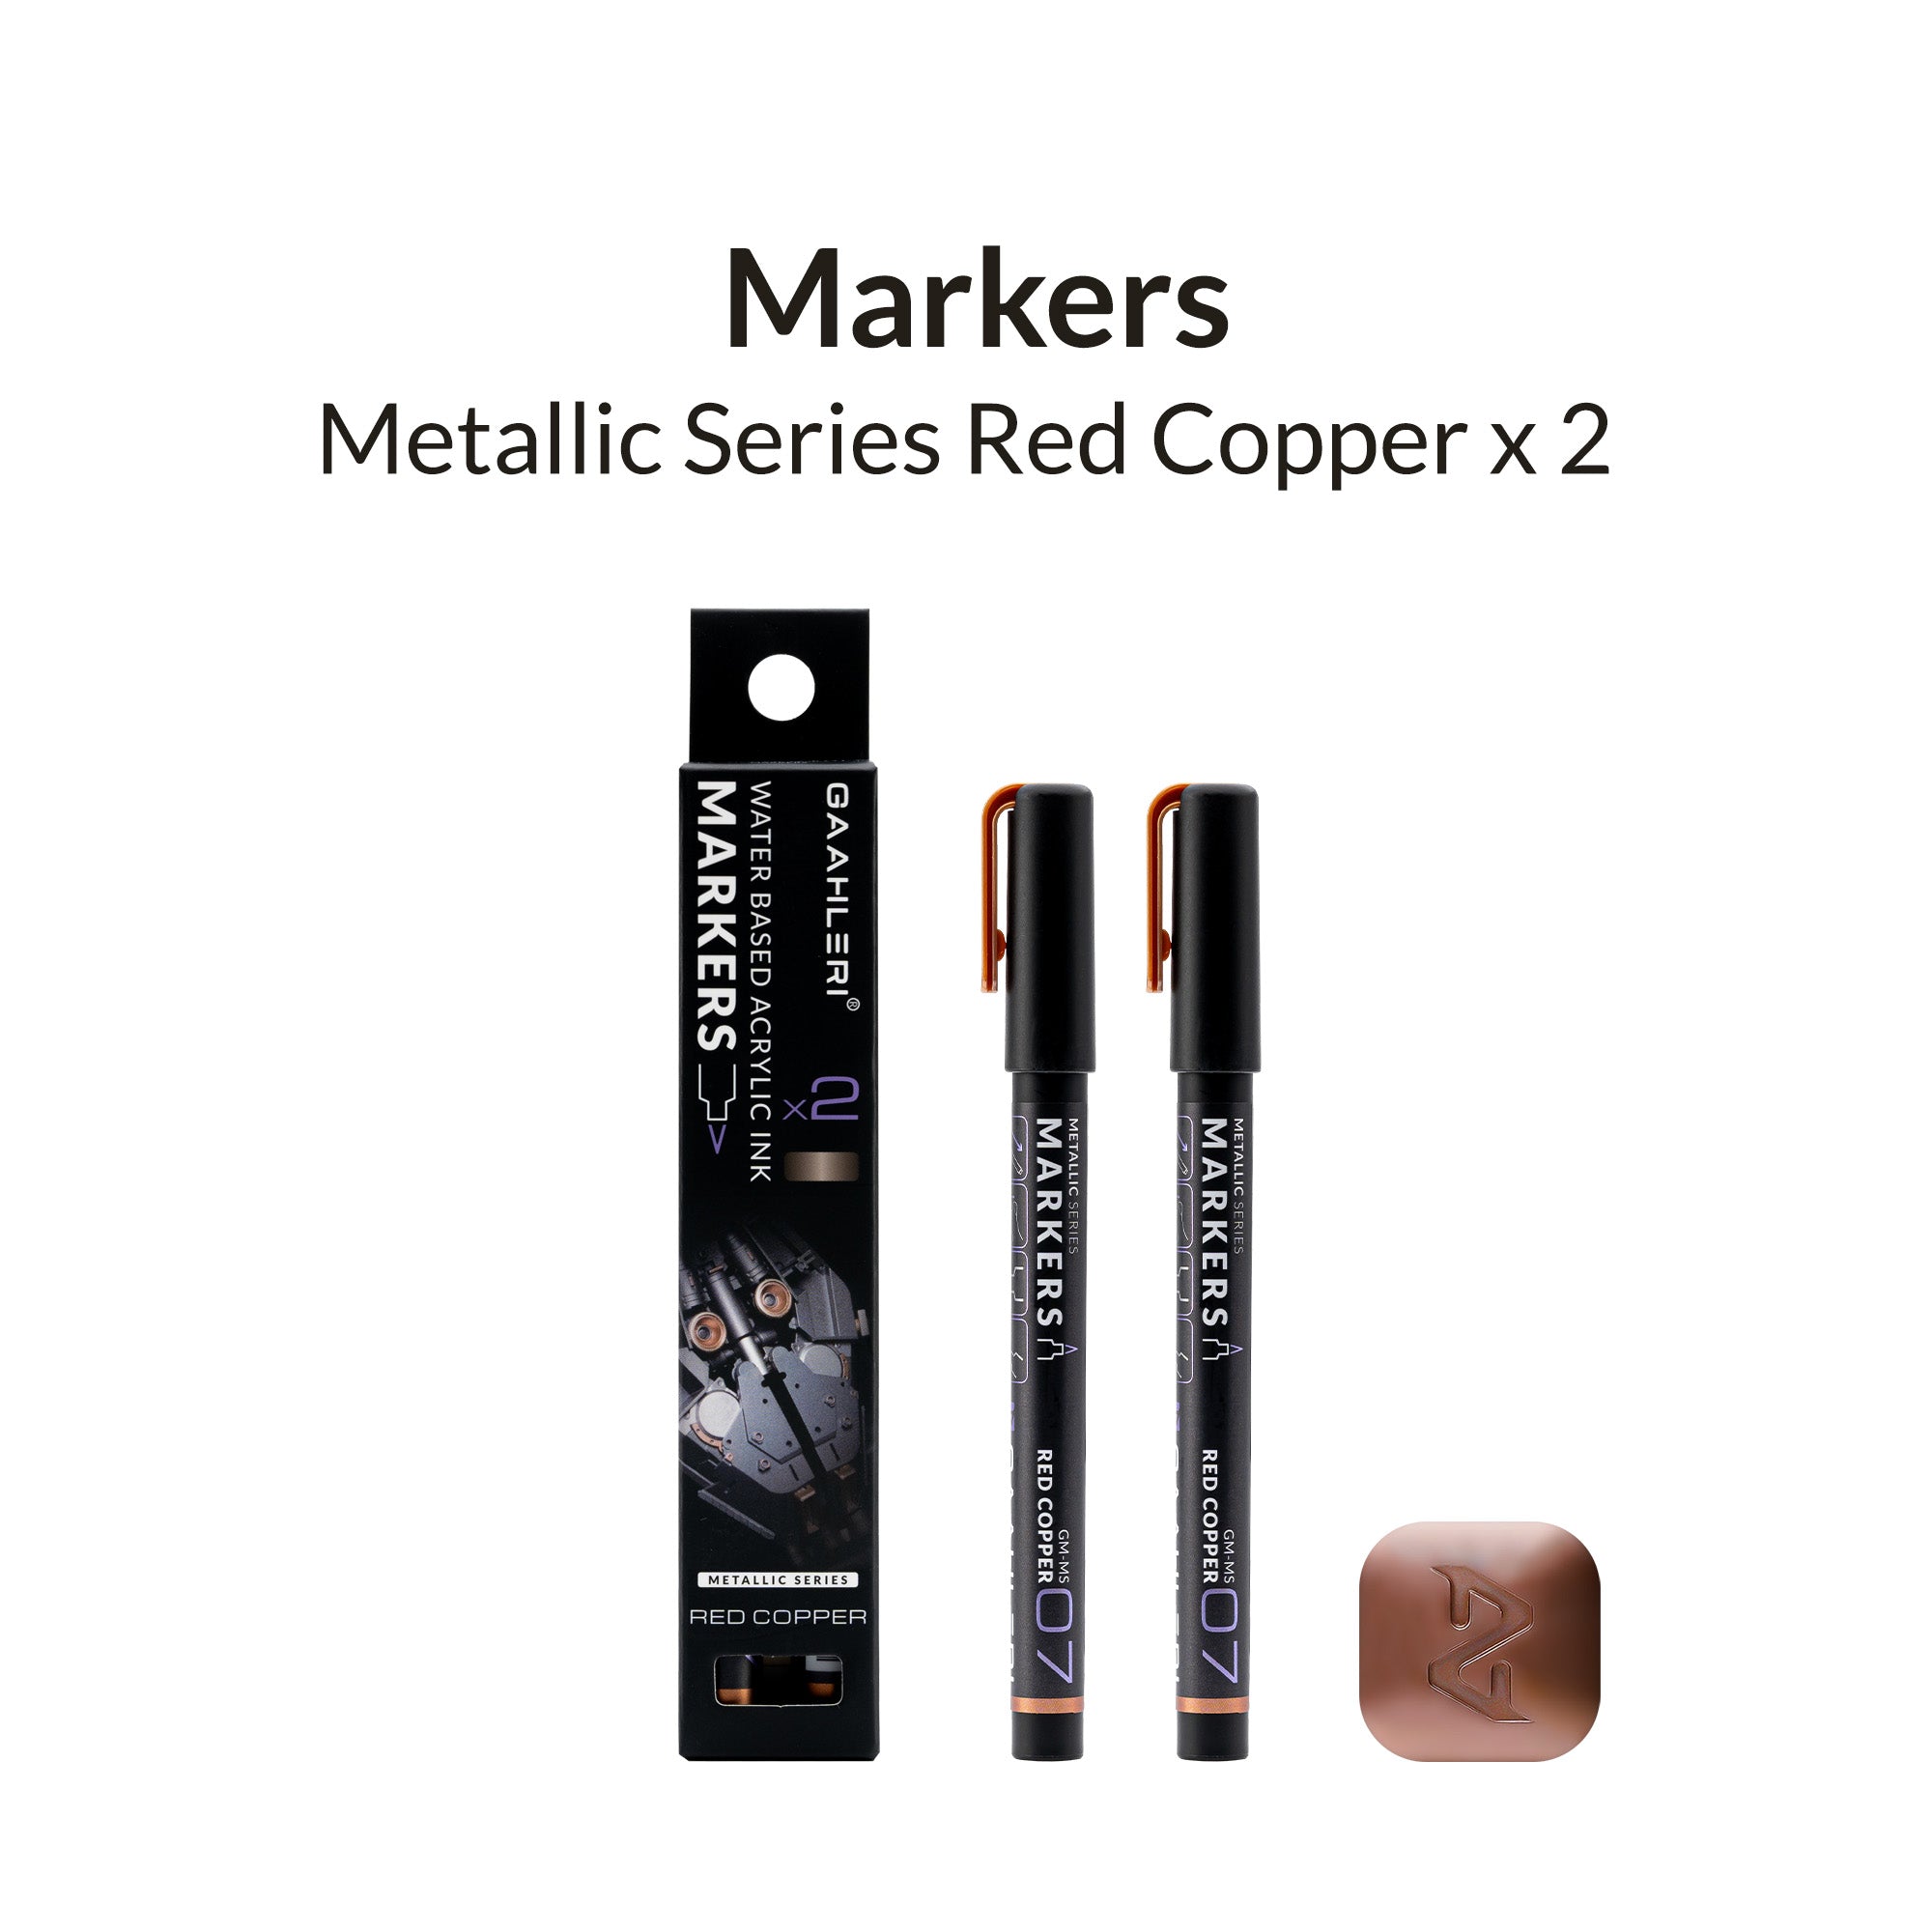
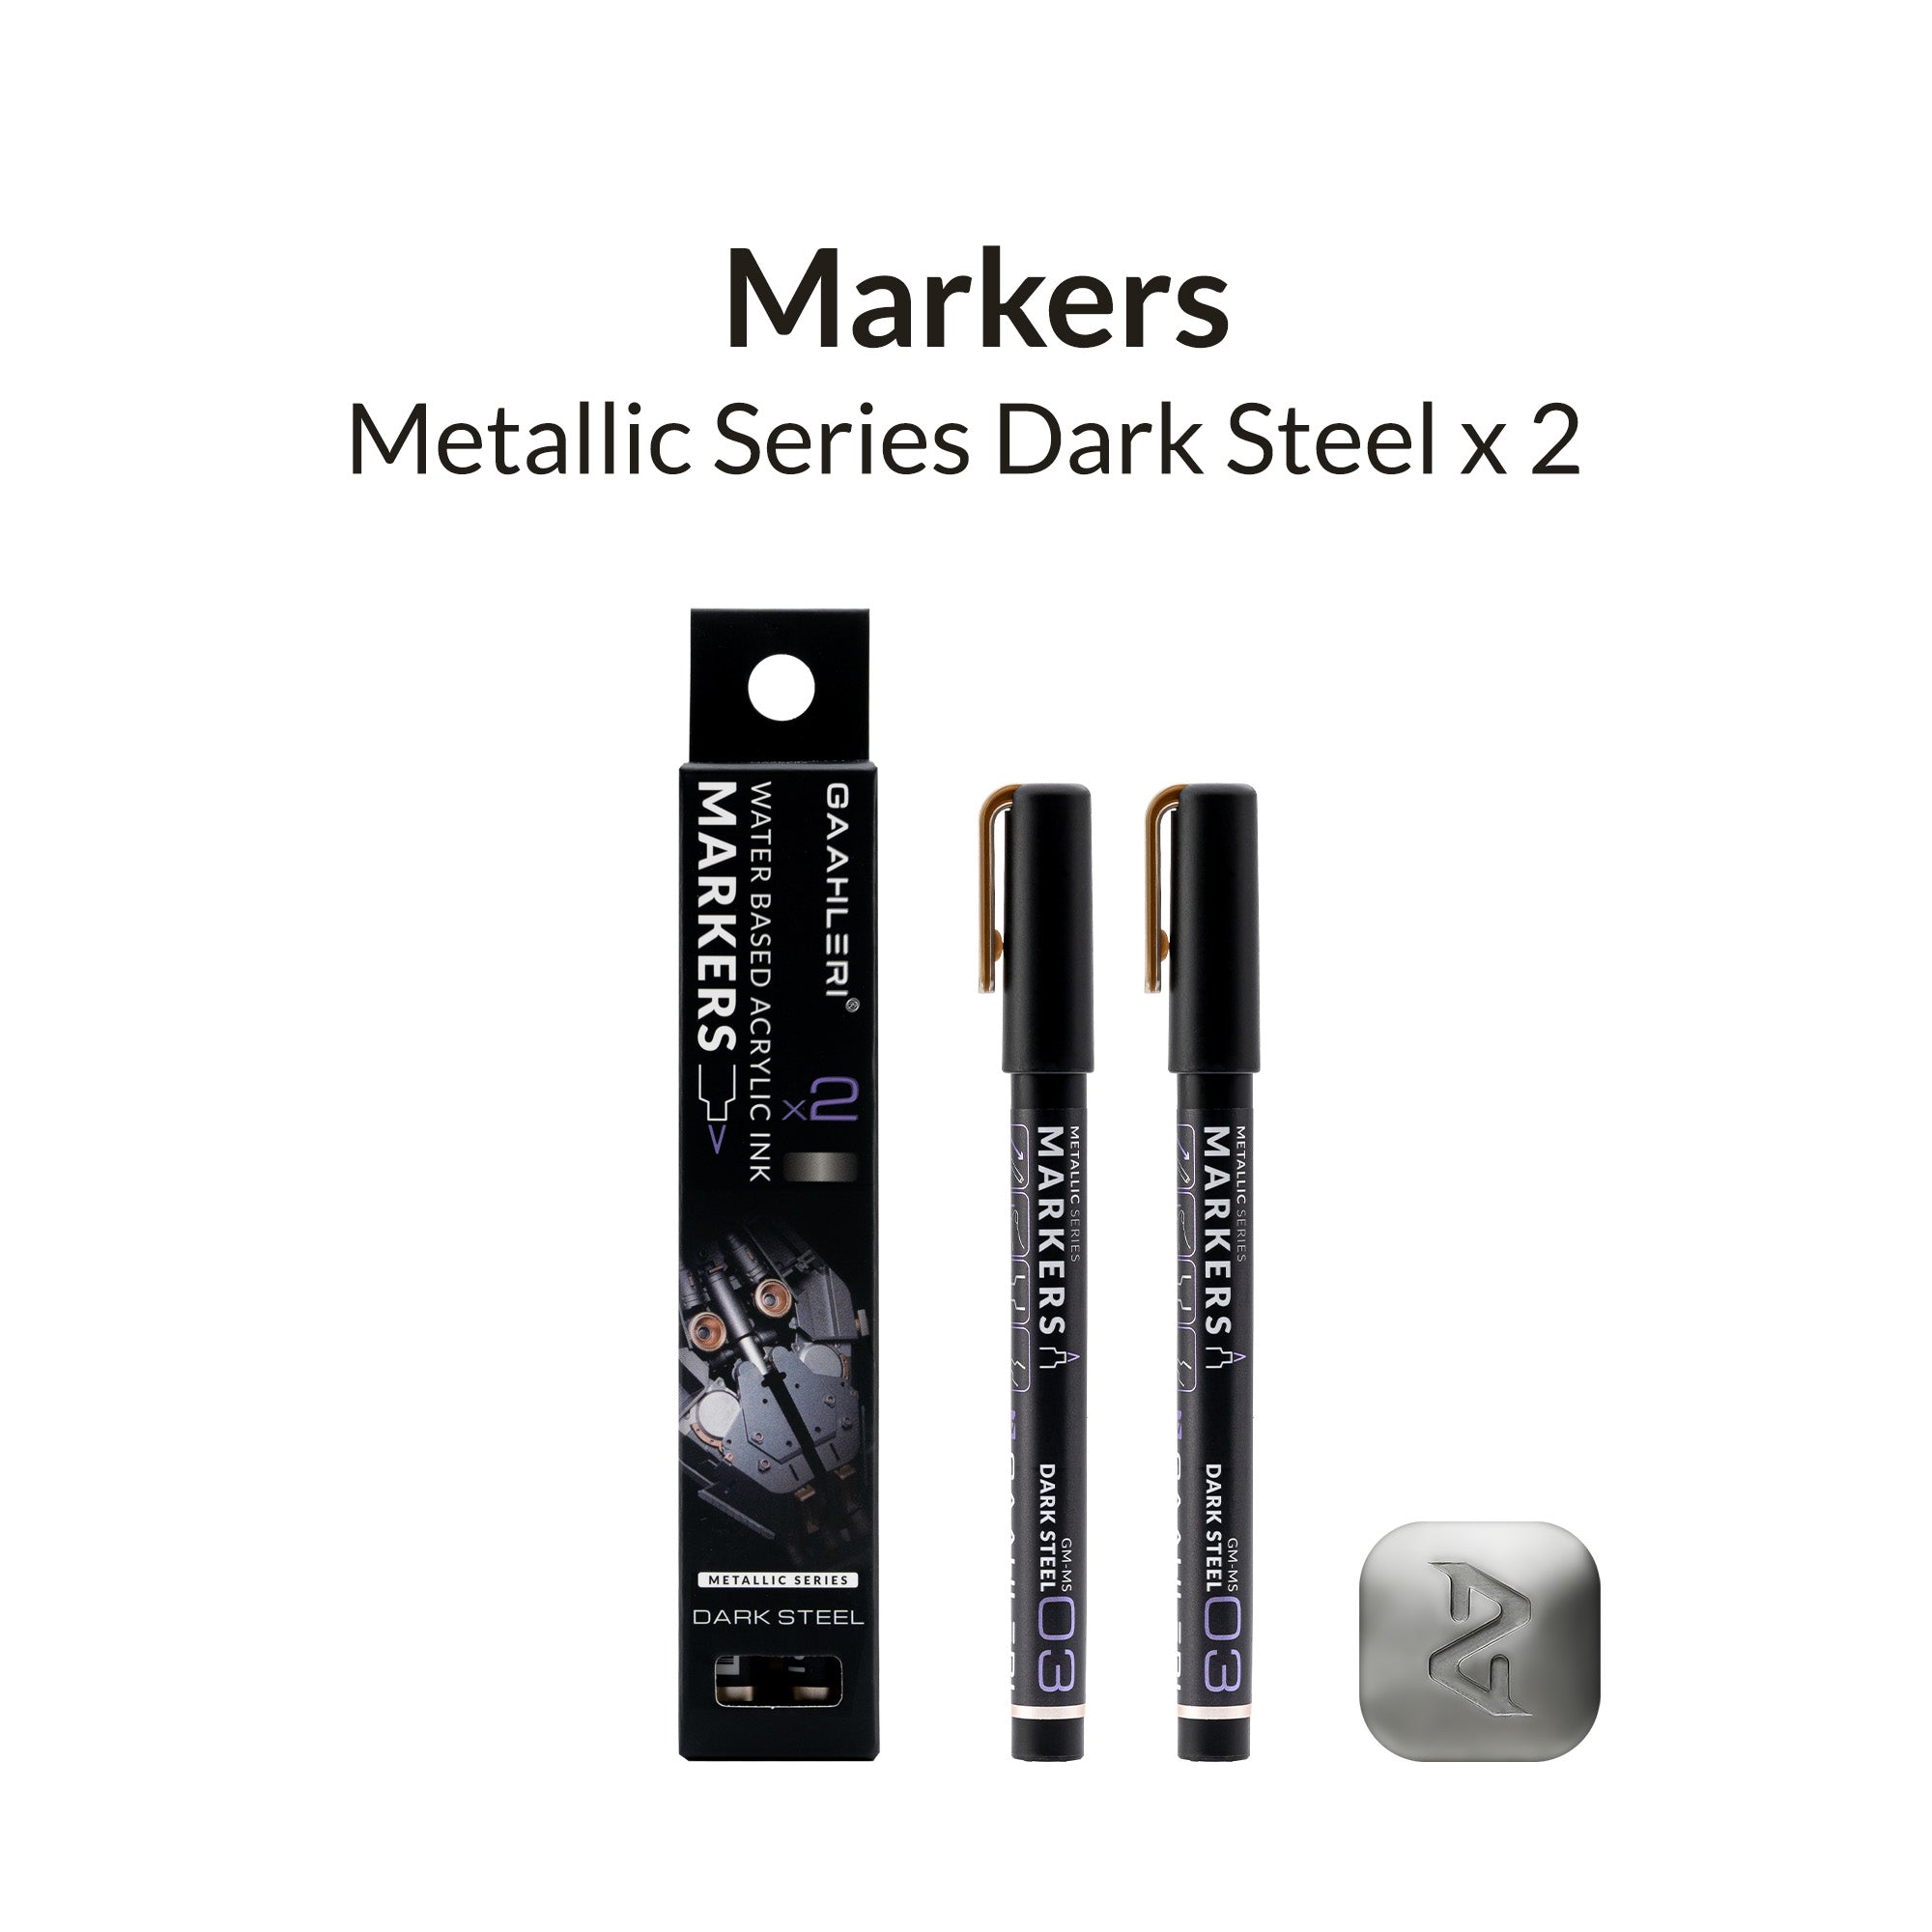
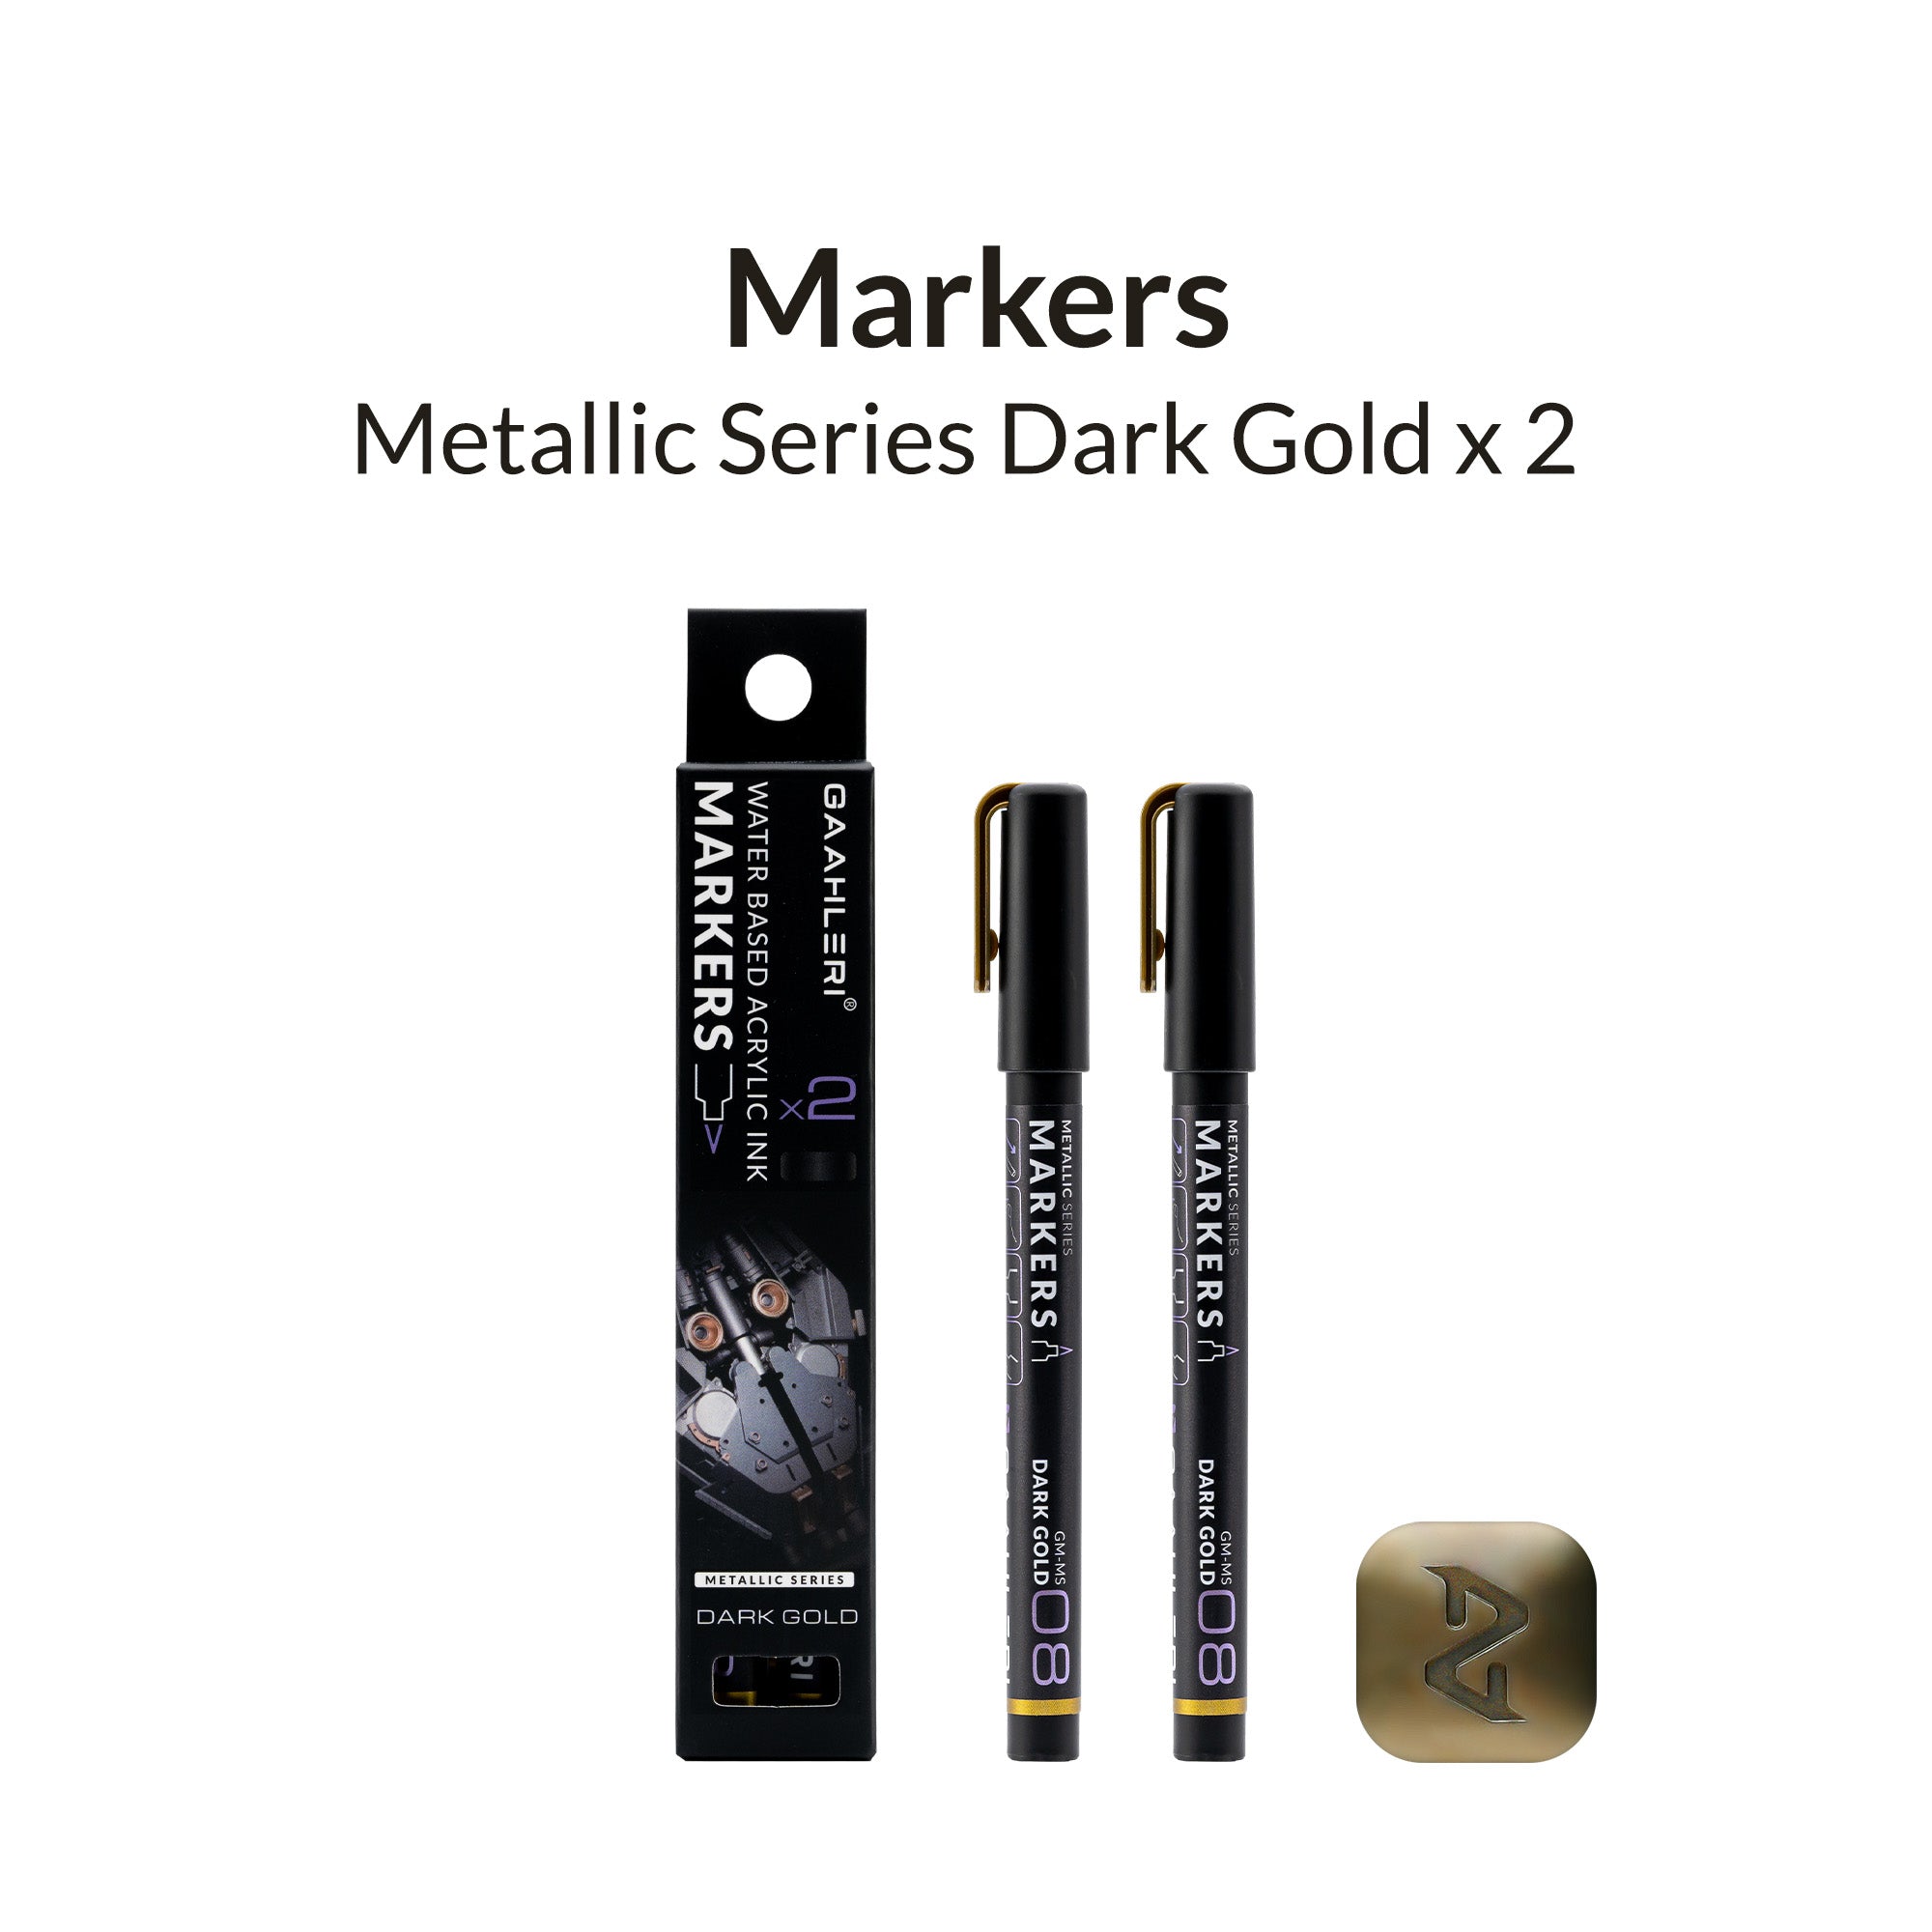
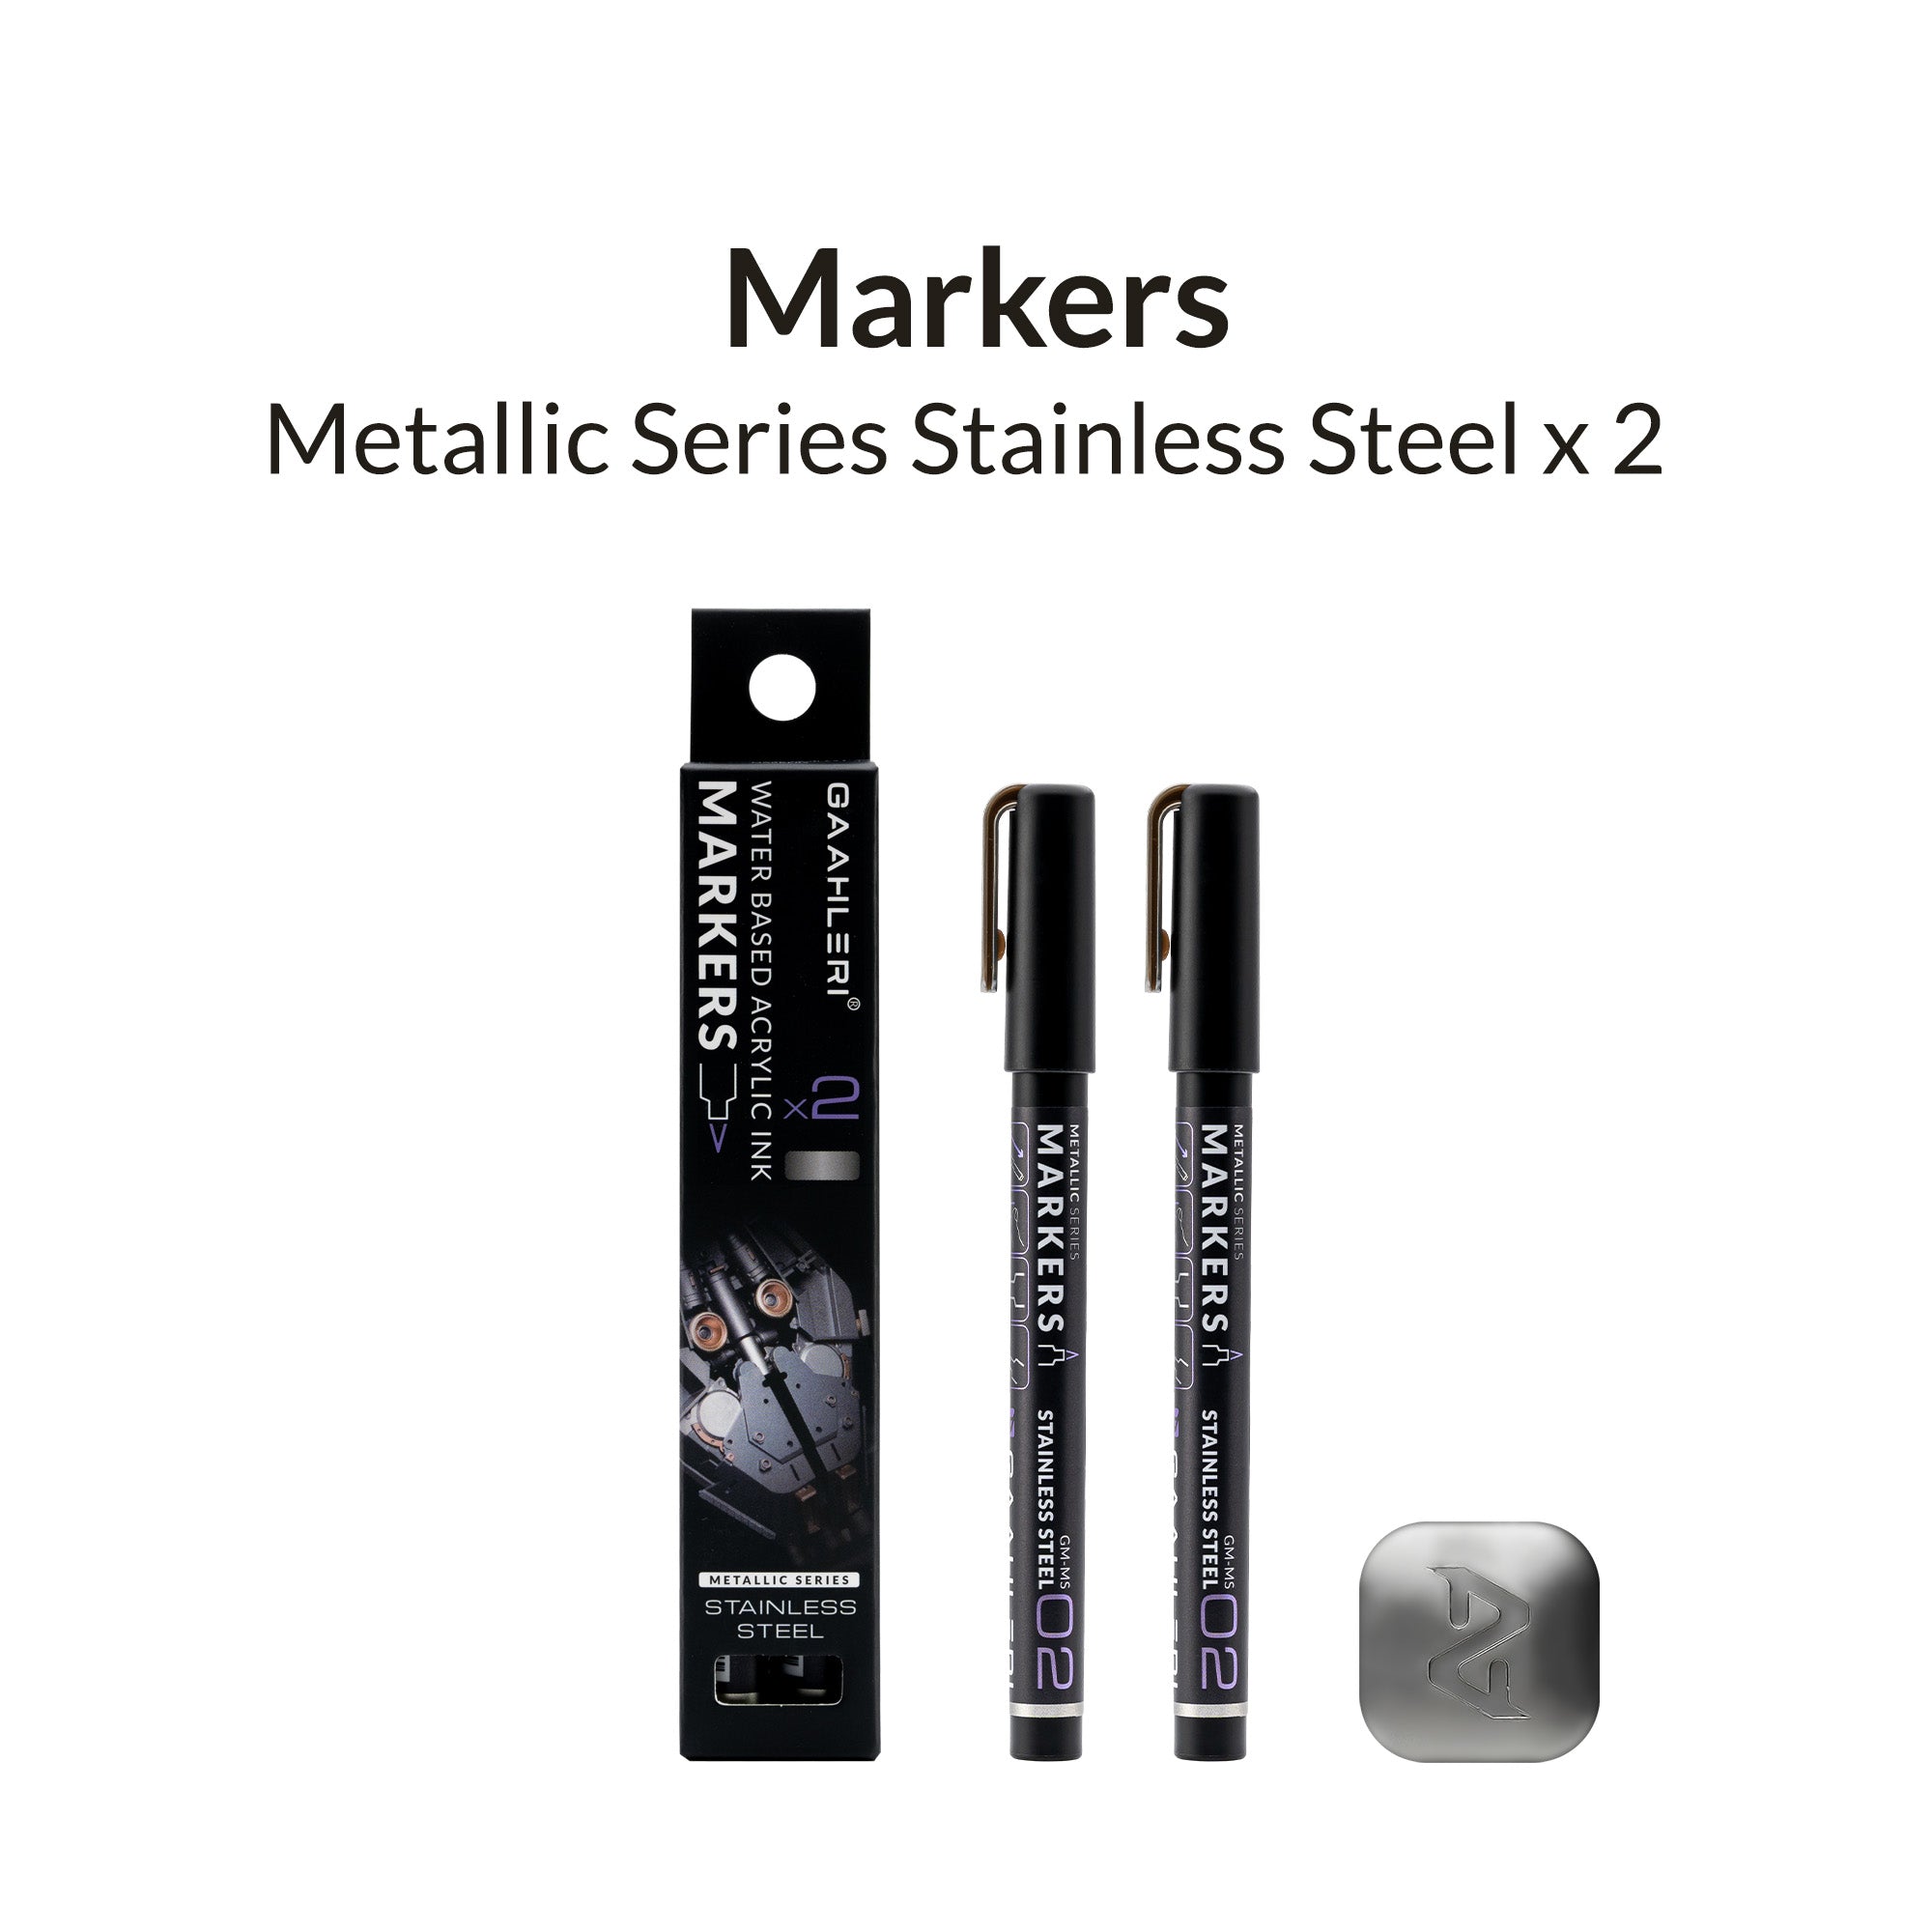
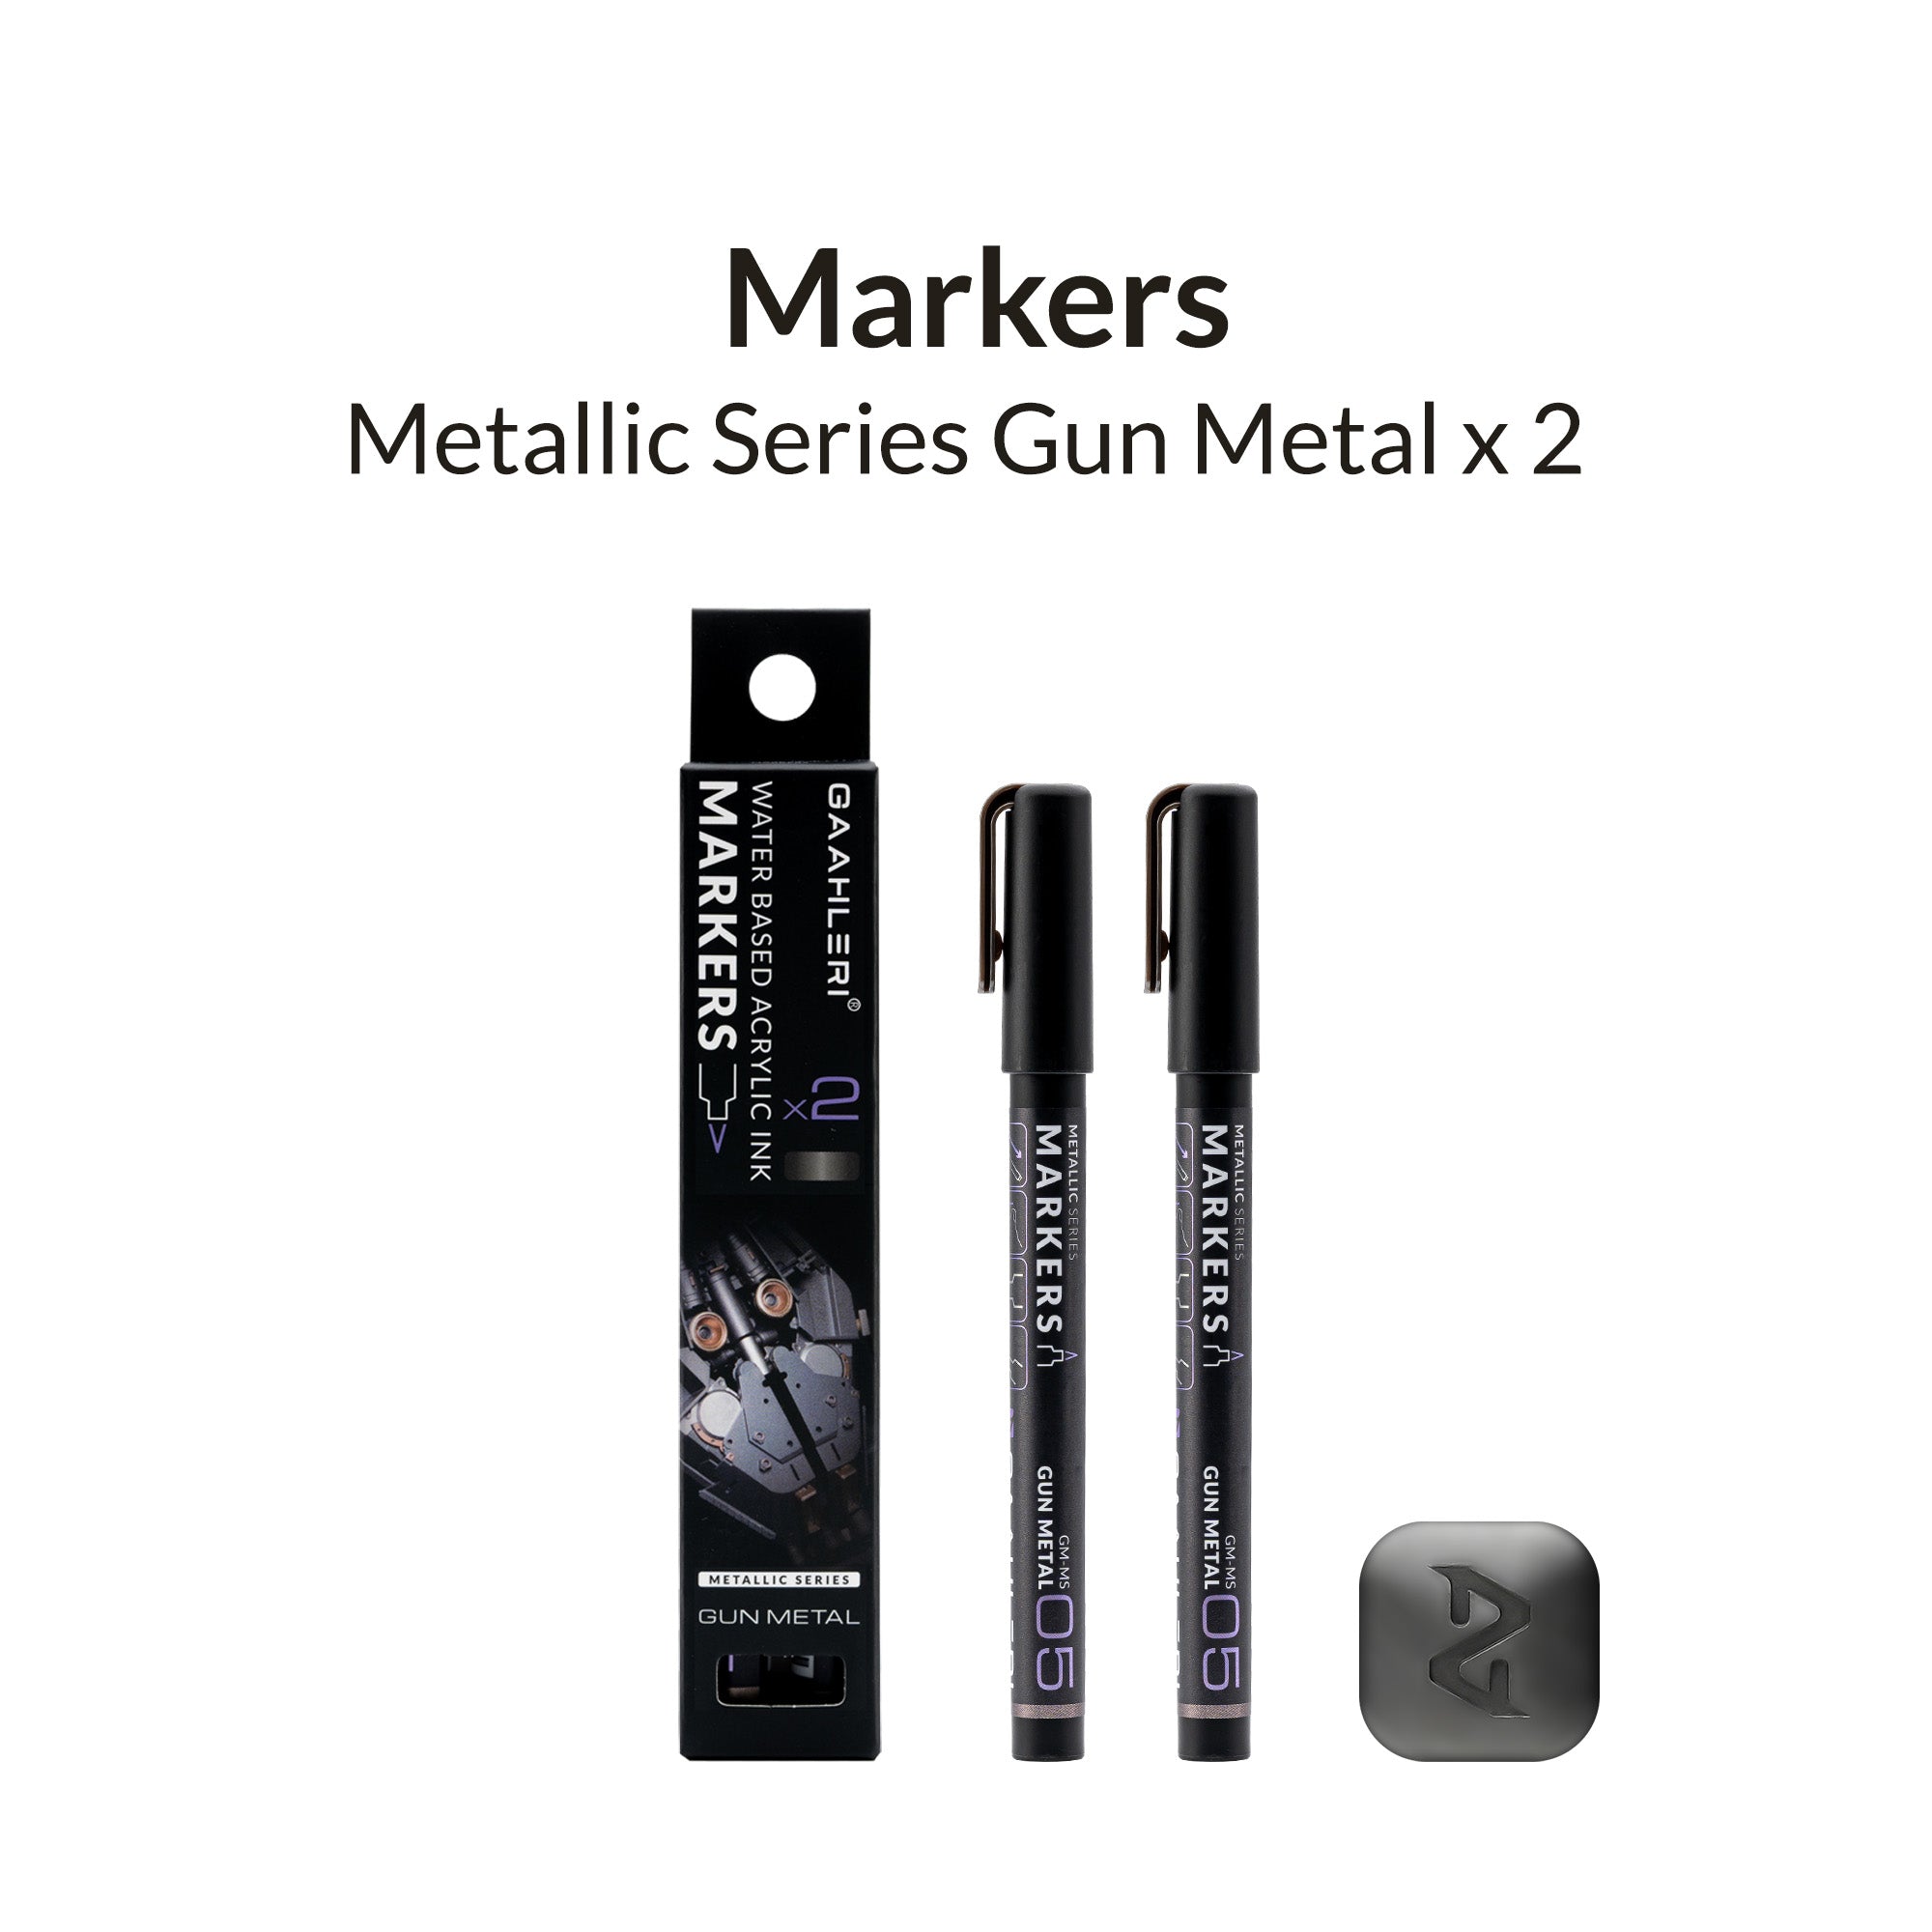
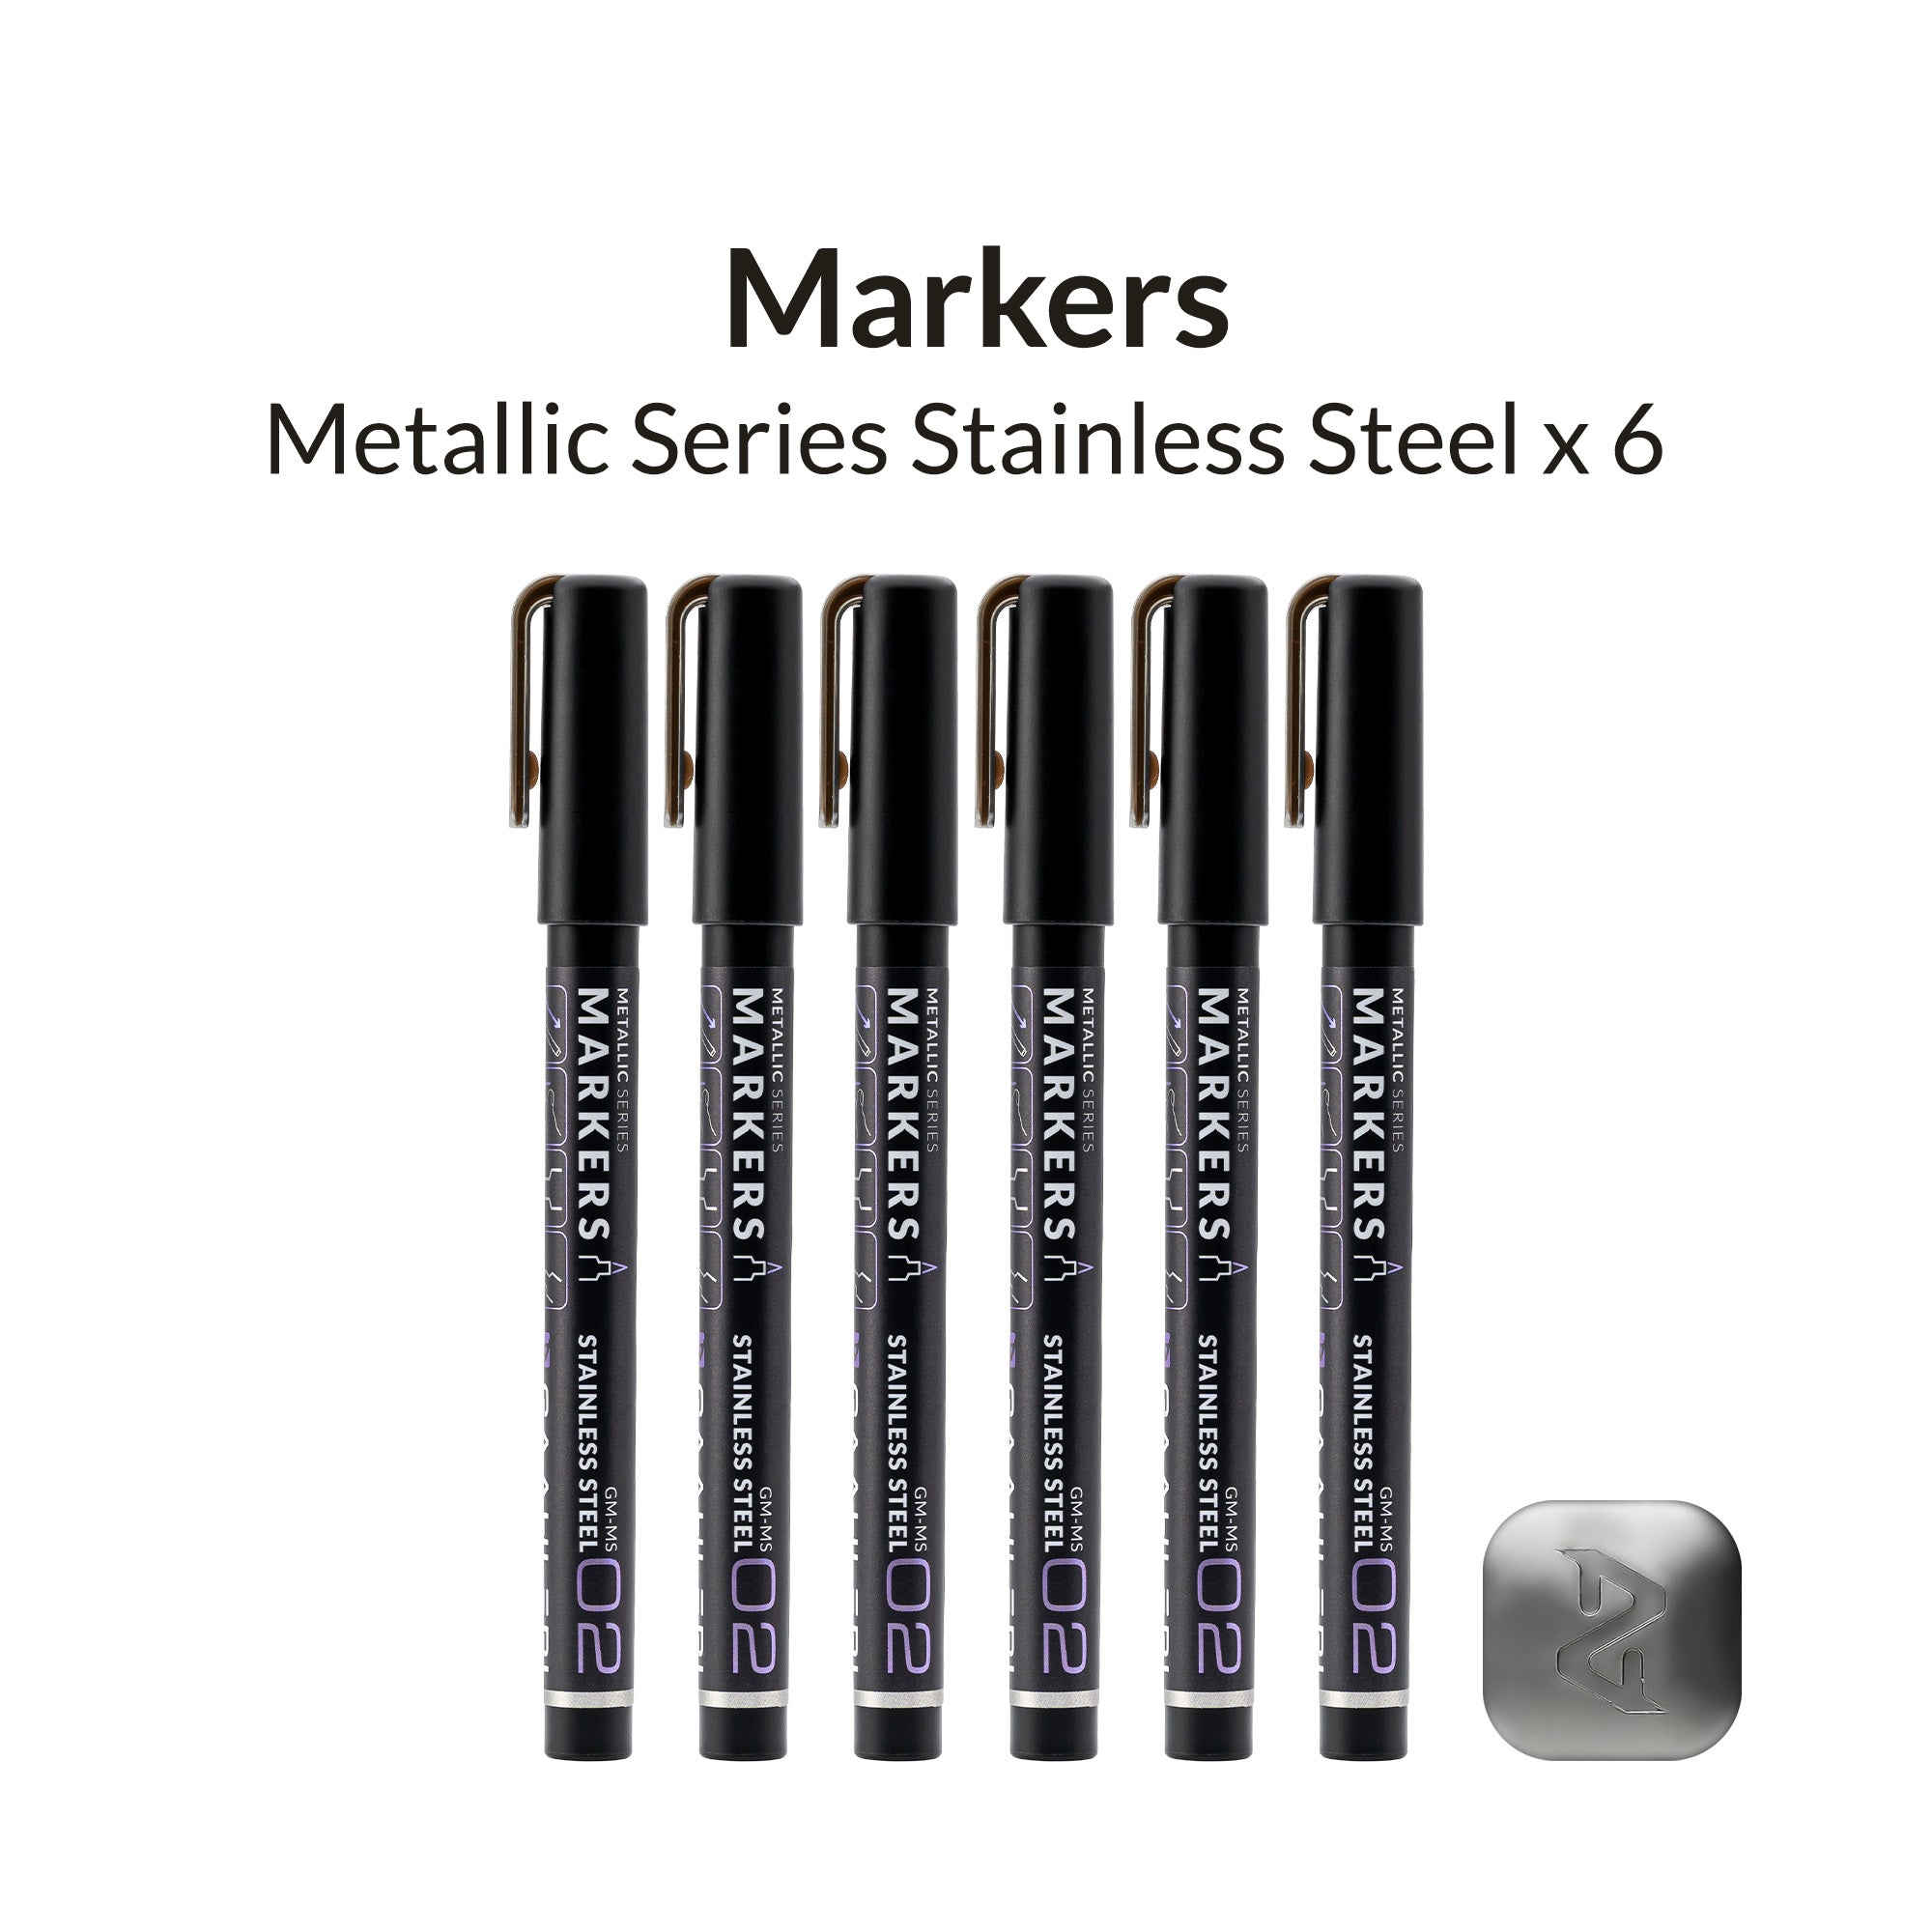
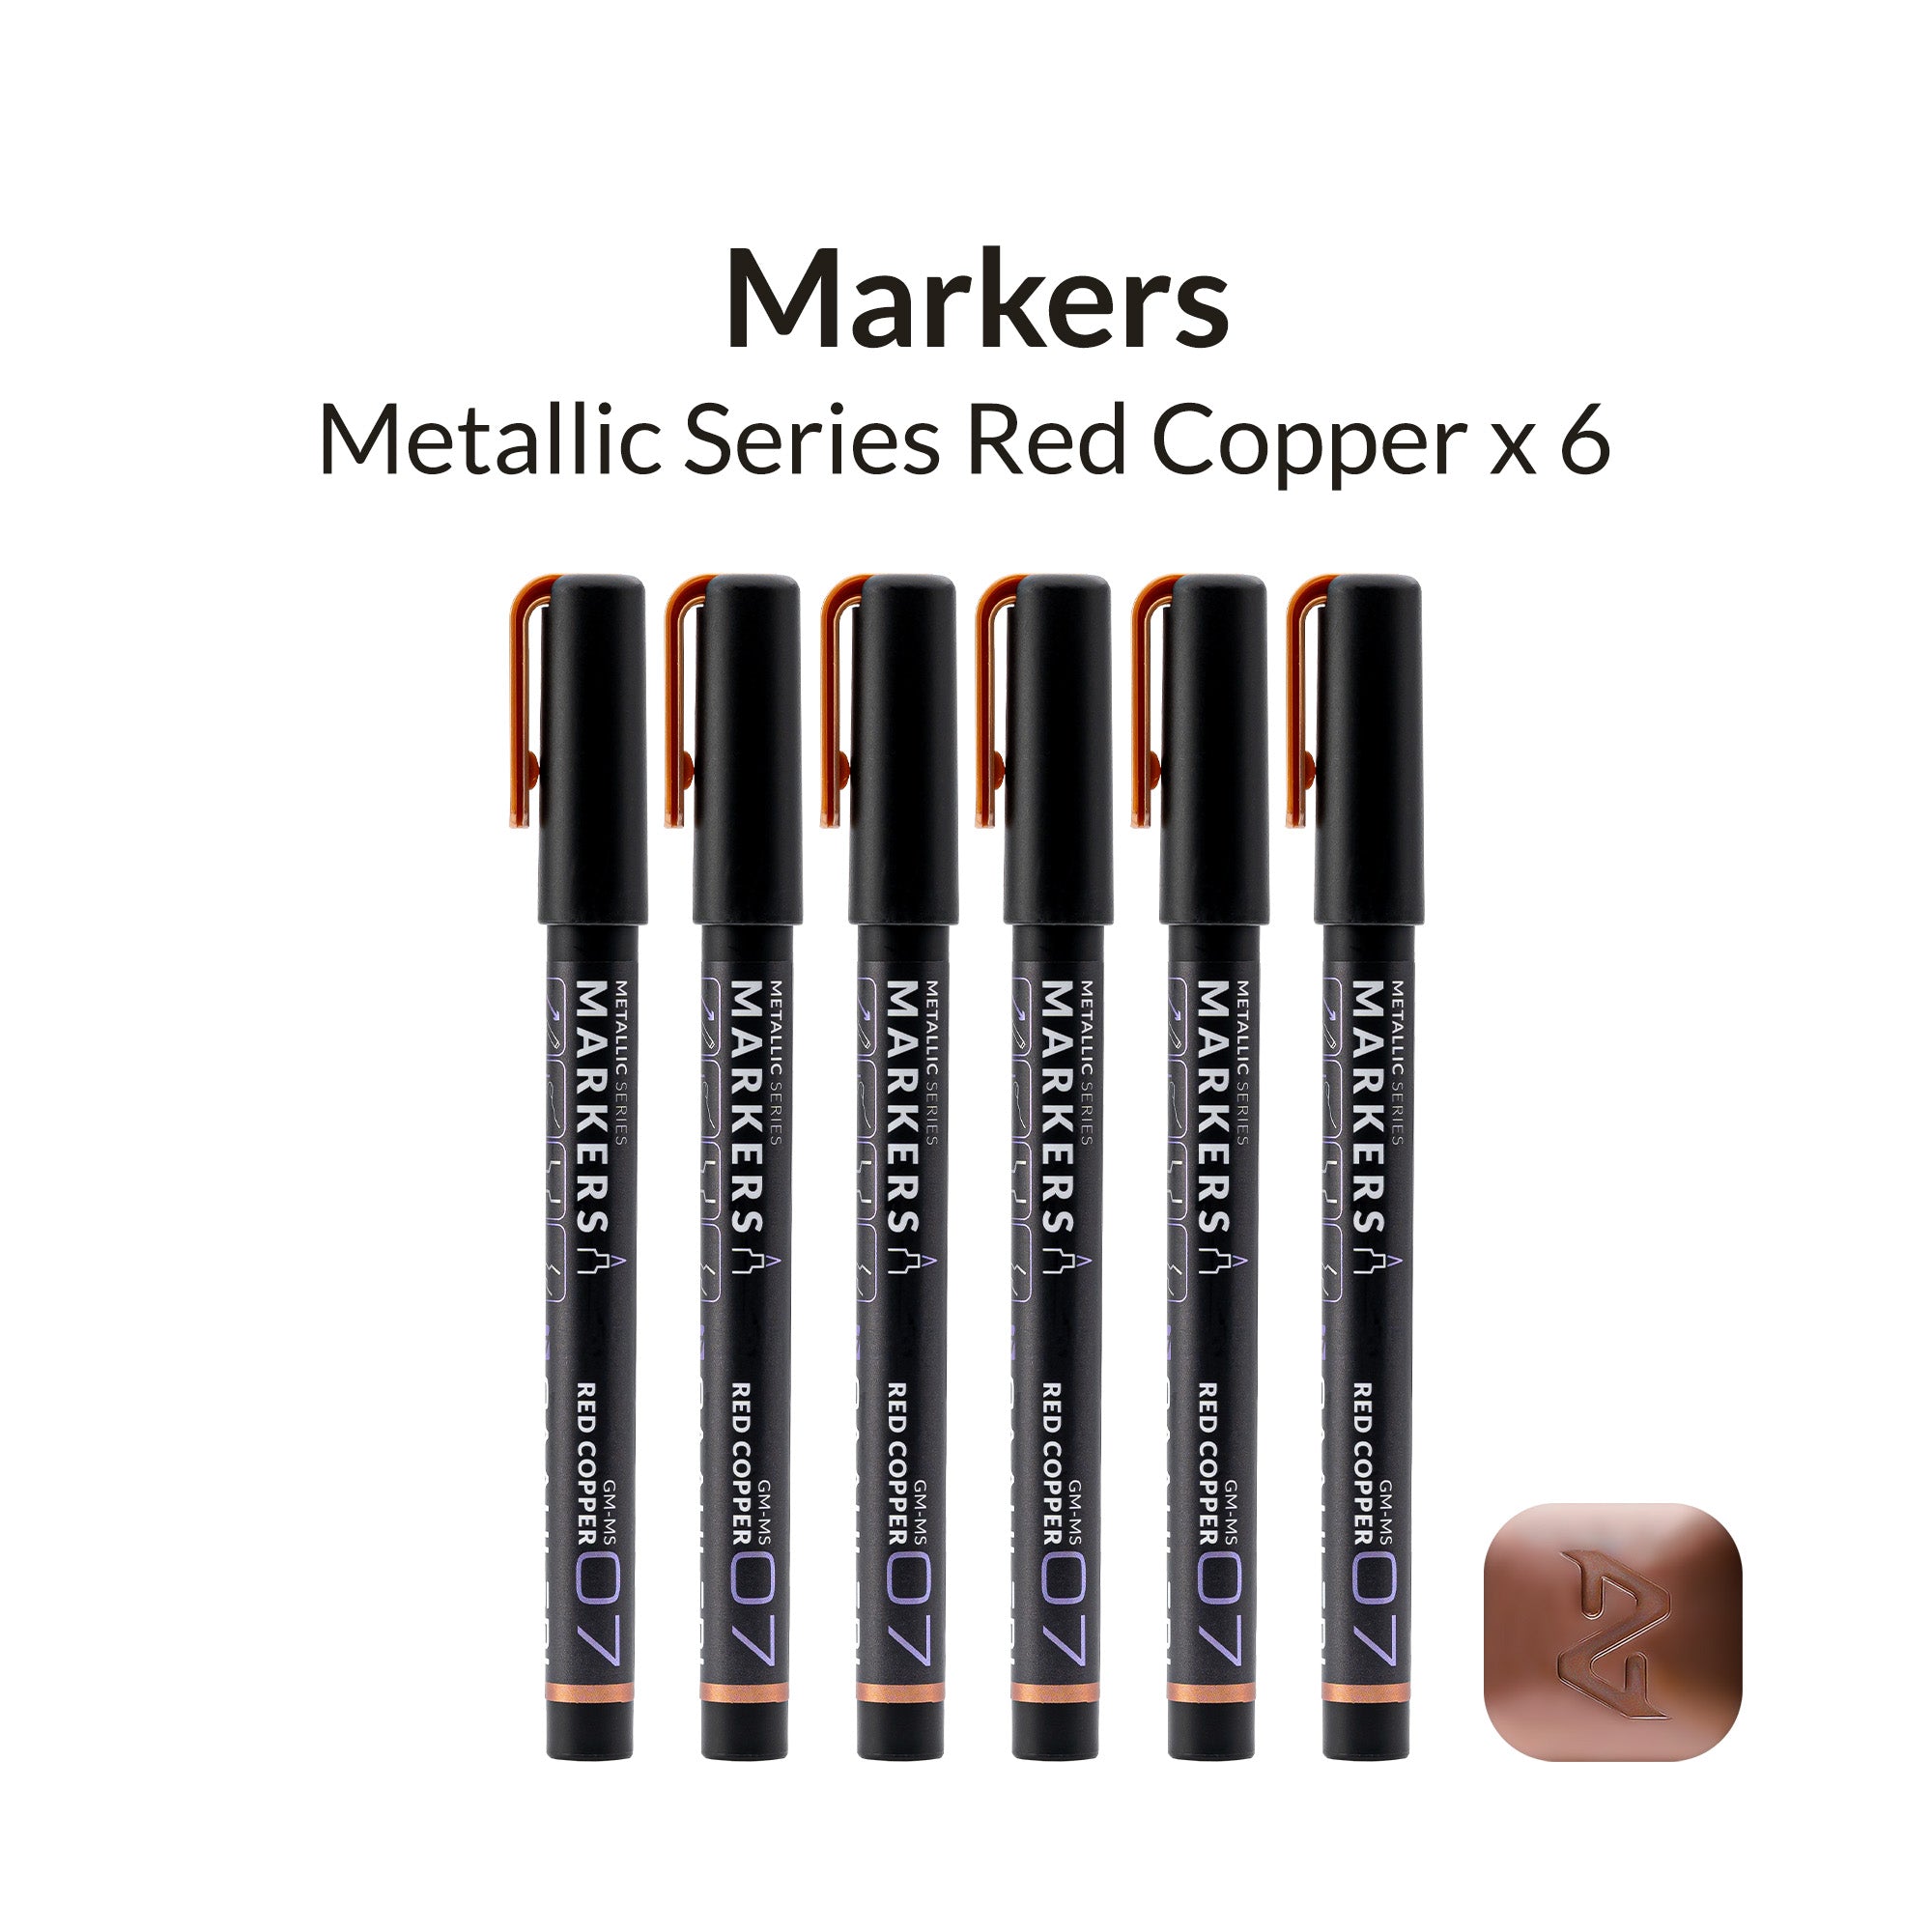
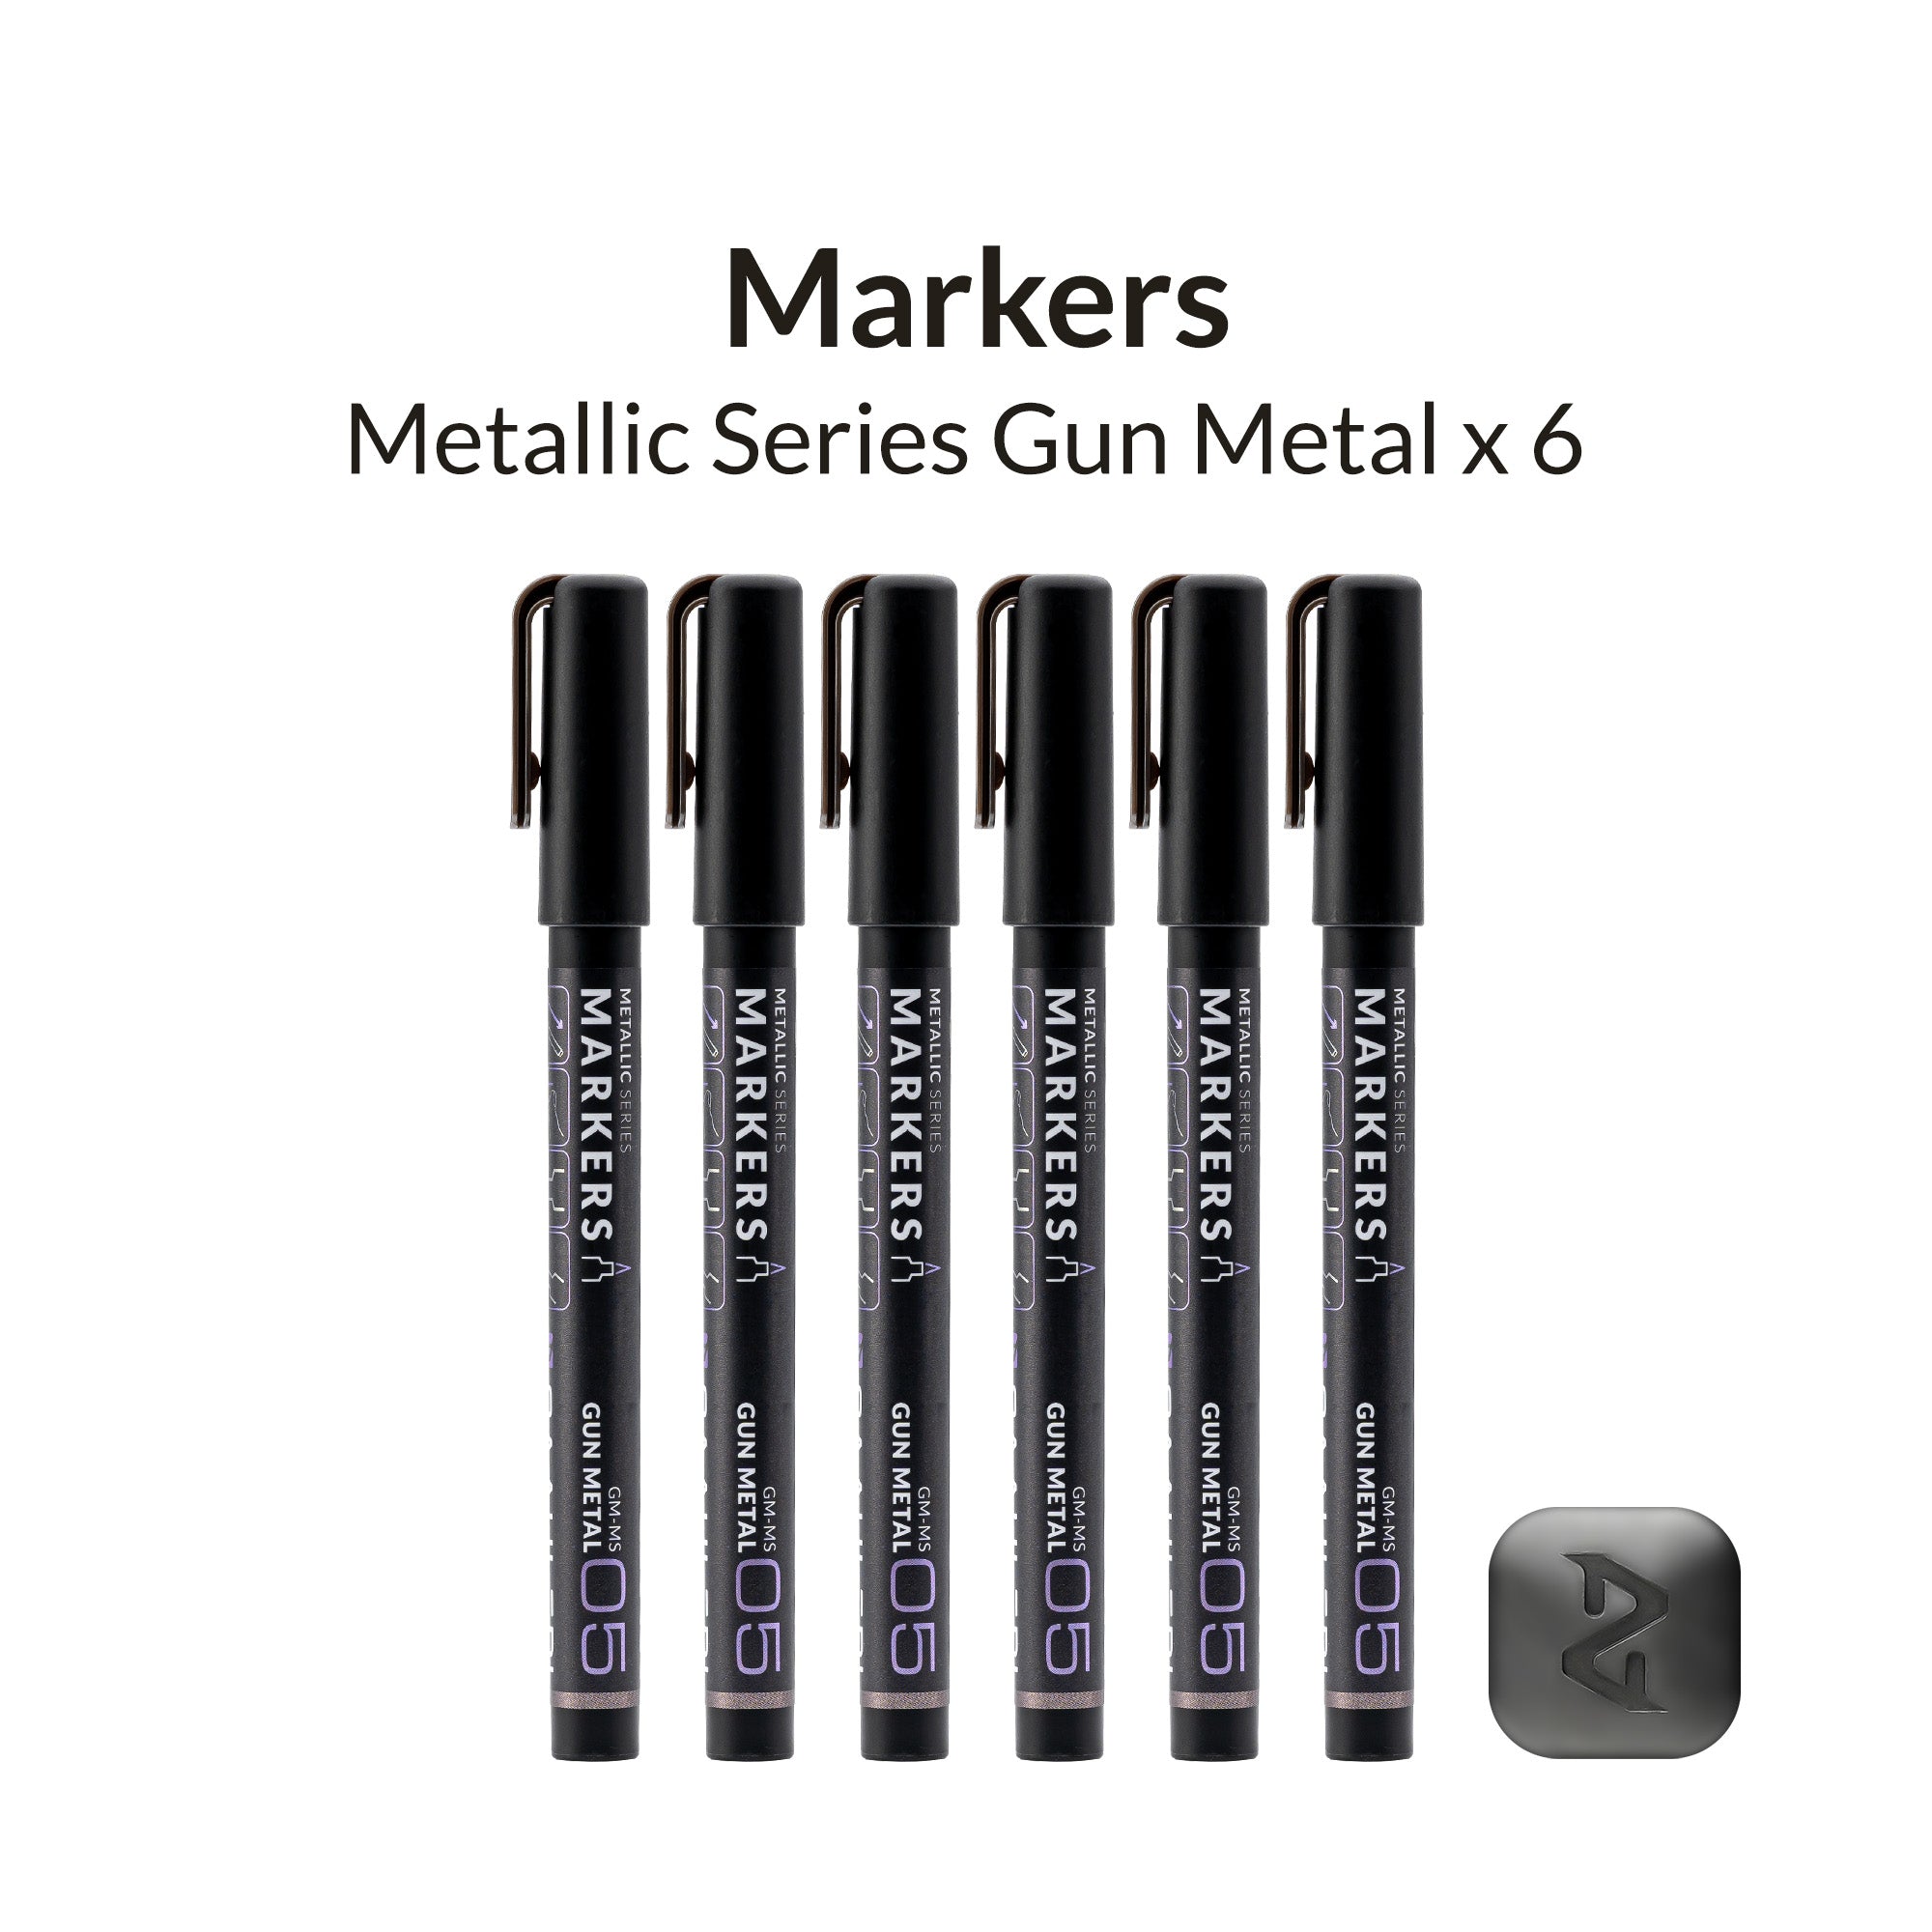
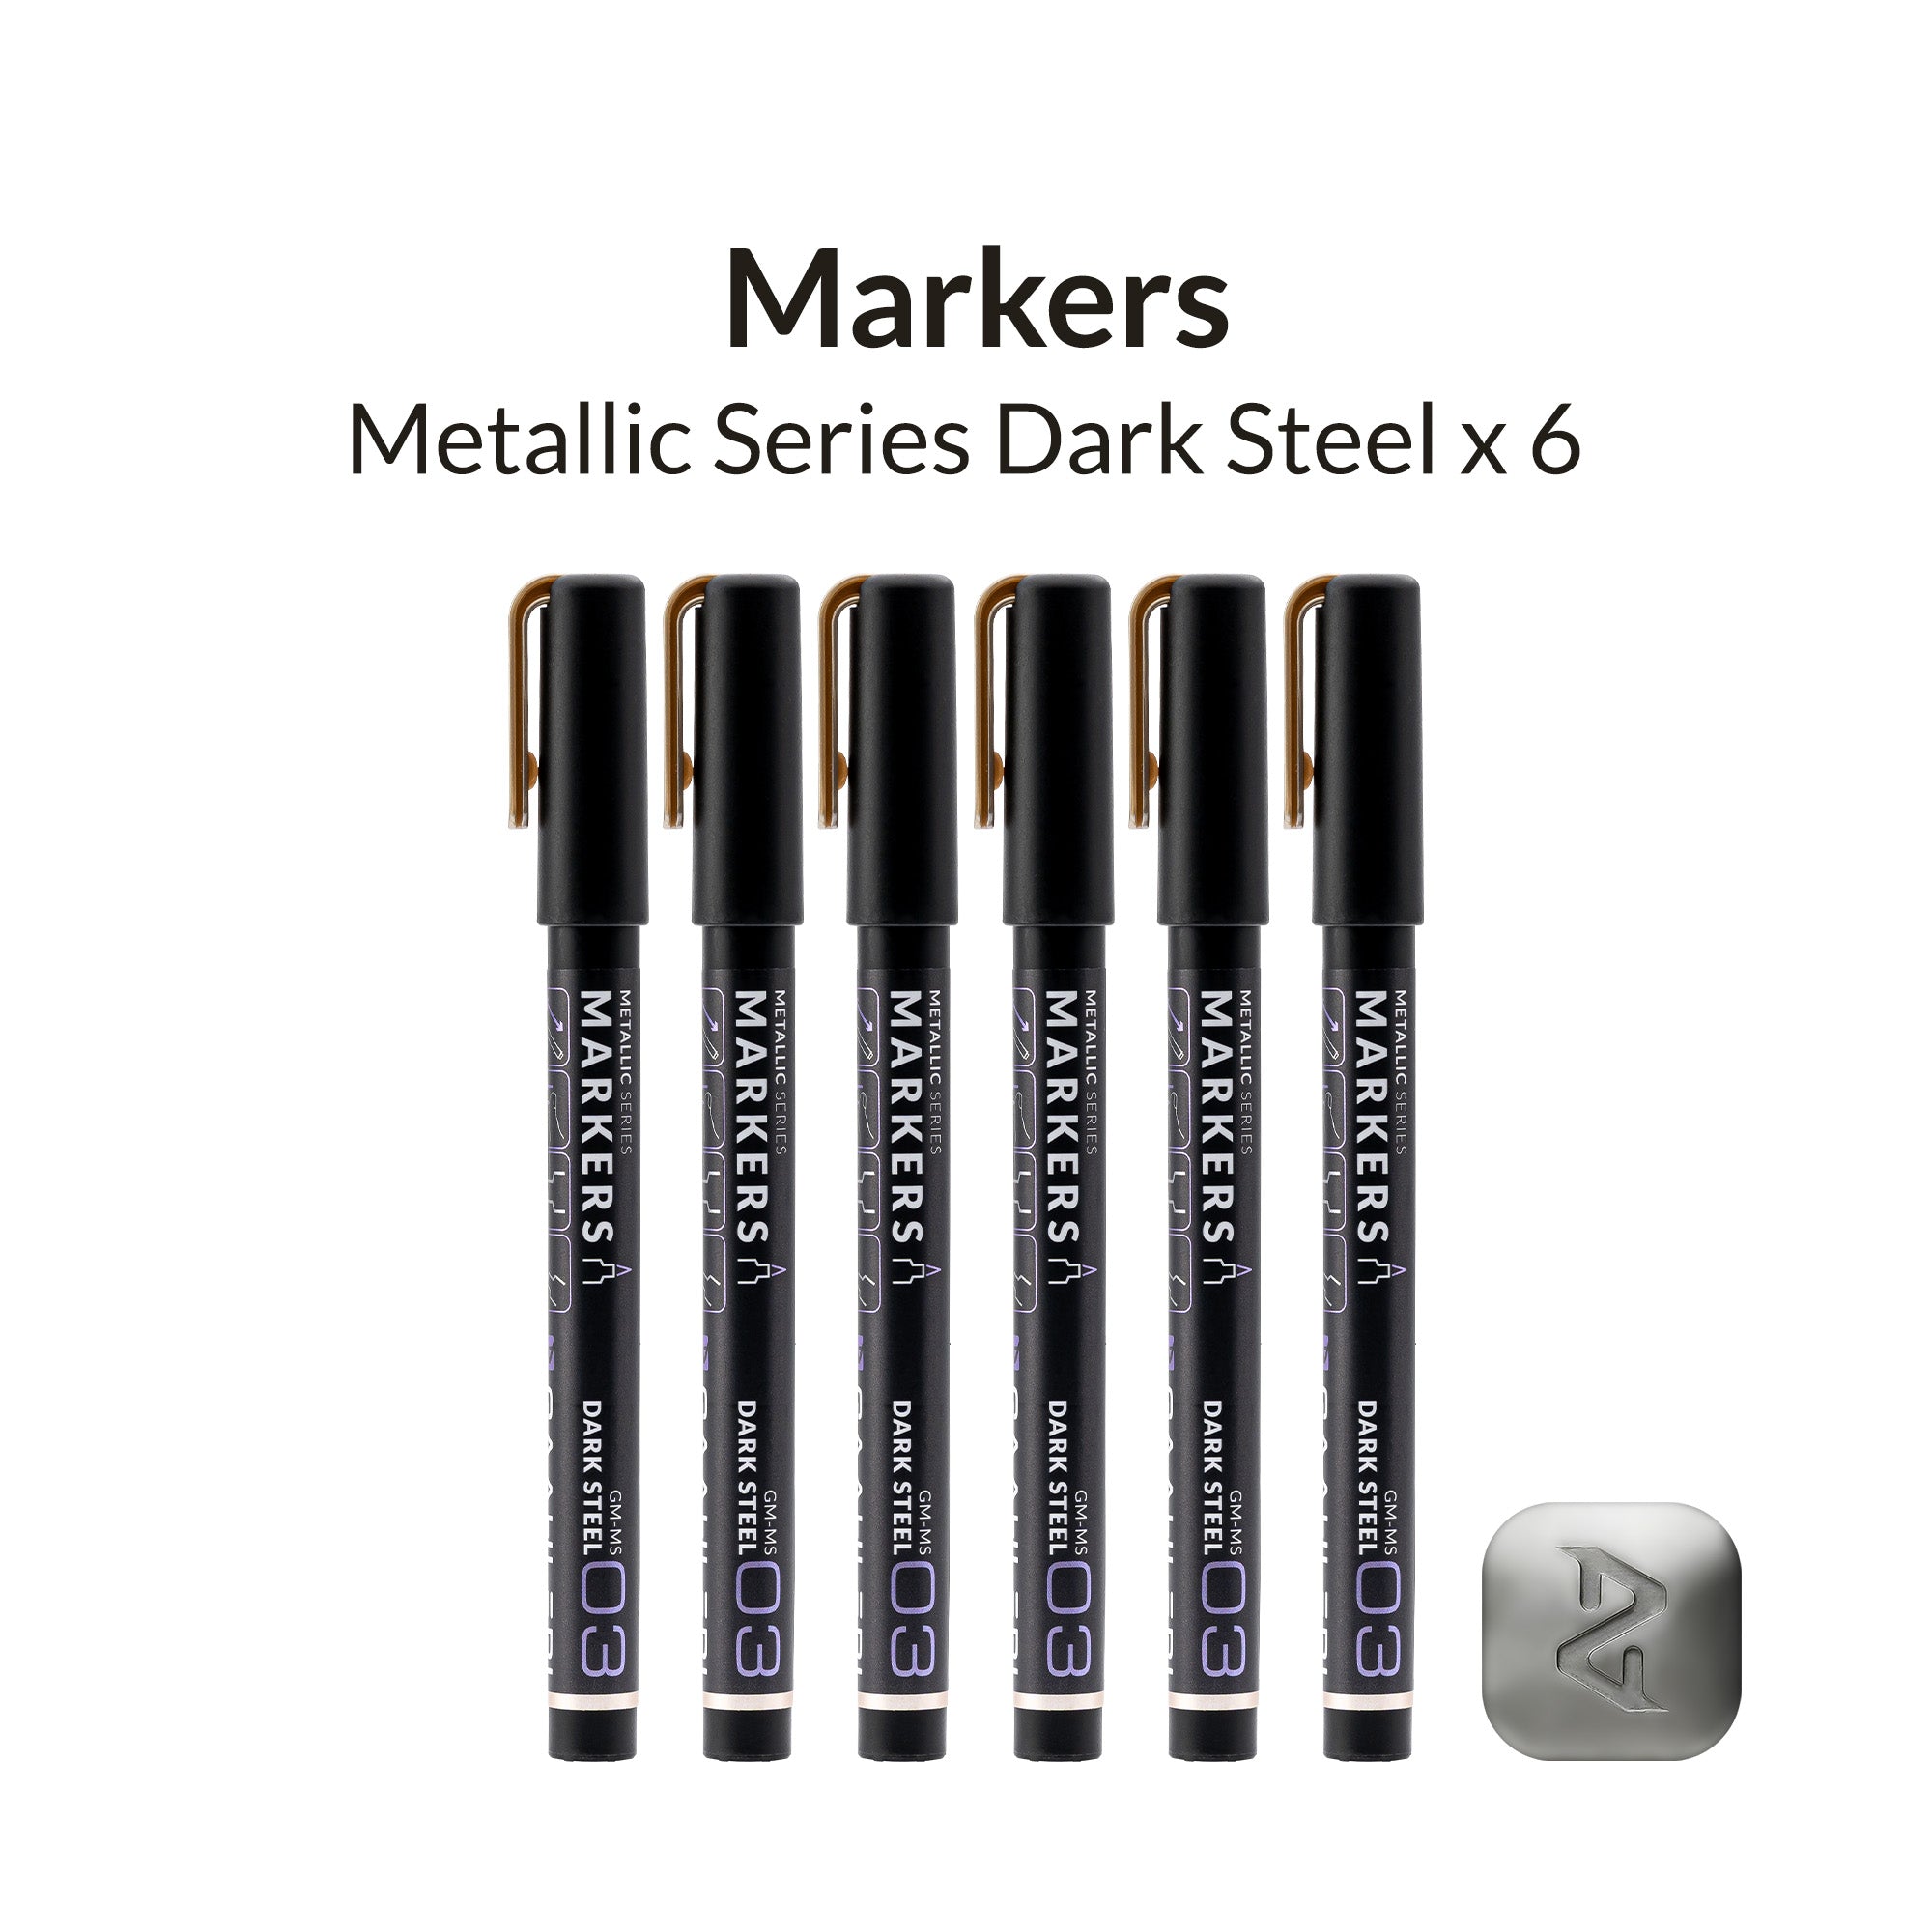
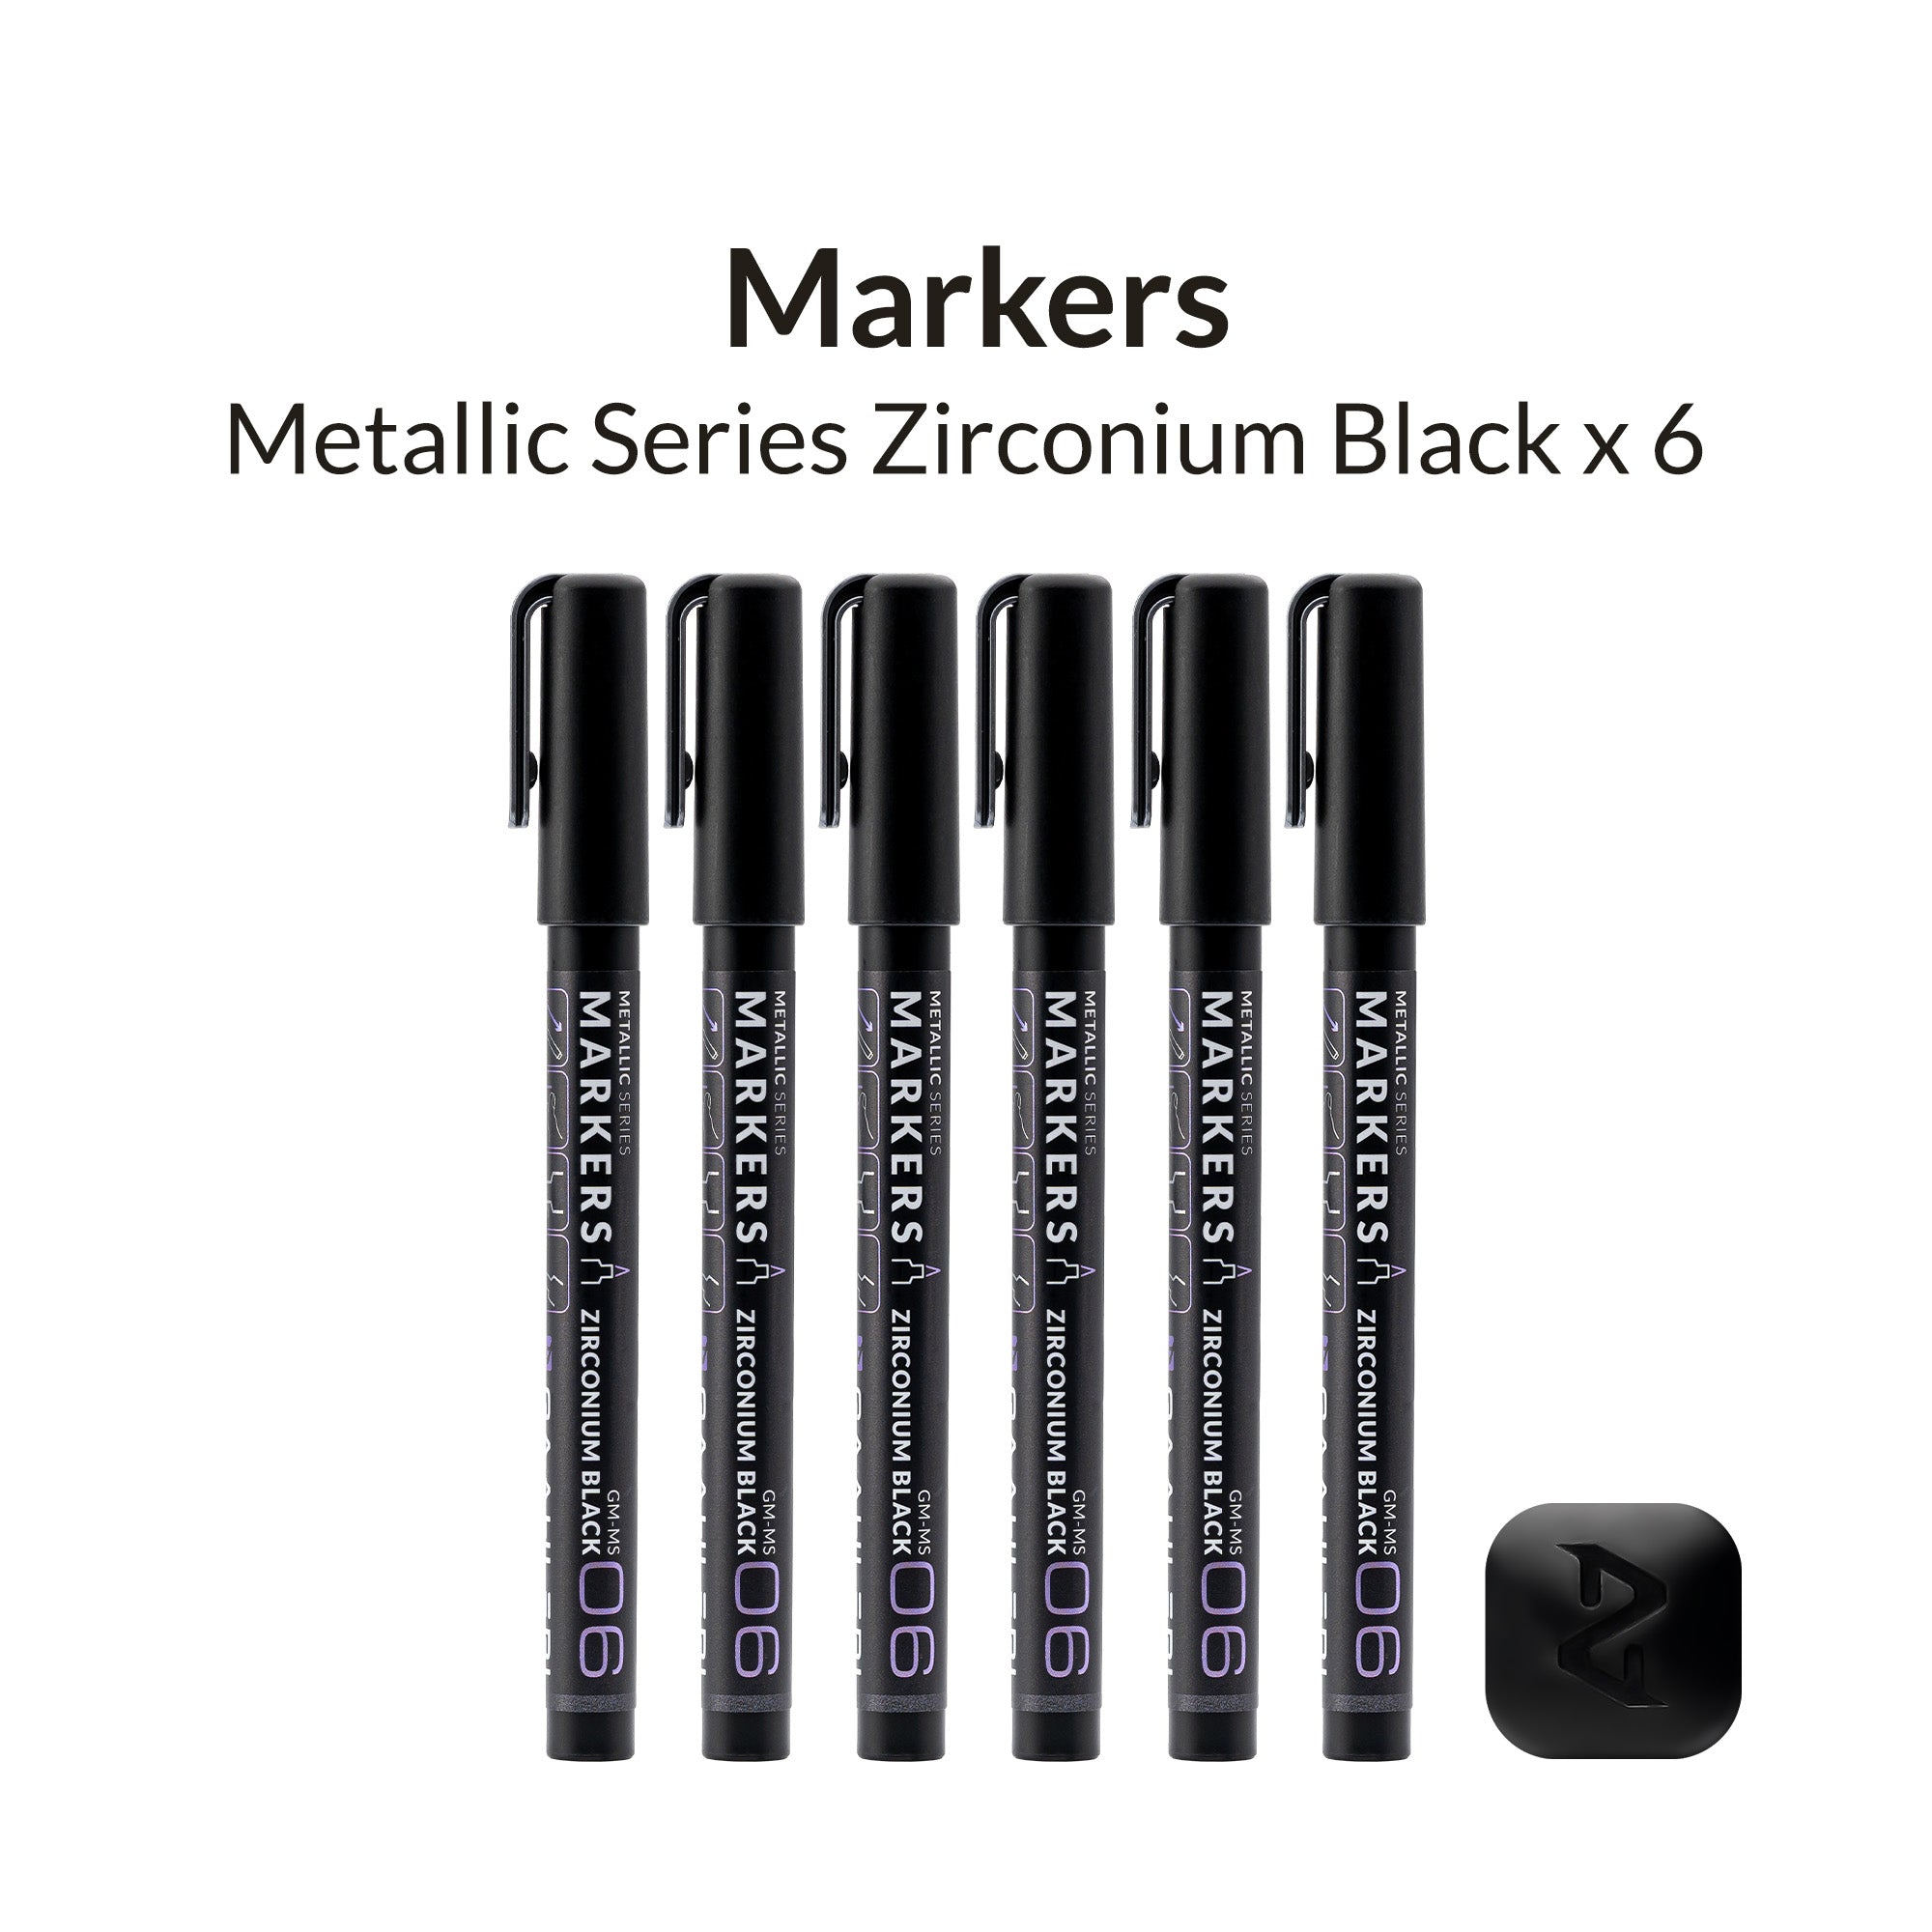
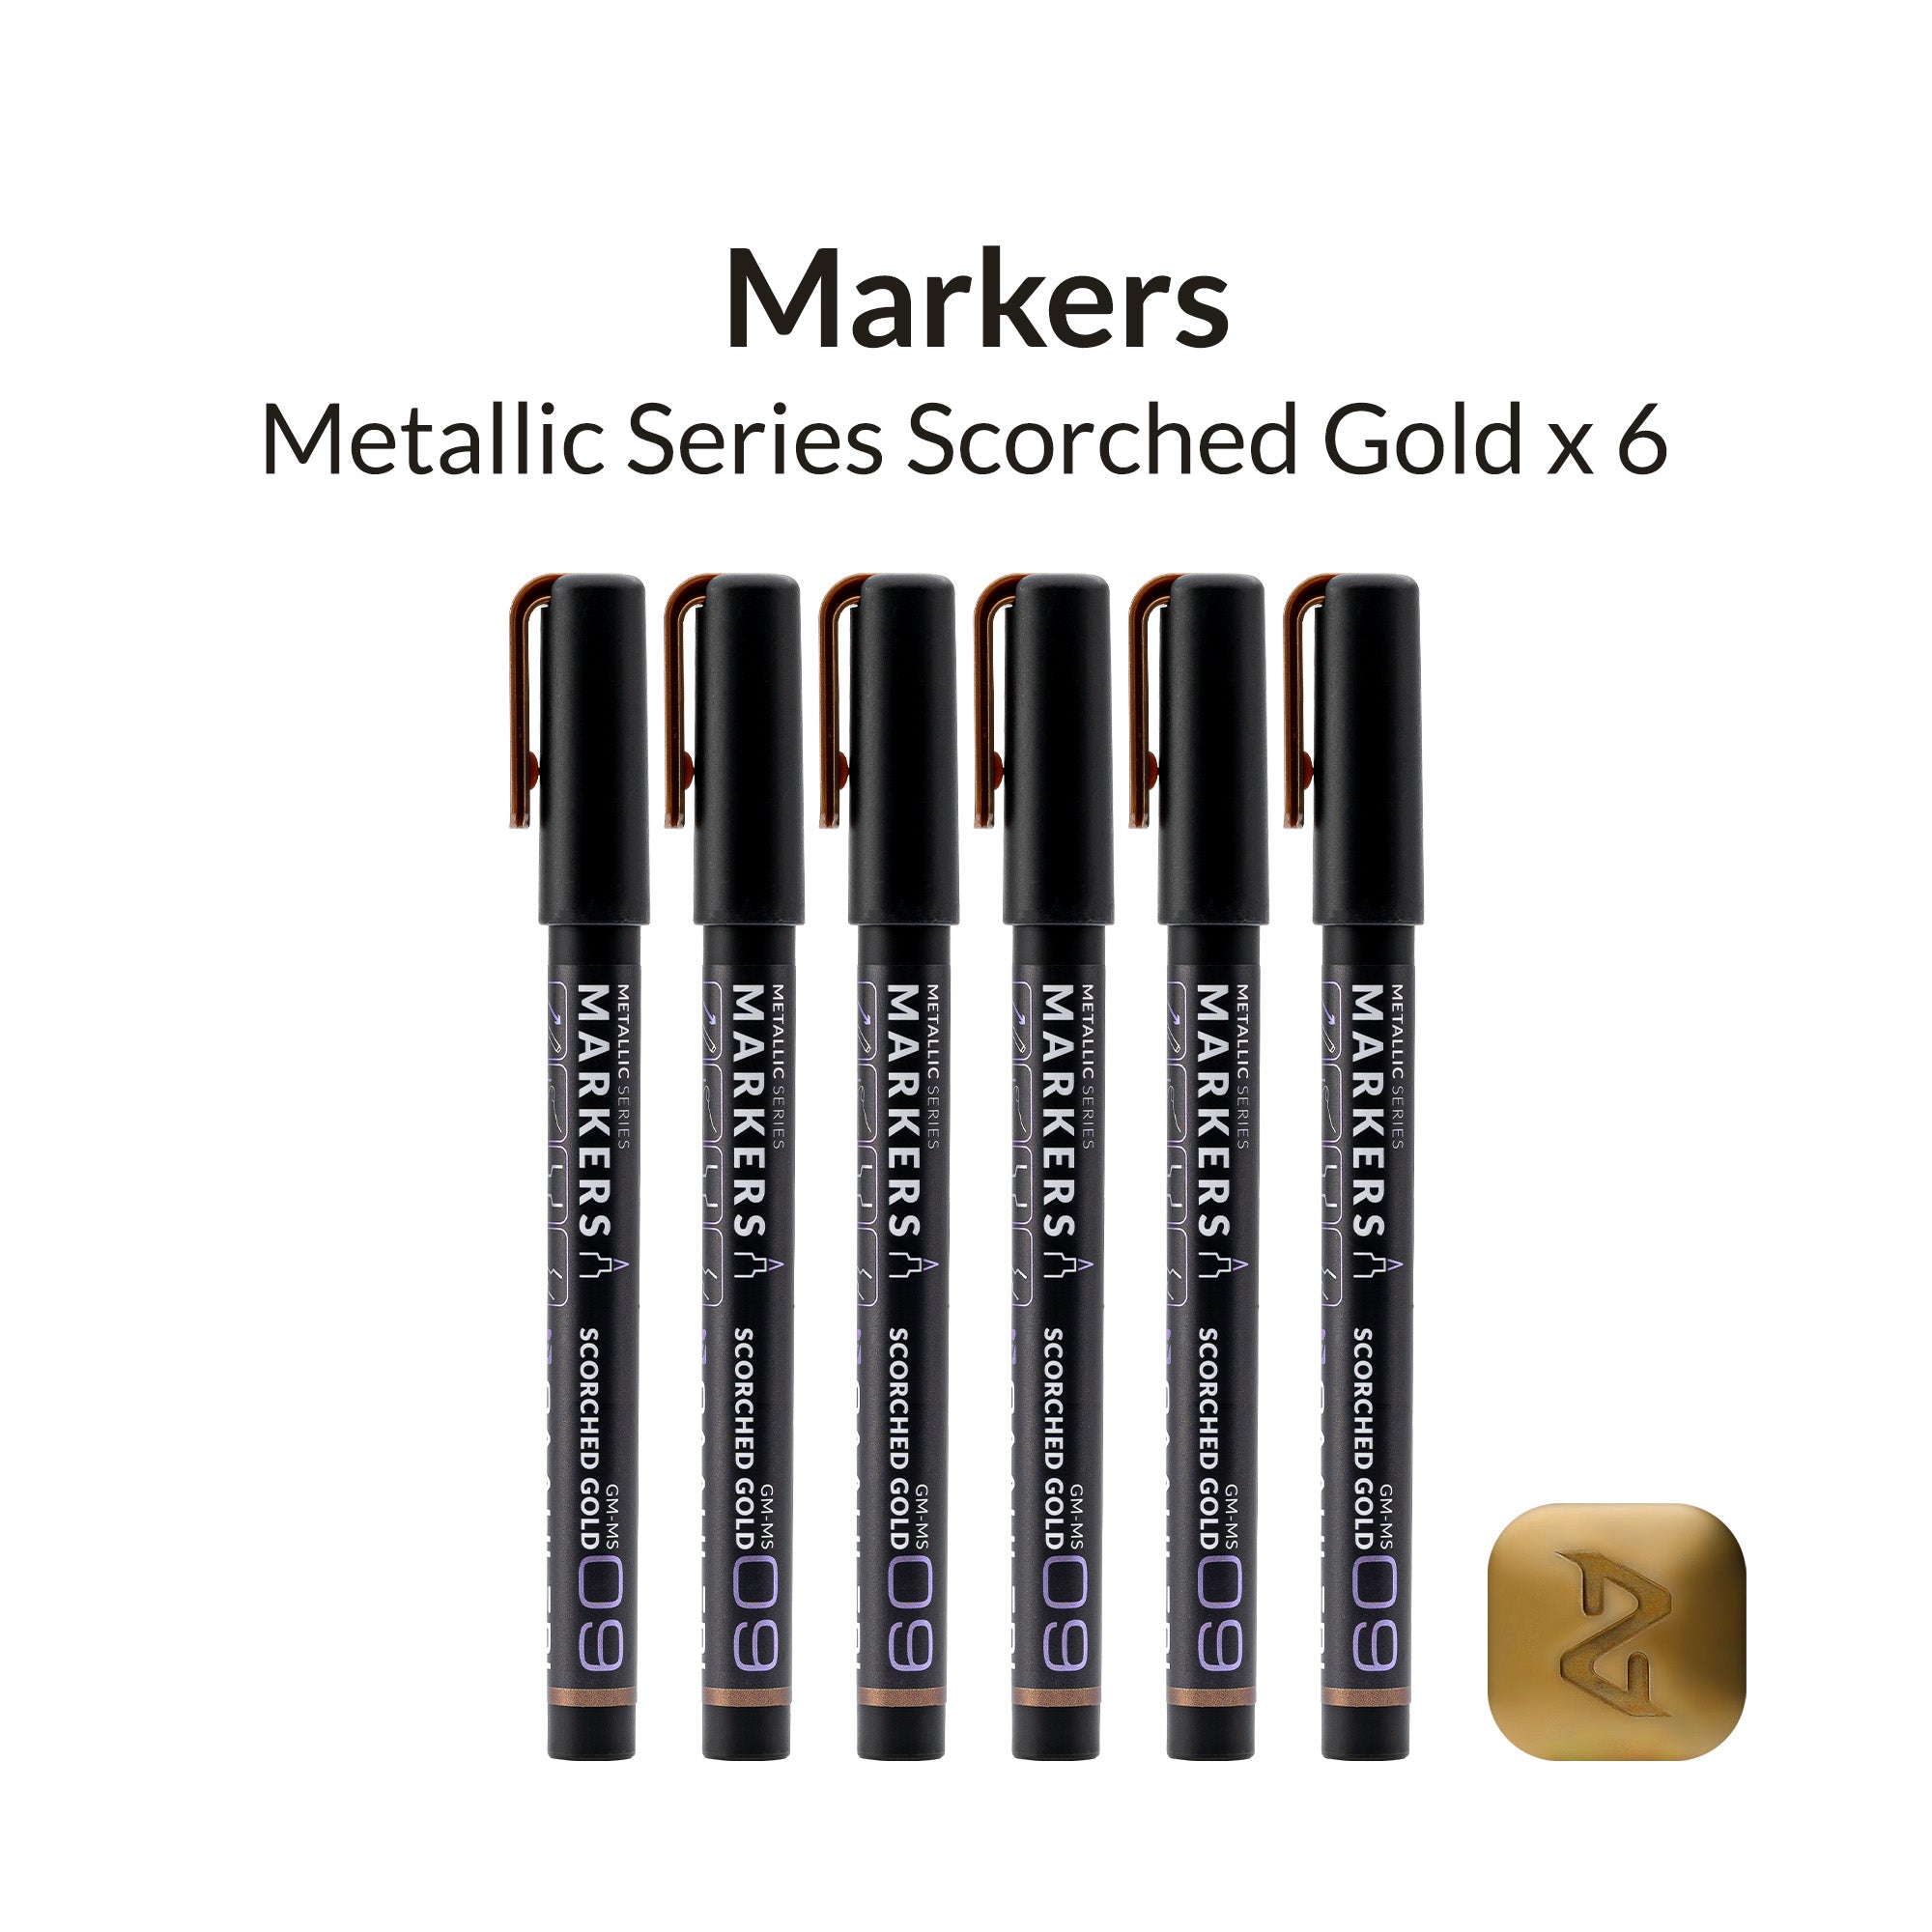
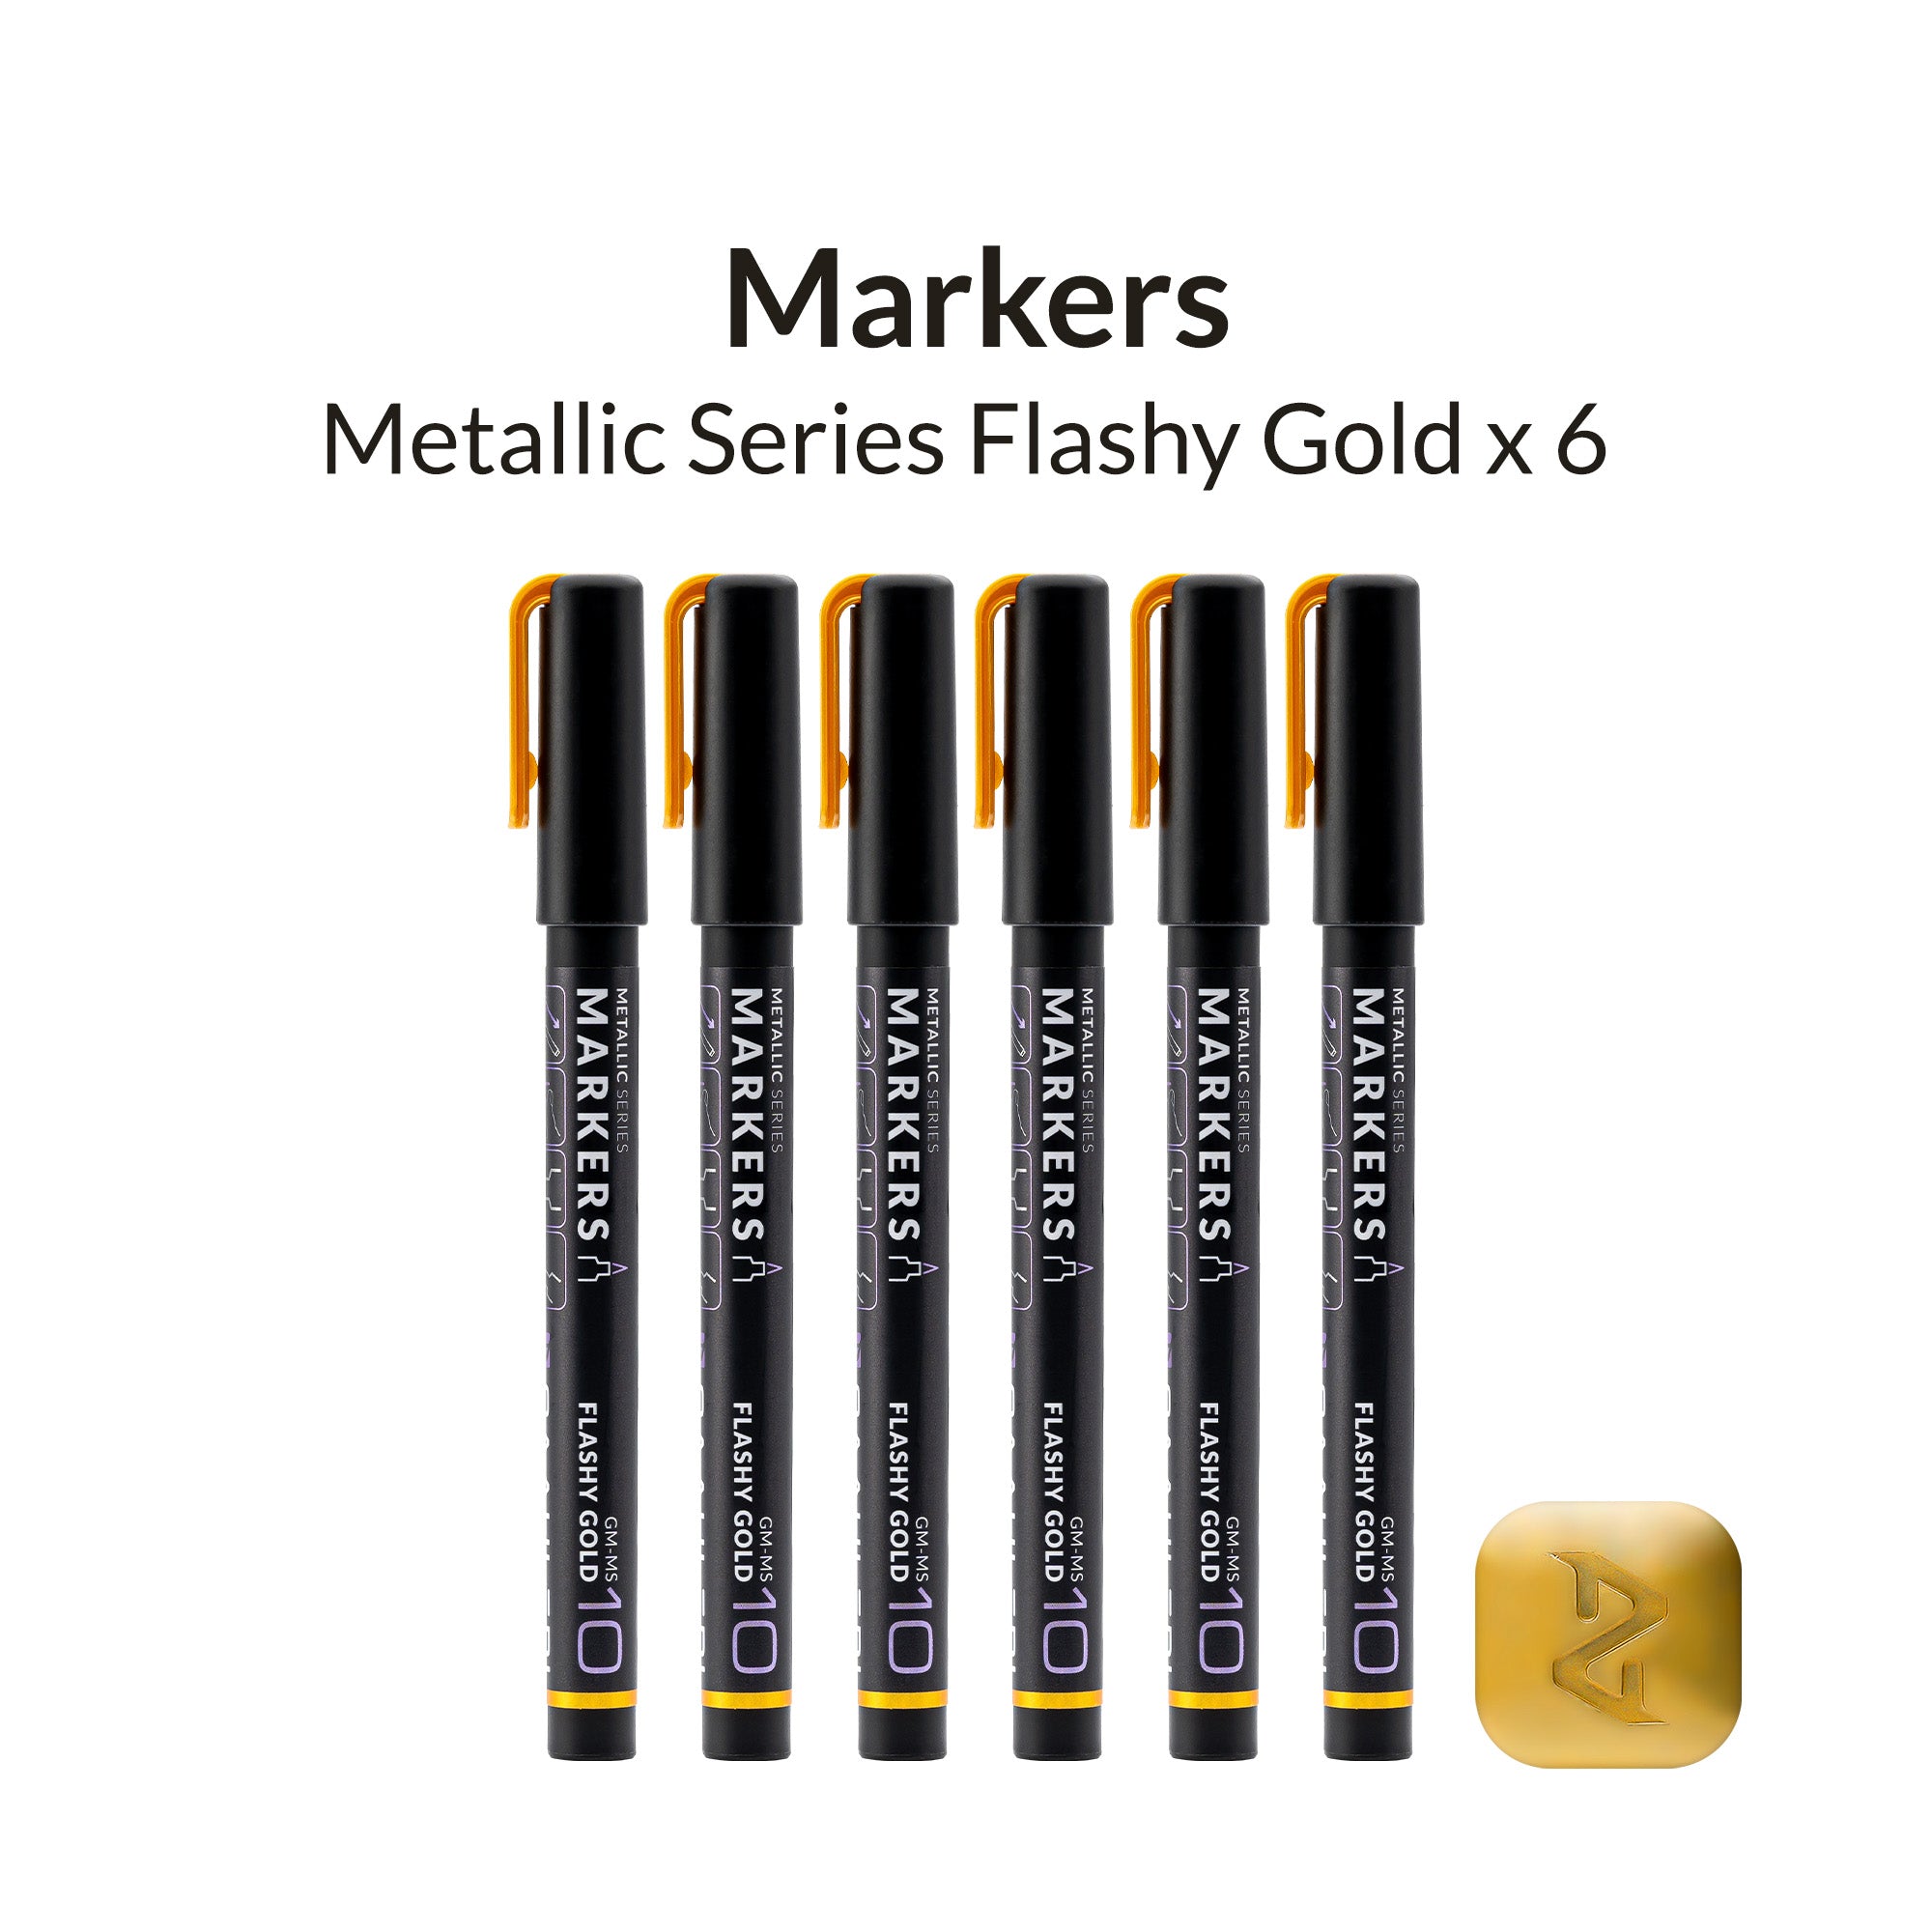
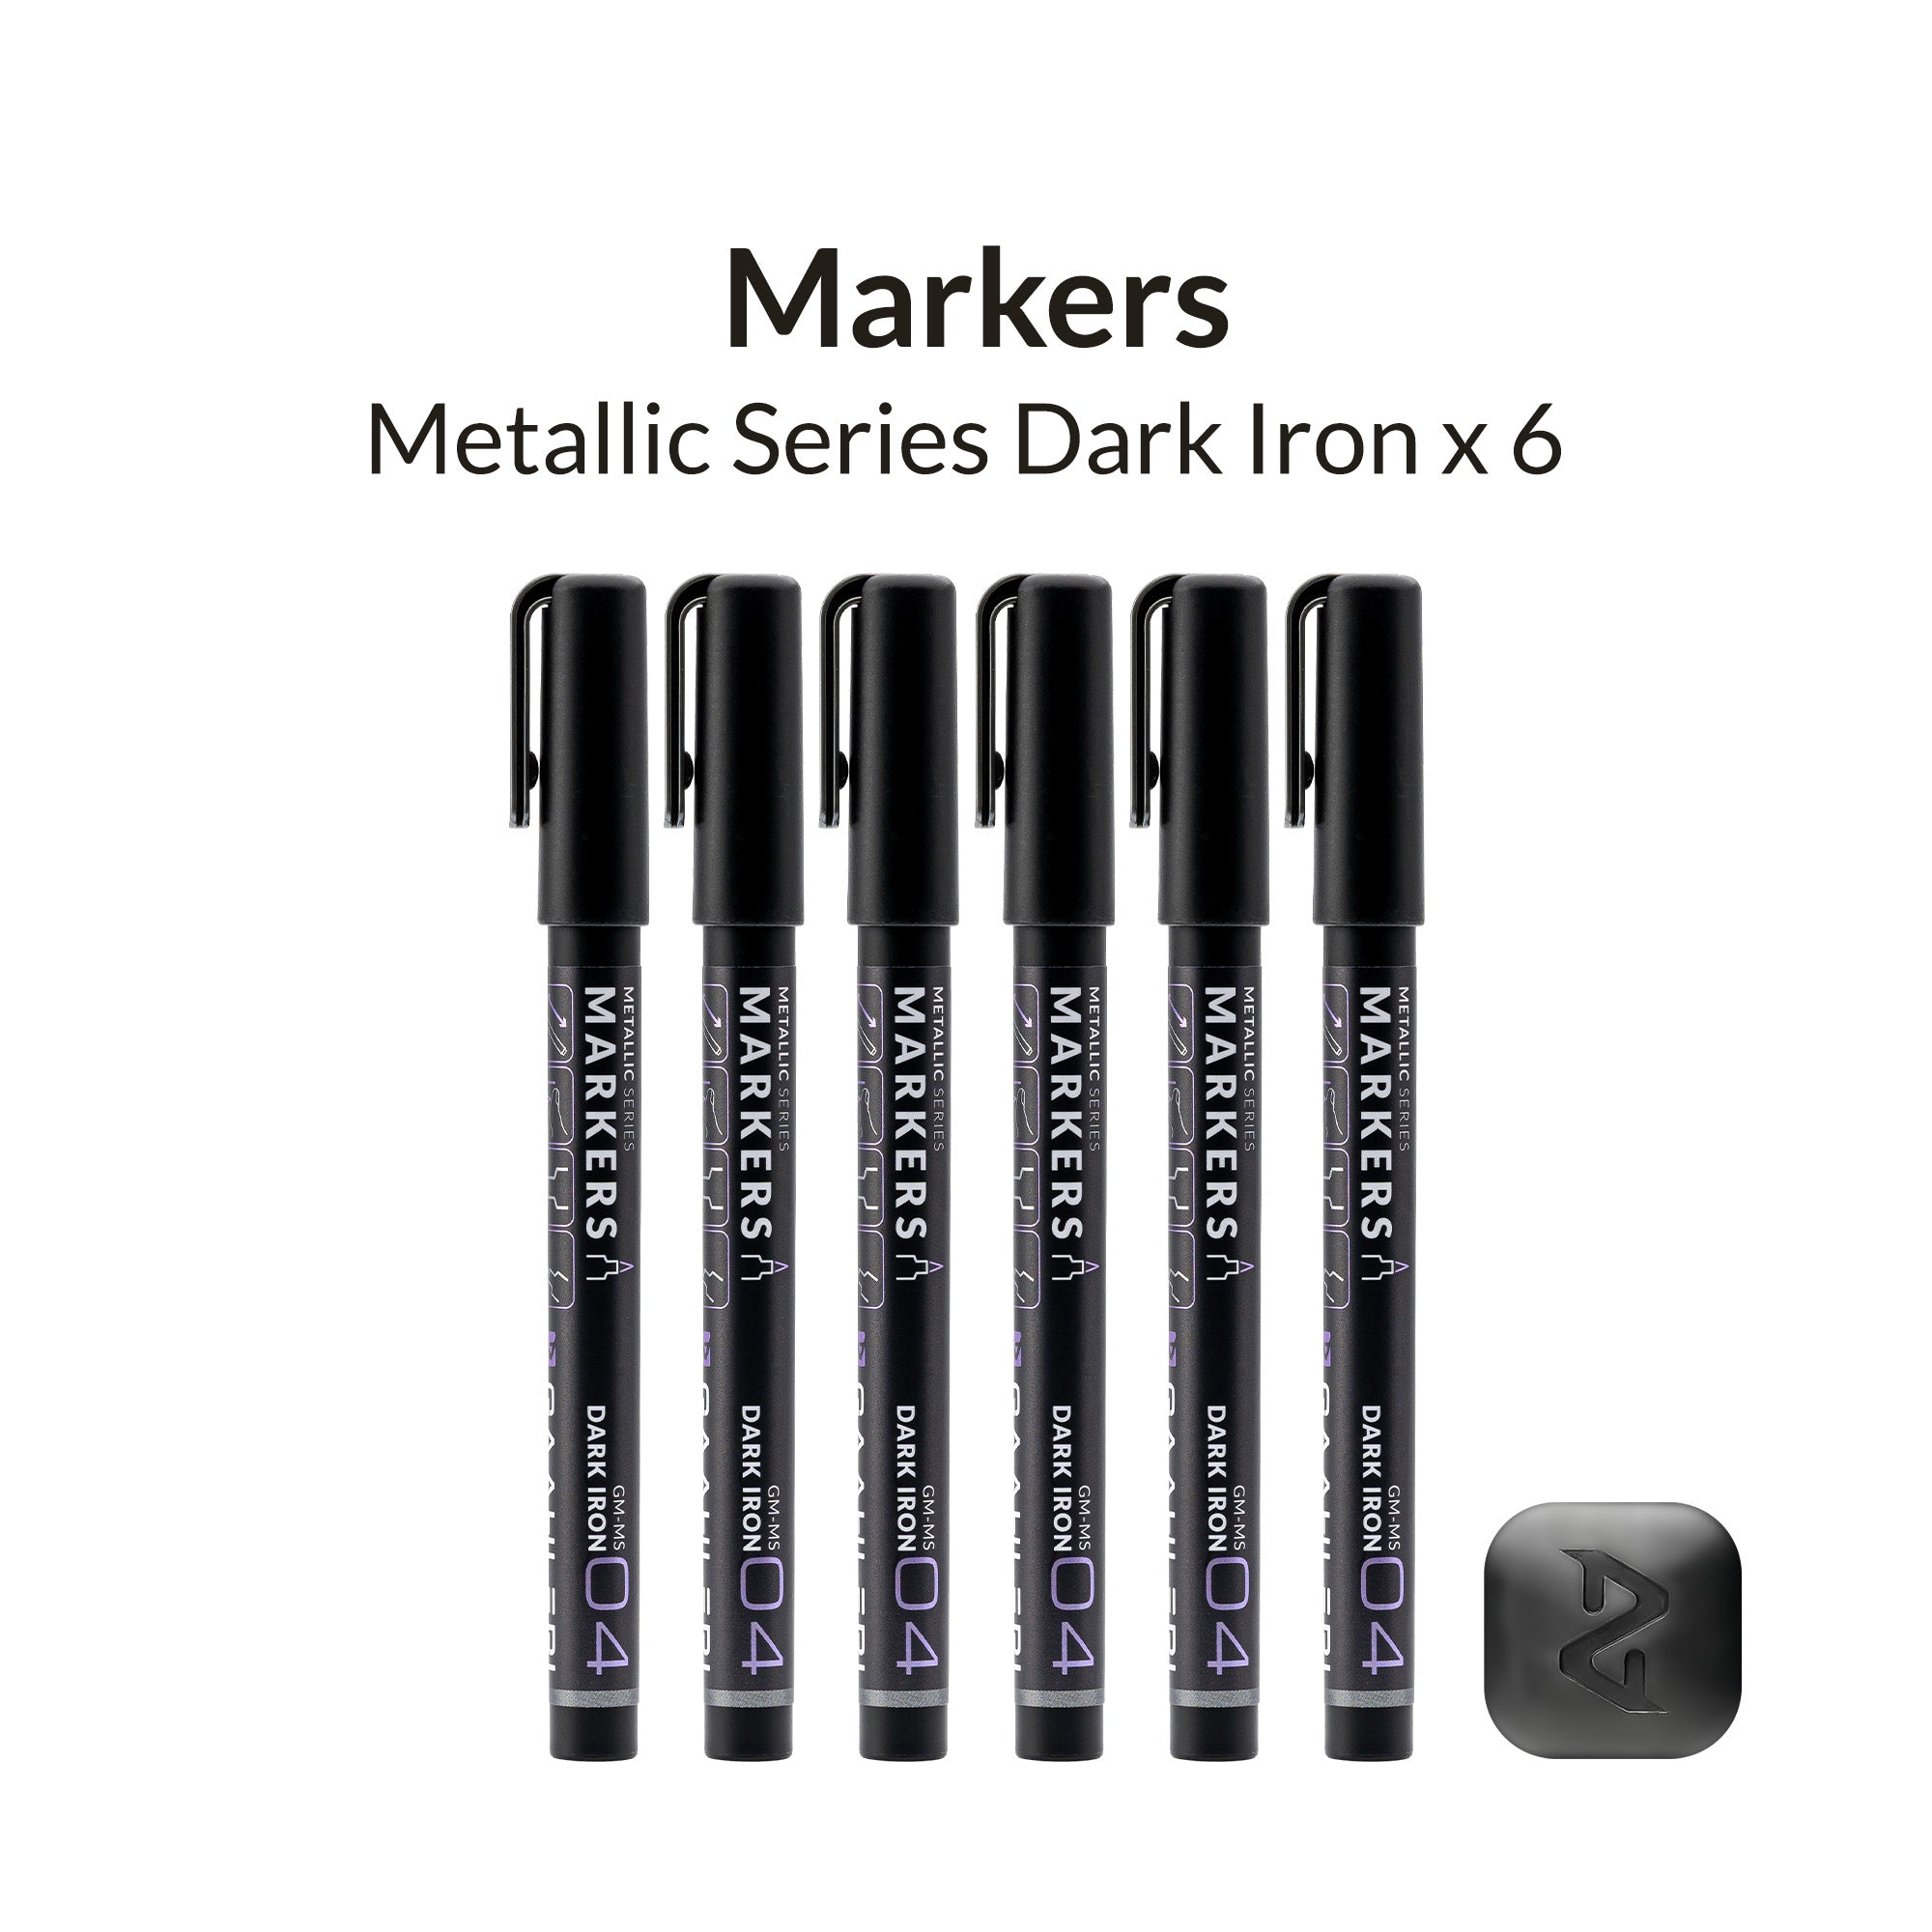
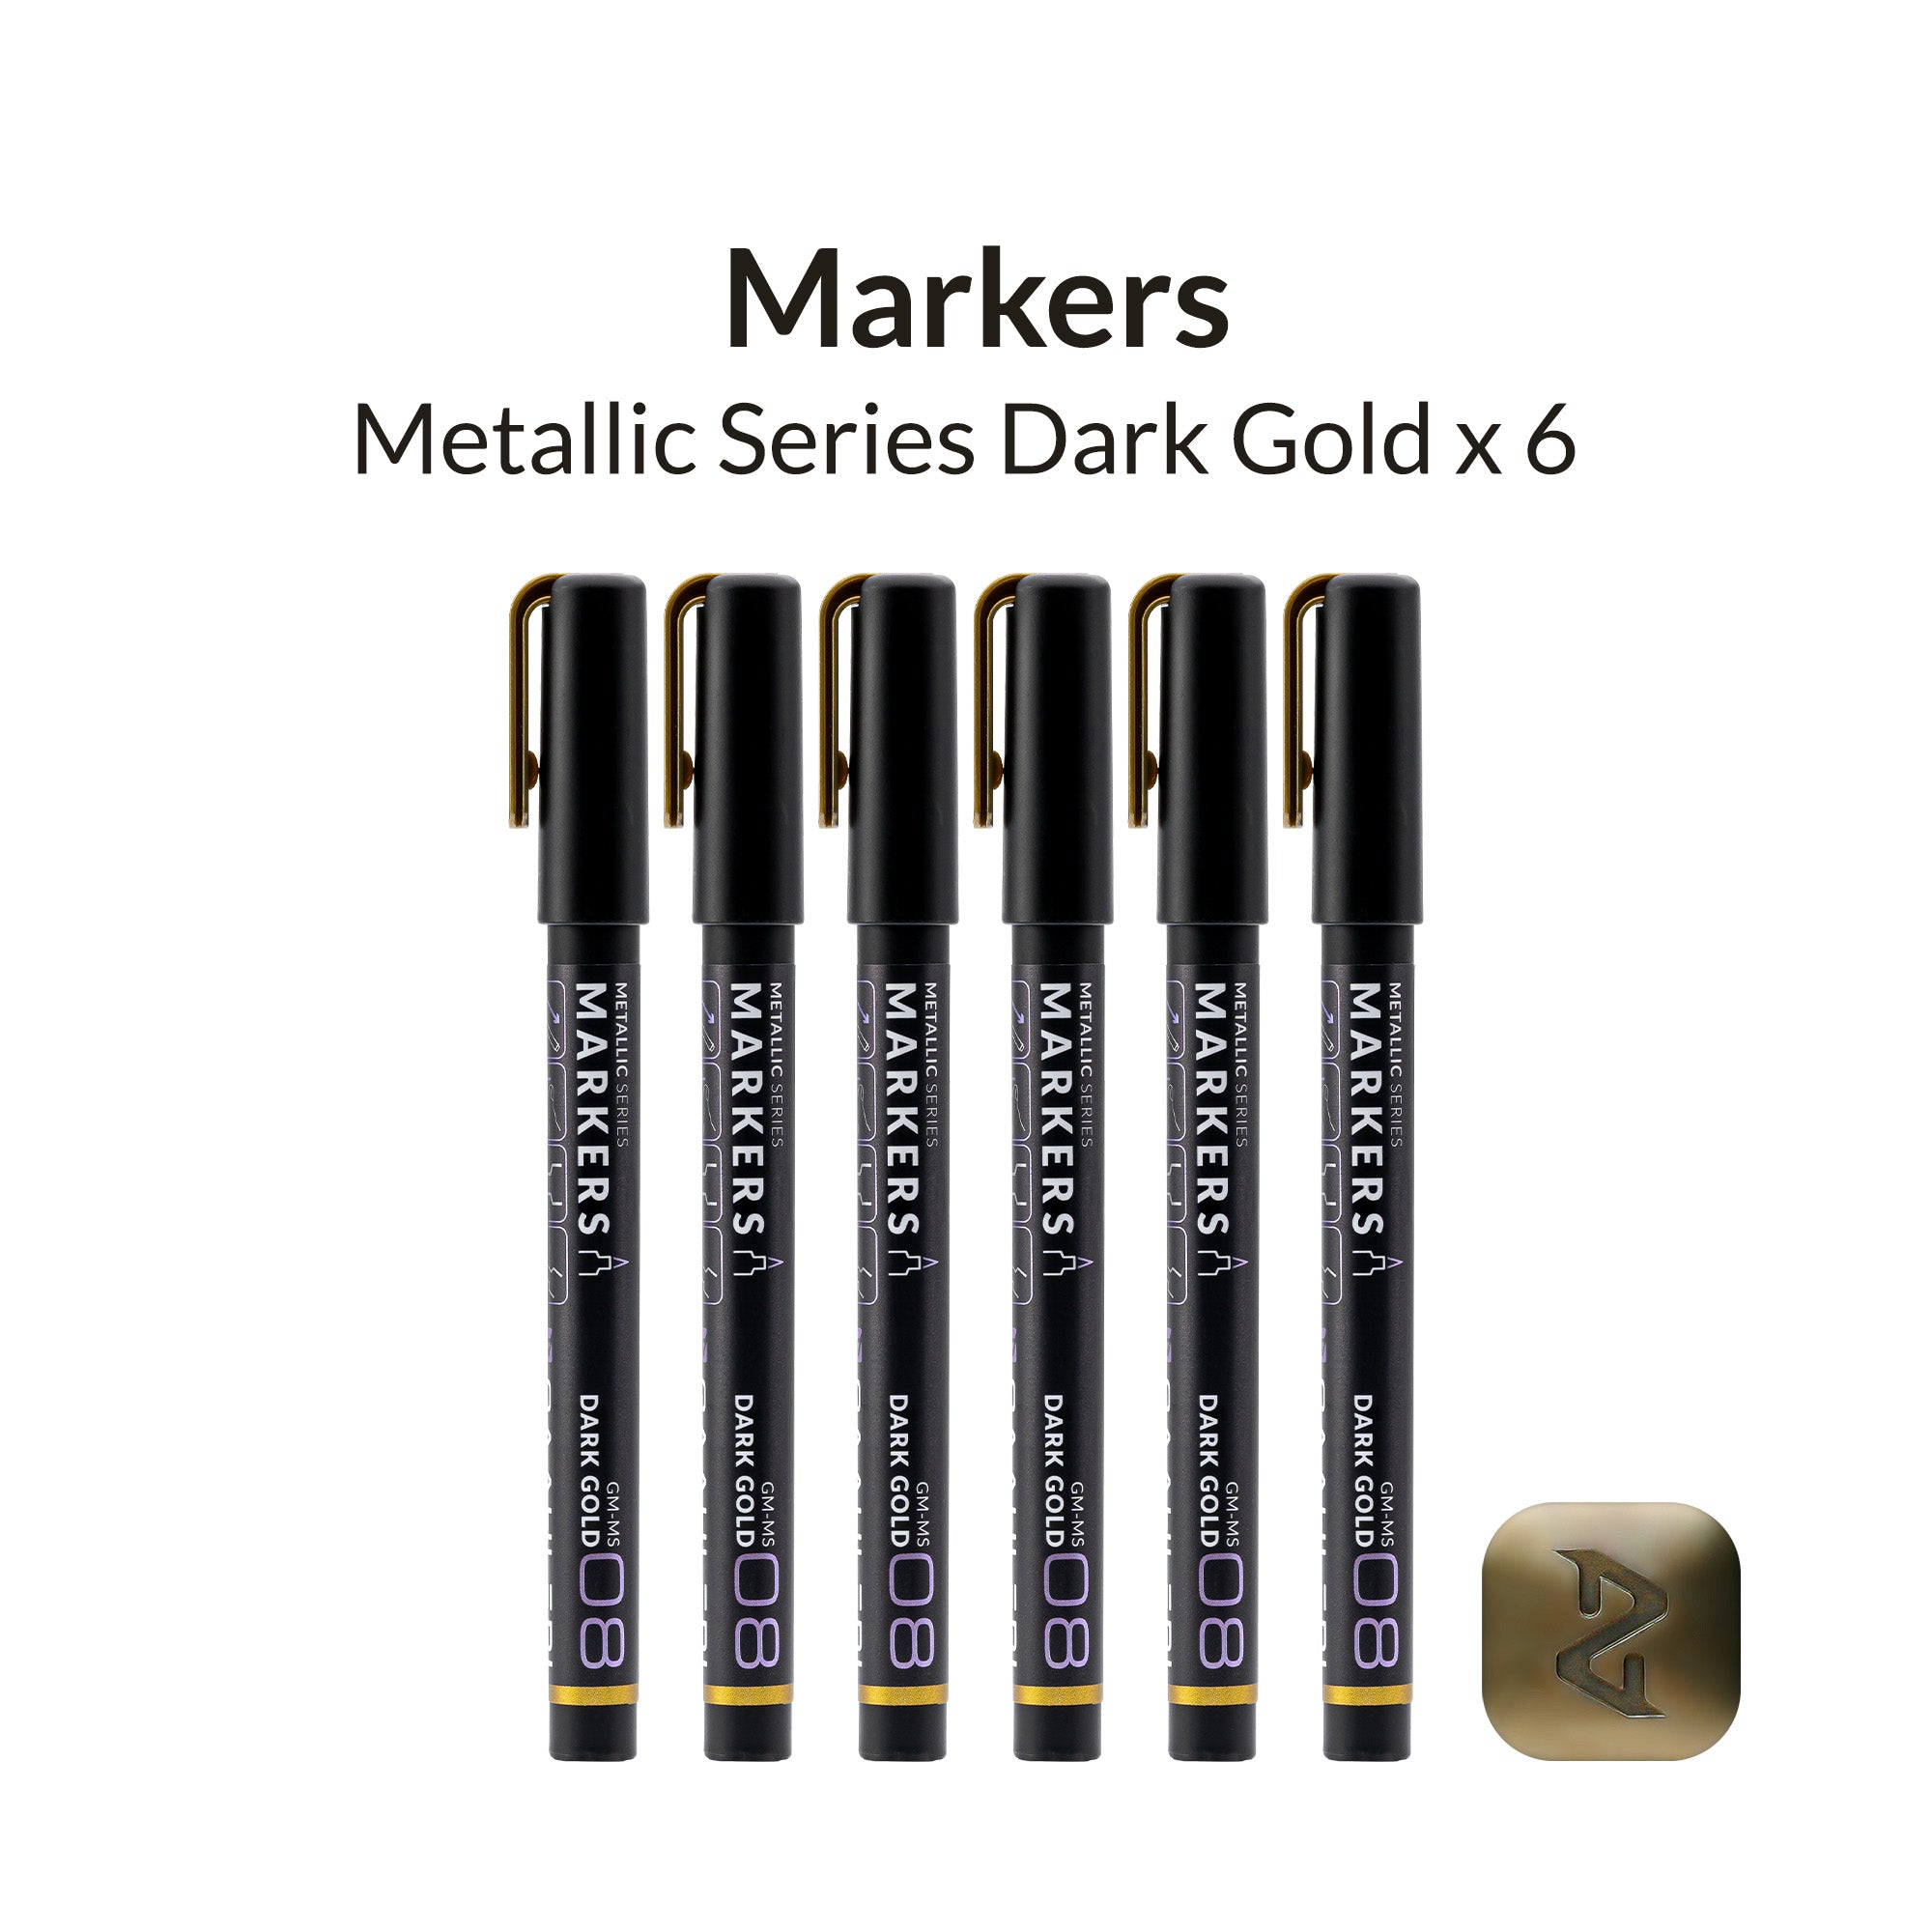
10 accurate metallic colors, including aluminium, stainless steel, dark steel, dark iron, gun metal, zirconium black, red copper, dark gold, scorched gold, and flashy gold, providing a perfect palette for any task.
WIDE RANGE OF USE

MECHA MODELS

CAR MODELS

SCALE MODELS

DIORAMA
OTHERS VS. GAAHLERI'S
A direct comparison of how our markers perform versus
other brands.

OTHERS

GAAHLERI'S

The marker caps and labels are marked with their colors to improve efficiency.
So, no more guessing which is which.

EASY ACTIVATION
The inks are preserved in the marker itself before activation
to avoid any dry out situation.


Markers in Pack of 2s

Markers in Pack of 6s
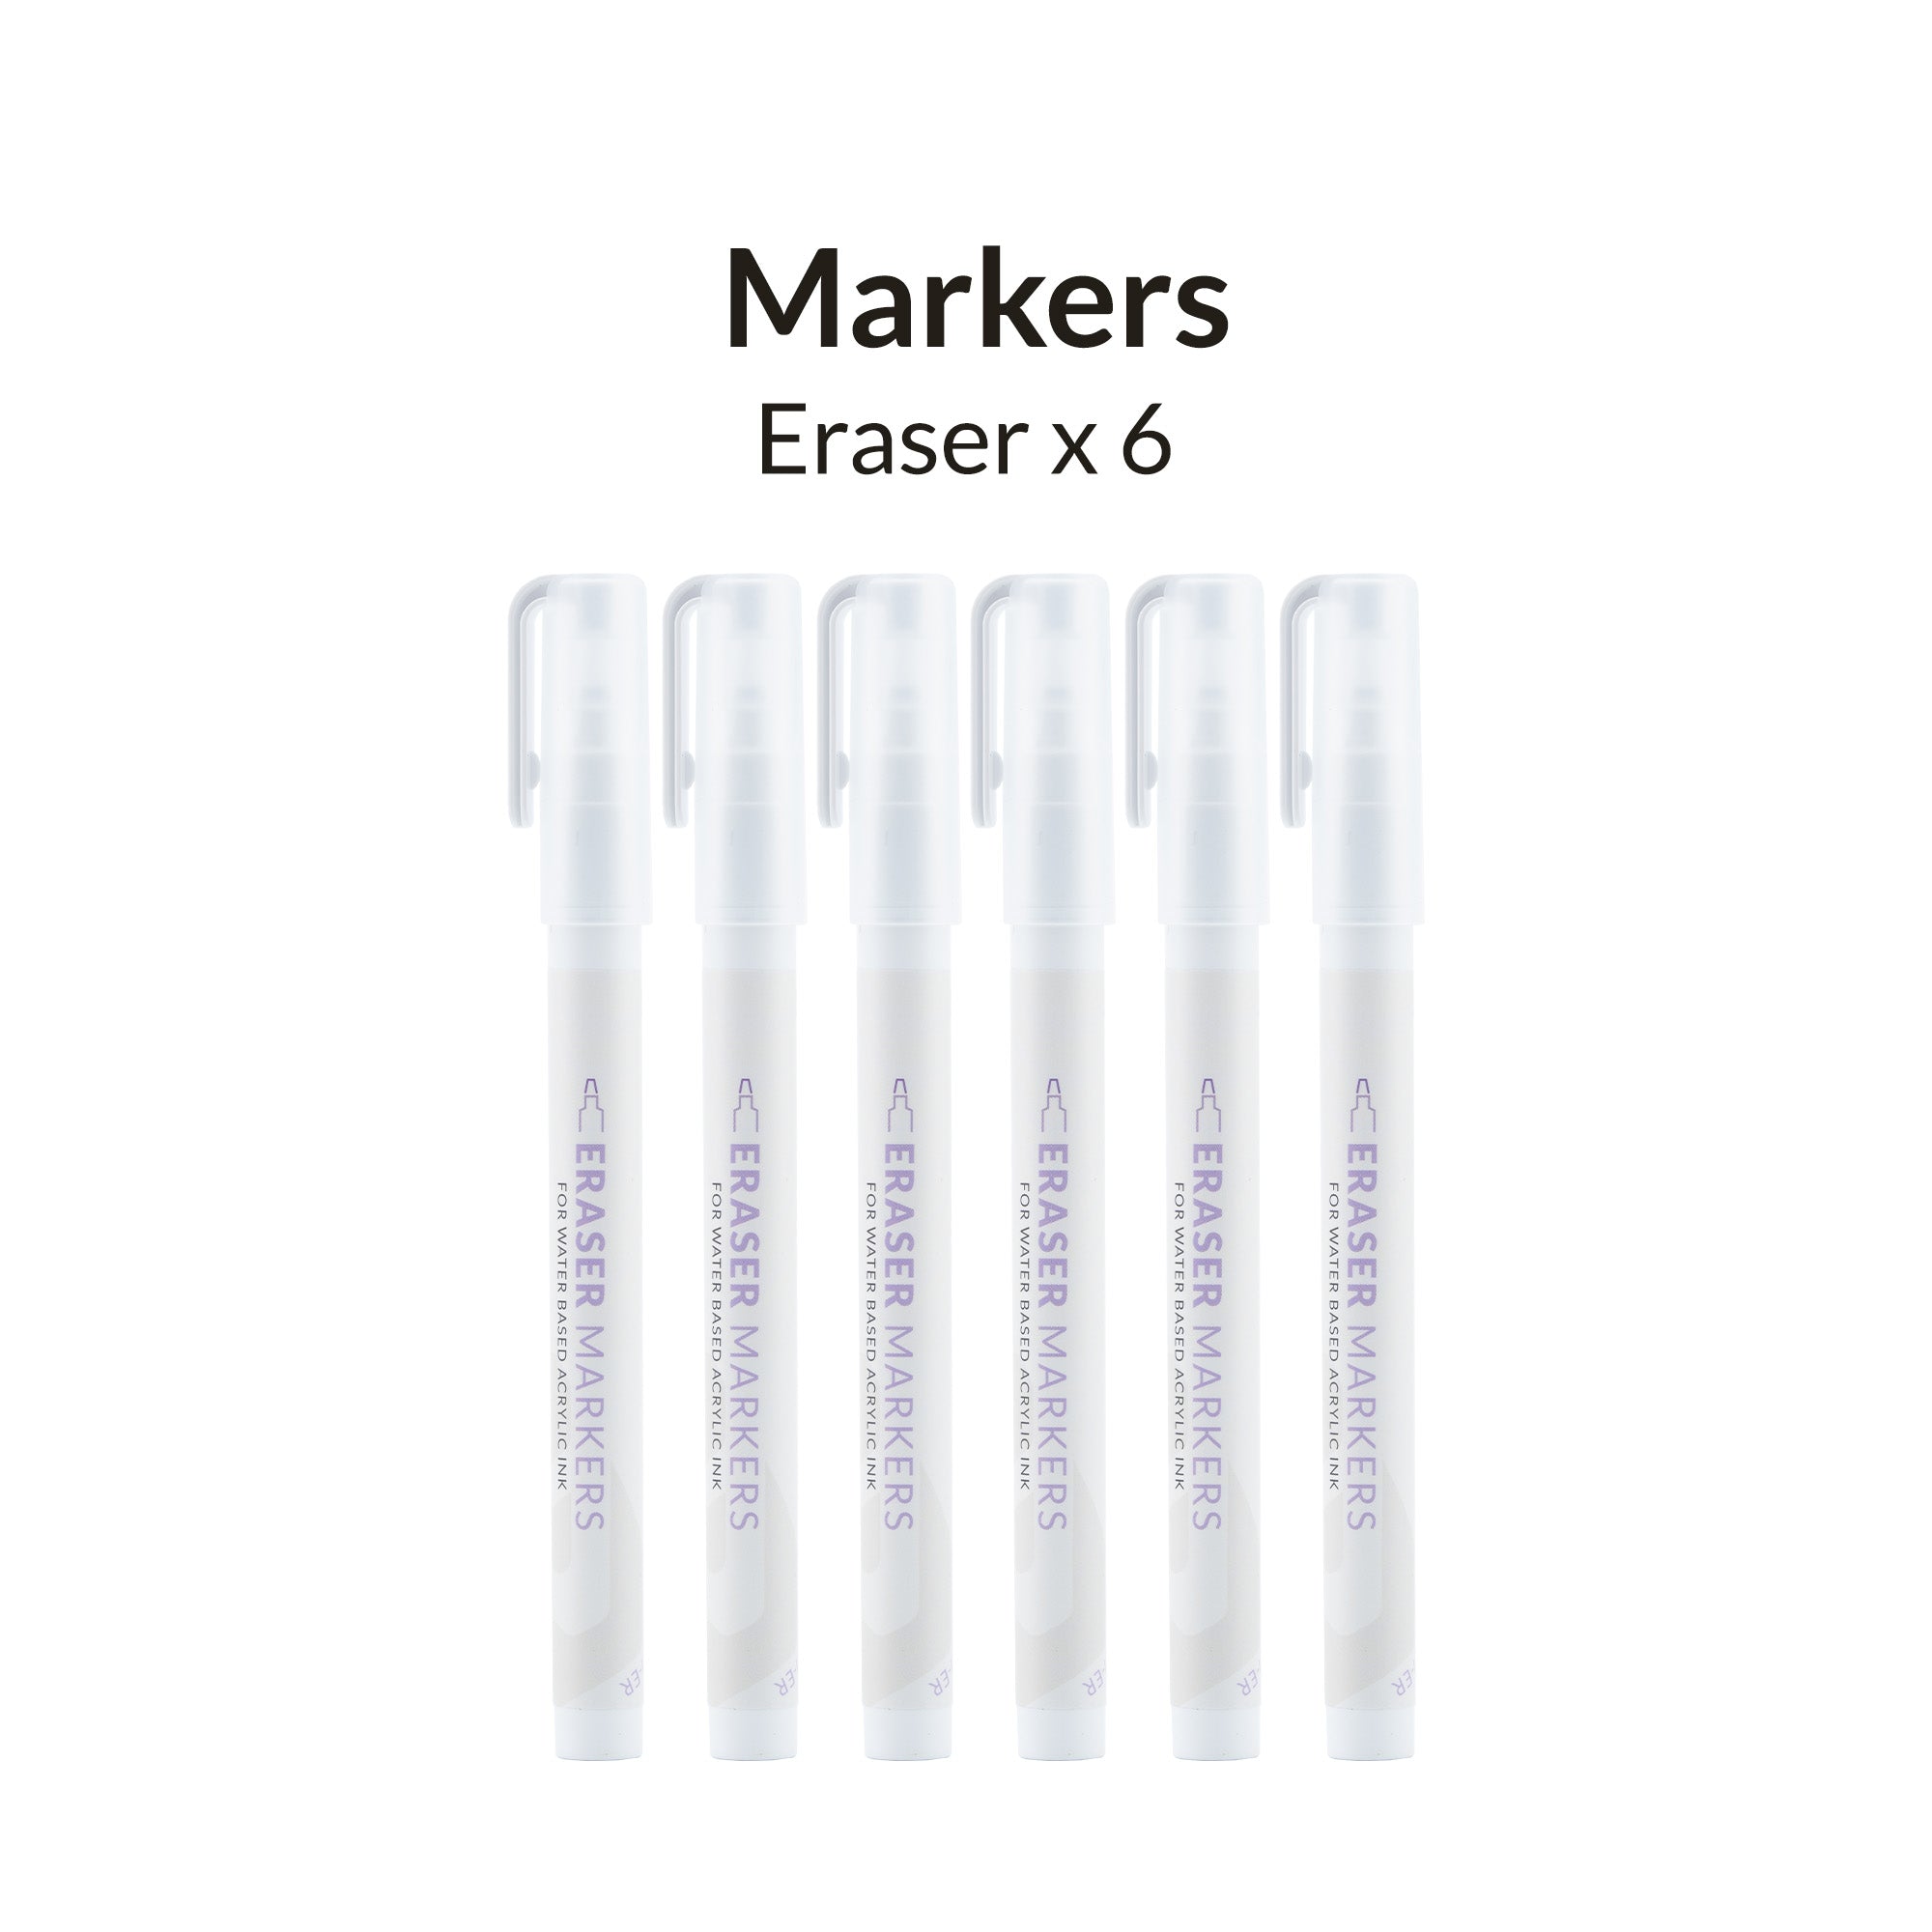

Correct any mistakes you may have made easily with the eraser. Or, incorporate erasers into your work to create truly unique masterpieces.
Before/After

BEFORE ERASE

AFTER ERASE
EASY 2 STEPS CLEAN UP

BEFORE
Identify where you want to start to erase. Best if its within 20 mins after marker application.

STEP 1
Start erasing just like how you would use a marker. Our flat head valve tip helps to improve ink flow and precision.

STEP 2
Clean up any residue after with a cotton bud, cloth or tissue to ensure a truly clean surface.

RESULT
Taaadaaaaa! The process can be repeated until you've achieved satisfactory results.
